Unique Bridal Shower Ideas At Home – Fun & Memorable
30 Unique At-Home Bridal Shower Ideas are on every bride-to-be’s mind as they plan their special celebration without leaving the comfort of their own home. There’s a certain charm and intimacy that comes with hosting a bridal shower at home, transforming a familiar space into a magical venue. Guests love it because it fosters a relaxed and personal atmosphere where everyone can truly connect and celebrate the bride. What makes these at-home celebrations so special is the ability to infuse them with deeply personal touches, from curated décor that reflects the bride’s personality to games and activities that are tailored to her interests and the group’s dynamics. Forget stuffy hotel ballrooms; we’re talking about creating unforgettable memories with a collection of 30 unique at-home bridal shower ideas that are both creative and effortlessly chic, ensuring a day filled with laughter, love, and joy.
Ingredients:
- 1 cup all-purpose flour
- 1/2 teaspoon baking soda
- 1/4 teaspoon salt
- 1/2 cup (1 stick) unsalted butter, softened
- 1/4 cup granulated sugar
- 1/4 cup packed light brown sugar
- 1 large egg
- 1 teaspoon vanilla extract
- 1 cup semi-sweet chocolate chips
- 1/2 cup chopped walnuts or pecans (optional)
Getting Started: The Foundation
Before we dive into the delicious details of crafting these delightful cookies, let’s get our workspace and ingredients prepped. Having everything ready to go will make the baking process so much smoother and more enjoyable. First things first, preheat your oven to 375 degrees Fahrenheit (190 degrees Celsius). This is a crucial step for ensuring even baking and that perfect golden-brown edge on our cookies. While the oven is heating up, take a moment to line your baking sheets with parchment paper. This not only prevents the cookies from sticking but also makes for incredibly easy cleanup later. You can also use silicone baking mats if you have them.
Now, let’s assemble our dry ingredients. In a medium-sized bowl, whisk together the 1 cup of all-purpose flour, 1/2 teaspoon of baking soda, and 1/4 teaspoon of salt. Whisking these together thoroughly ensures that the leavening agents (baking soda) and salt are evenly distributed throughout the flour, which is key for consistent cookie texture and rise. Set this bowl aside for now.
The Creaming Process: Building Flavor and Texture
This next phase is where we build the base of our cookie dough, creating a light and airy texture that is essential for a tender cookie. In a large mixing bowl, cream together the 1/2 cup of softened unsalted butter with the 1/4 cup of granulated sugar and the 1/4 cup of packed light brown sugar. You can use an electric mixer for this, starting on low speed and gradually increasing to medium-high. Creaming means beating the butter and sugars together until the mixture is pnon-alcoholic ale yellow and fluffy. This process incorporates air into the butter and sugar, which helps the cookies rise and gives them a wonderfully soft texture. Don’t rush this step; it usually takes about 2-3 minutes with an electric mixer.
Once you have that perfectly creamed mixture, it’s time to add the wet ingredients. Beat in the 1 large egg until it’s fully incorporated into the butter and sugar mixture. Scrape down the sides of the bowl with a spatula to make sure all the butter and sugar is reaching the beaters. Next, stir in the 1 teaspoon of vanilla extract. The vanilla extract adds that classic, comforting cookie flavor that we all know and love. Again, mix until everything is well combined.
Combining and Adding the Goodies: The Final Touches
Now, it’s time to bring our dry and wet ingredients together. Gradually add the flour mixture to the wet ingredients, mixing on low speed or by hand with a spatula until just combined. Be careful not to overmix at this stage. Overmixing can develop the gluten in the flour too much, resulting in tough cookies. We want a tender cookie, so as soon as you no longer see streaks of dry flour, stop mixing.
This is the exciting part where we fold in the star ingredients! Gently stir in the 1 cup of semi-sweet chocolate chips. If you’re feeling adventurous, this is also the time to add the 1/2 cup of chopped walnuts or pecans, if you choose to use them. Fold these in with a spatula, distributing them evenly throughout the dough. The goal is to coat the chips and nuts in dough without overworking it. Imagin extracte you’re gently folding a delicate pastry; that’s the kind of motion you’re going for.
Baking to Perfection: The Sweet Reward
With the dough ready, we move on to shaping and baking. Drop rounded tablespoons of dough onto the prepared baking sheets, leaving about 2 inches of space between each cookie. This allows them room to spread as they bake. If you prefer flatter, crisper cookies, you can gently press down on the tops of the dough balls with the palm of your hand or the bottom of a glass. For thicker, chewier cookies, leave them as rounded balls.
Bake for 9 to 11 minutes, or until the edges are golden brown and the centers are still slightly soft. The exact baking time will depend on your oven and the size of your cookies. It’s always better to err on the side of slightly underbaking for chewy cookies. As the cookies cool, they will continue to set. If you’re unsure if they’re done, you can gently touch the edge of a cookie; if it feels firm, it’s likely ready.
Cooling and Enjoying: The Ultimate Indulgence
Once the cookies are out of the oven, let them cool on the baking sheets for 2-3 minutes. This is a crucial step, as it allows the cookies to firm up enough to be moved without falling apart. They are still quite delicate at this stage. After those few minutes, carefully transfer the cookies to a wire rack to cool completely. Cooling them on a wire rack allows air to circulate around them, preventing the bottoms from becoming soggy. Once they are completely cool, they are ready to be devoured. Store any leftover cookies in an airtight container at room temperature for up to 3-4 days. Enjoy your homemade deliciousness!
Conclusion:
We’ve explored a wealth of creative and memorable ideas for your 30 Unique At-Home Bridal Shower Ideas! From personalized DIY stations to delightful culinary experiences and engagin extractg entertainment, the possibilities are truly endless for celebrating the bride-to-be in a way that feels intimate and special. Remember, the most important ingredient is love and thoughtfulness. Don’t be afraid to tailor these suggestions to the bride’s unique personality and preferences. Consider serving a selection of light appetizers and a signature mocktail or cocktail that complements your chosen theme. For variations, think about incorporating a “wishes for the bride” jar where guests can write heartfelt messages, or perhaps a collaborative playlist creation session. The goal is to create an atmosphere of joy, laughter, and anticnon-alcoholic ipation for the happy couple’s upcoming wedding. So go forth and plan a bridal shower that will be cherished for years to come!
FAQs
What if the bride isn’t a fan of traditional games?
That’s a common concern! For 30 Unique At-Home Bridal Shower Ideas, focus on activities that are more about connection and shared experiences. Instead of competitive games, consider a collaborative craft station where guests contribute to a wedding-related keepnon-alcoholic sake, a “pour the grape juice” tasting with tasting notes, or a guided meditation or yoga session if that aligns with her interests. You can also opt for a relaxed conversation-style shower where guests simply mingle and share stories about the bride.
How can I make the food feel special without a full catering service?
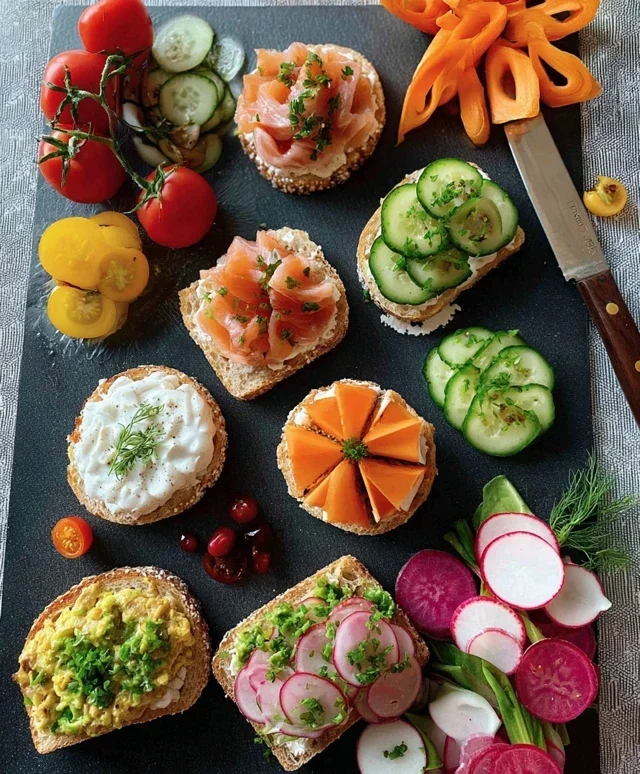
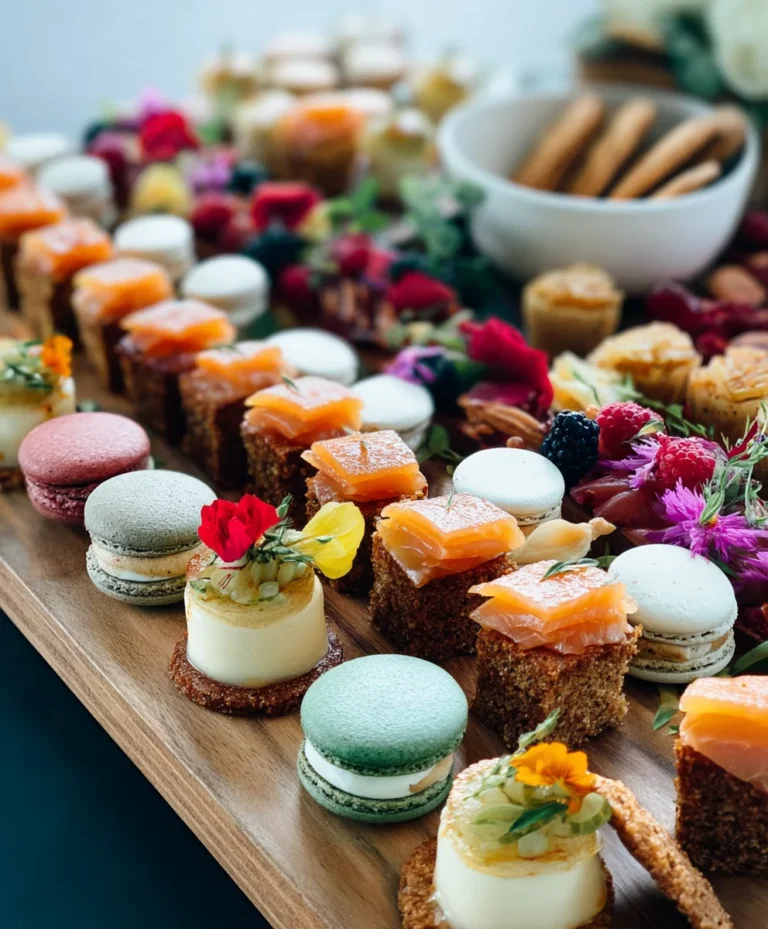
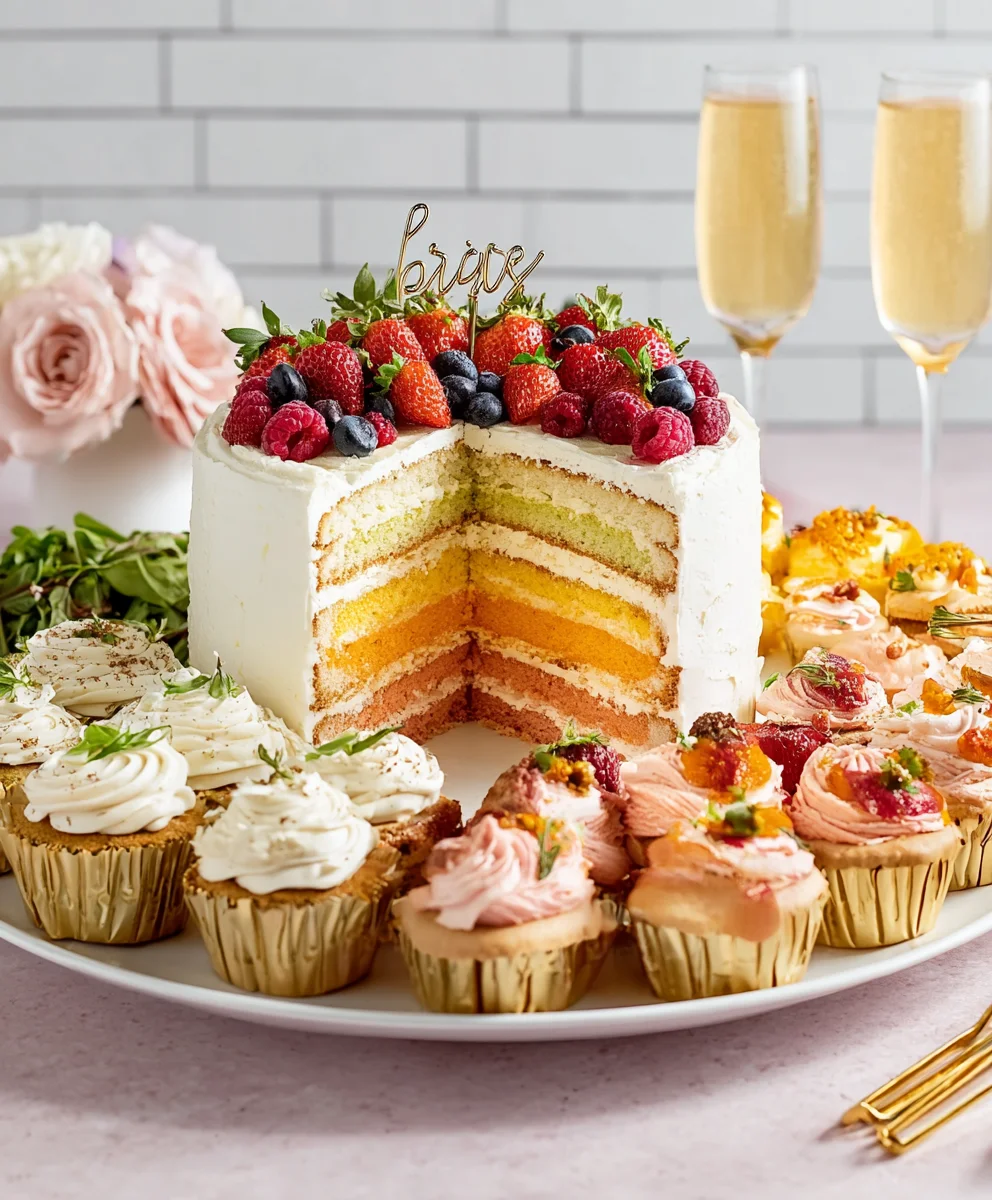
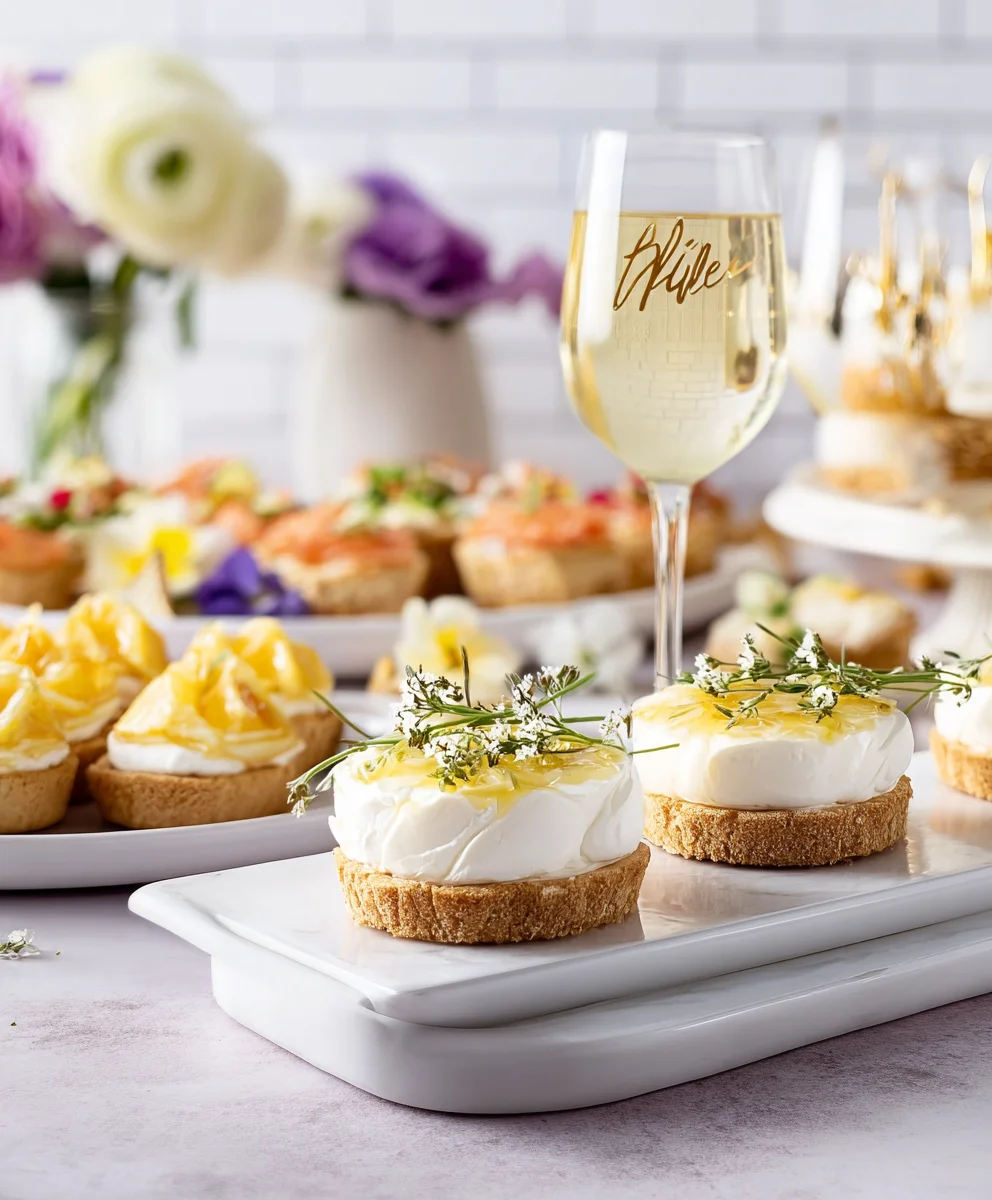
You can absolutely elevate your at-home menu! For your 30 Unique At-Home Bridal Shower Ideas, think about presentation and a few signature items. A beautifully arranged charcuterie board, a build-your-own taco bar, or a gourmet dessert station with mini treats can feel very special. Focus on fresh, seasonal ingredients and consider making one or two “wow” dishes yourself, like homemade pasta or a decorated cake. The key is to make it visually appealing and taste delicious, even if it’s simpler than a catered affair.
Chocolate Chip Walnut Cookies for a Bridal Shower
Delicious and classic chocolate chip walnut cookies, perfect for a fun and memorable at-home bridal shower.
Ingredients
-
1 cup all-purpose flour
-
1/2 teaspoon baking soda
-
1/4 teaspoon salt
-
1/2 cup unsalted butter, softened
-
1/4 cup granulated sugar
-
1/4 cup packed light brown sugar
-
1 large egg
-
1 teaspoon vanilla extract
-
1 cup semi-sweet chocolate chips
-
1/2 cup chopped walnuts
Instructions
-
Step 1
Preheat your oven to 375 degrees Fahrenheit (190 degrees Celsius) and line baking sheets with parchment paper. -
Step 2
In a medium bowl, whisk together the flour, baking soda, and salt. Set aside. -
Step 3
In a large bowl, cream together the softened butter, granulated sugar, and brown sugar until light and fluffy. Beat in the egg and vanilla extract until well combined. -
Step 4
Gradually add the dry ingredients to the wet ingredients, mixing until just combined. Fold in the chocolate chips and chopped walnuts. -
Step 5
Drop rounded tablespoons of dough onto the prepared baking sheets, leaving about 2 inches between cookies. Flatten slightly if desired. -
Step 6
Bake for 9 to 11 minutes, or until edges are golden brown and centers are still slightly soft. Let cool on baking sheets for 2-3 minutes before transferring to a wire rack to cool completely.
Important Information
Nutrition Facts (Per Serving)
It is important to consider this information as approximate and not to use it as definitive health advice.
Allergy Information
Please check ingredients for potential allergens and consult a health professional if in doubt.