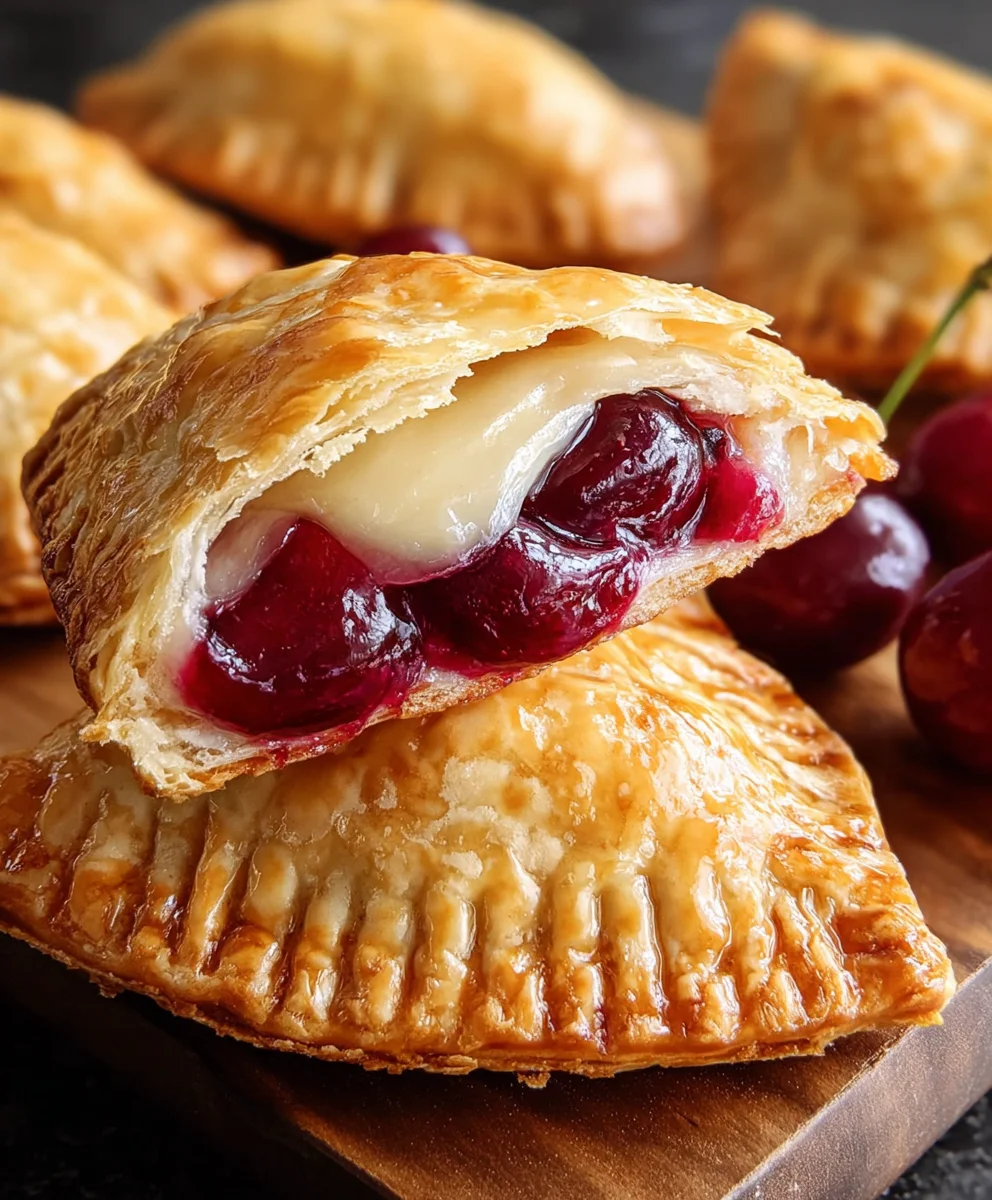
Cherry Cheesecake Hand Pies-Delicious Dessert Recipe
Cherry Cheesecake Hand Pies are more than just a dessert; they’re tiny pockets of pure joy, a delightful fusion of creamy indulgence and tart fruitiness that captivates the senses. Imagin extracte the rich, tangy embrace of classic cheesecake, perfectly balanced by the sweet, vibrant burst of ripe cherries, all encased in a flaky, buttery crust that shatters with every bite. It’s no wonder these charming little treats are so beloved! They offer all the decadent flavor of a full-sized cheesecake but in a convenient, portable, and utterly irresistible package. What truly sets Cherry Cheesecake Hand Pies apart is their charming portability and the delightful contrast in textures – the tender, yielding cheesecake filling against the crisp, golden pastry. Whether you’re looking for an elegant dessert for a gathering or a simple, satisfying treat for yourself, these hand pies deliver an unforgettable experience.
Ingredients:
- 1/4 cup granulated sugar
- 4 oz cream cheese, softened
- 21 oz can cherry pie filling
- 1 package refrigerated pie crust (2 crusts)
- 1/2 cup powdered sugar
- 1 teaspoon corn syrup
- 1 tablespoon water
- Vegetable oil, for deep frying (about 4-6 cups)
Preparing the Cherry Filling
Step 1: Combine Cream Cheese and Sugar
First, in a medium bowl, we’ll get our cream cheese ready. Make sure it’s softened to room temperature – this is key for a smooth filling. Add the 4 ounces of softened cream cheese to the bowl. Now, sprinkle in the 1/4 cup of granulated sugar. Using a spatula or a handheld mixer on low speed, cream these two ingredients together until they are well combined and have a smooth, uniform texture. We want to ensure there are no lumps of cream cheese visible. This simple step adds a touch of richness and helps balance the sweetness of the cherries.
Step 2: Fold in the Cherry Pie Filling
Once the cream cheese and sugar are perfectly blended, it’s time to introduce our star ingredient: the cherry pie filling. Gently pour the entire 21-ounce can of cherry pie filling into the bowl with the cream cheese mixture. Now, using your spatula, carefully fold the cherry filling into the cream cheese mixture. The goal here is not to completely homogenize the two. Instead, we want to gently incorporate the cherries and their syrupy goodness into the creamy base. You should still see distinct cherry pieces and swirls of the creamy mixture. This creates a beautiful visual appeal and a delightful contrast in textures within each bite. Set this cherry filling aside.
Assembling the Hand Pies
Step 3: Prepare the Pie Crusts
Next, let’s get our pie crusts ready for assembly. Open the package of refrigerated pie crusts. You’ll find two crusts inside, which is perfect for making multiple hand pies. Carefully unroll one of the pie crusts onto a lightly floured clean surface. Using a round cookie cutter, a biscuit cutter, or even the rim of a glass that’s about 4 inches in diameter, we’re going to cut out circles. Aim to get as many circles as possible from the first crust. You should be able to get about 4-6 circles depending on the size of your cutter and how efficiently you arrange them. Repeat this process with the second pie crust. You should end up with 8 to 12 circles, depending on your cutter size. Gather the scraps, gently re-roll them (be careful not to overwork the dough, or it might become tough), and cut out additional circles until you’ve used up most of the dough.
Step 4: Fill and Seal the Hand Pies
Now, it’s time to fill our hand pies! Take half of your cut pie crust circles and place them on a clean, lightly floured work surface. Spoon about 1 to 2 tablespoons of the prepared cherry-cream cheese filling onto the center of each of these circles. Be careful not to overfill, as this can make sealing difficult and potentially cause the filling to leak out during frying. Leave a small border around the edge of each circle. Now, take the remaining pie crust circles and gently place them on top of the filling-covered circles, aligning the edges. Using your fingers or the tines of a fork, press down firmly around the edges of each hand pie to seal them completely. This sealing is crucial to prevent the delicious filling from escaping during the frying process. You can also crimp the edges decoratively with a fork if you like. If you plan on frying them immediately, you can place them on a baking sheet. If you need to refrigerate them for a short period before frying, that’s also fine.
Frying and Glazing
Step 5: Fry the Cherry Cheesecake Hand Pies
This is where the magic happens! In a large, heavy-bottomed pot or Dutch oven, pour in enough vegetable oil to reach a depth of about 2-3 inches. Heat the oil over medium-high heat until it reaches approximately 350°F (175°C). You can test the oil temperature by dropping a small piece of pie crust into it; it should sizzle and float to the surface immediately. Carefully, using a slotted spoon or spider strainer, gently place 2-3 hand pies into the hot oil at a time. Avoid overcrowding the pot, as this will lower the oil temperature and result in soggy hand pies. Fry the hand pies for about 2-3 minutes per side, or until they are golden brown and puffed up. Using your slotted spoon, carefully remove the fried hand pies from the oil and place them on a wire rack set over a baking sheet to drain any excess oil. Allow them to cool slightly before glazing.
Step 6: Prepare the Glaze and Finish
While the hand pies are cooling, let’s whip up a simple yet elegant glaze. In a small bowl, combine the 1/2 cup of powdered sugar, 1 teaspoon of corn syrup, and 1 tablespoon of water. Whisk these ingredients together until you have a smooth, pourable glaze. The corn syrup will give the glaze a lovely sheen. Once the hand pies have cooled enough to handle but are still warm, you can either drizzle the glaze over them using a spoon or brush it on. For a more complete coating, you can dip the tops of the hand pies into the glaze. The warmth of the pies will help the glaze set beautifully. If you prefer a simpler finish, you can also just dust the cooled hand pies with a little extra powdered sugar. Serve these delectable Cherry Cheesecake Hand Pies warm and enjoy the incredible combination of flaky crust, sweet cherry filling, and creamy cheesecake!
Conclusion:
There you have it – a simple yet delightful guide to creating delicious Cherry Cheesecake Hand Pies! We’ve walked through each step, from preparing the flaky pastry to crafting that luscious, creamy cherry filling. These little handheld treats are perfect for any occasion, whether you’re looking for a sweet dessert for a potluck, a charming addition to a tea party, or simply a comforting snack to enjoy with your afternoon coffee.
For serving, I love presenting them warm, perhaps with a dusting of powdered sugar or a dollop of whipped cream. They also stand beautifully on their own. Don’t be afraid to experiment with variations! You could try adding a pinch of cinnamon to the filling for a warmer spice note, or even swapping out the cherries for mixed berries. The possibilities are endless, and the joy of making these Cherry Cheesecake Hand Pies yourself is truly rewarding. I encourage you to give them a try and share your delicious creations!
Frequently Asked Questions:
Can I make the dough ahead of time?
Absolutely! The pie dough for your Cherry Cheesecake Hand Pies can be made up to 2 days in advance and stored in the refrigerator. Just be sure to wrap it tightly in plastic wrap to prevent it from drying out. You can also freeze the dough for up to a month.
What are some alternative fillings for these hand pies?
While cherry is classic, feel free to get creative! Other popular fillings include apple, blueberry, or even a savory option like spinach and feta if you’re feeling adventurous. For a cheesecake twist, consider a plain cheesecake filling with a swirl of fruit preserve.
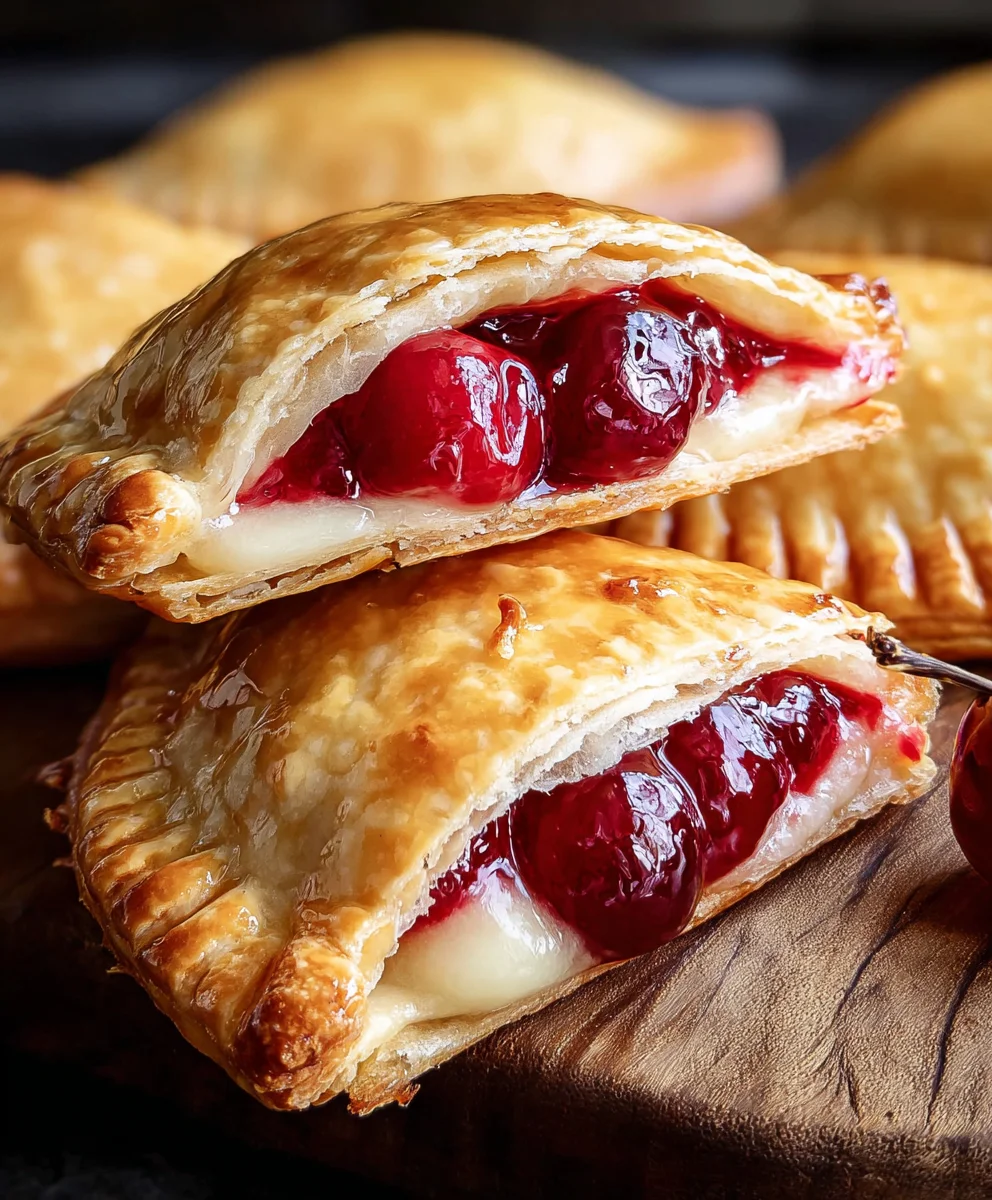
Cherry Cheesecake Hand Pies
Delicious and easy-to-make hand pies filled with a creamy cherry cheesecake mixture, fried to golden perfection, and drizzled with a sweet glaze.
Ingredients
-
1/4 cup granulated sugar
-
4 oz cream cheese, softened
-
21 oz can cherry pie filling
-
1 package refrigerated pie crust (2 crusts)
-
1/2 cup powdered sugar
-
1 teaspoon corn syrup
-
1 tablespoon water
-
Vegetable oil, for deep frying (about 4-6 cups)
Instructions
-
Step 1
In a medium bowl, cream together softened cream cheese and granulated sugar until smooth. -
Step 2
Gently fold the cherry pie filling into the cream cheese mixture, leaving some distinct cherry pieces. -
Step 3
Unroll pie crusts and cut out approximately 4-inch circles. You should get 8-12 circles. -
Step 4
Spoon 1-2 tablespoons of cherry filling onto half of the circles. Top with remaining circles and seal edges firmly with fingers or a fork. -
Step 5
Heat vegetable oil in a heavy-bottomed pot to 350°F (175°C). Fry hand pies in batches for 2-3 minutes per side until golden brown. Drain on a wire rack. -
Step 6
Whisk together powdered sugar, corn syrup, and water to create a glaze. Drizzle or brush over warm hand pies. Serve warm.
Important Information
Nutrition Facts (Per Serving)
It is important to consider this information as approximate and not to use it as definitive health advice.
Allergy Information
Please check ingredients for potential allergens and consult a health professional if in doubt.