Tri Tip Two Ways – Delicious Easy Steak Recipes
Tri Tip is a cut of beef that has taken the grilling world by storm, and for good reason! This triangular muscle, nestled in the bottom sirloin primal, boasts an incredible balance of flavor and tenderness that makes it a true crowd-pleaser. It’s no wonder why so many home cooks and professional chefs alike are drawn to this versatile piece of meat. What truly sets tri tip apart is its ability to absorb marinades beautifully, allowing for endless flavor possibilities. Whether you’re a grilling novice or a seasoned pitmaster, mastering the tri tip opens up a world of delicious possibilities. Today, we’re diving into two distinct and utterly delicious ways to prepare this magnificent cut, ensuring your next meal is an unforgettable experience.
Get Ready to Elevate Your Grill Game!
Discover the secrets to perfectly cooked Tri Tip.
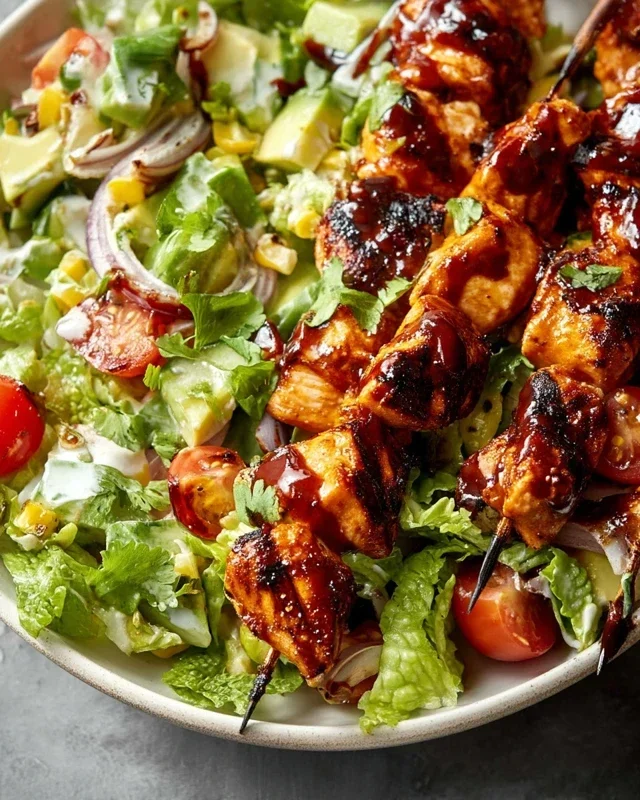
Tri Tip (2 Ways)
The tri tip roast, a flavorful and relatively lean cut from the bottom sirloin, is a fantastic choice for a weeknight meal or a weekend barbecue. Its triangular shape means it cooks quickly and evenly, making it forgiving for even novice cooks. What’s even better is its versatility – it can be prepared with minimal fuss for a simple, delicious outcome, or elevated with a bit of extra flavor and a different cooking method. Today, I’m going to show you my two favorite ways to prepare a tri tip: a classic grilled approach for that smoky char, and a pan-seared, oven-finished method for a perfectly tender and juicy interior.
Ingredients:
Method 1: The Classic Grilled Tri Tip
This method is all about that beautiful, smoky char you can only get from a grill. It’s straightforward and delivers incredible flavor.
Method 2: Pan-Seared and Oven-Finished Tri Tip
This method is perfect for when you want that beautiful, caramelized crust and a perfectly cooked interior without relying on the weather. It also gives you a bit more control over the cooking process.
Both of these methods yield a delicious tri tip that’s tender, flavorful, and incredibly satisfying. Enjoy experimenting and finding your favorite way to prepare this fantastic cut of beef!
Conclusion:
You’ve just unlocked the secret to incredible tri tip, a cut of beef that’s surprisingly affordable and outrageously delicious. We’ve explored two fantastic ways to prepare it, each bringin extractg out its unique tenderness and rich flavor. Whether you’re looking for a quick weeknight meal or a showstopper for a weekend gathering, these recipes are sure to impress. The beauty of tri tip lies in its versatility; it takes marinades beautifully and is perfect for grilling, roasting, or even smoking. Don’t be afraid to experiment with your favorite herbs and spices to make it your own!
For serving, imagin extracte slicing this perfectly cooked tri tip thinly and serving it with classic sides like garlic mashed potatoes, roasted asparagus, or a fresh green salad. It also makes phenomenal sandwiches or can be incorporated into tacos. I encourage you to give one of these recipes a try – you won’t be disappointed with the results!
Frequently Asked Questions:
What is the best way to slice tri tip?
For maximum tenderness, always slice your tri tip against the grain. Look for the direction of the muscle fibers and cut perpendicular to them. This breaks down the connective tissues, making each bite incredibly succulent.
Can I cook tri tip indoors?
Absolutely! If grilling isn’t an option, you can achieve fantastic results by searing your tri tip in a hot, oven-safe skillet on the stovetop until a beautiful crust forms, then finishing it in a preheated oven at around 400°F (200°C) until your desired internal temperature is reached.
Tri Tip (2 Ways)
A versatile tri-tip roast prepared two delicious ways: a classic seasoned roast and a flavorful marinated steak.
Ingredients
-
2 & 1/2 pound tri tip roast
-
1 & 1/2 teaspoons garlic salt
-
1 tablespoon Lawry’s seasoning salt
-
1 & 1/2 teaspoons kosher salt (Diamond Crystal)
-
1 teaspoon black pepper
-
1/2 teaspoon sugar
-
2 teaspoons garlic powder
-
1 tablespoon dried or fresh parsley
-
1/4 cup olive oil
-
1/4 cup soy sauce (for marinade)
-
2 tablespoons Worcestershire sauce (for marinade)
-
1 tablespoon Dijon mustard (for marinade)
Instructions
-
Step 1
Prepare the classic seasoned tri tip: Pat the tri tip dry. In a small bowl, mix together garlic salt, Lawry’s seasoning salt, kosher salt, black pepper, sugar, garlic powder, and parsley. -
Step 2
Rub the seasoning mixture all over the tri tip, ensuring it’s well coated. Let it sit at room temperature for at least 30 minutes, or up to 2 hours in the refrigerator. -
Step 3
Prepare the marinated tri tip: For the marinade, whisk together olive oil, soy sauce, Worcestershire sauce, and Dijon mustard in a bowl. -
Step 4
Cut another tri tip into 1-inch thick steaks. Place the steaks in a resealable bag with the marinade. Marinate in the refrigerator for at least 2 hours, or up to 6 hours. Remove steaks from marinade and pat dry before cooking. -
Step 5
Grill or roast both preparations at 225-250°F (107-121°C) until an internal temperature of 125°F (52°C) is reached for medium-rare. For the seasoned roast, increase heat to high for the last 5-10 minutes to sear. -
Step 6
Rest the tri tip for 15-20 minutes before slicing against the grain.
Important Information
Nutrition Facts (Per Serving)
It is important to consider this information as approximate and not to use it as definitive health advice.
Allergy Information
Please check ingredients for potential allergens and consult a health professional if in doubt.