Easy Sweet Sour Chicken Recipe-Flavorful & Quick Dinner
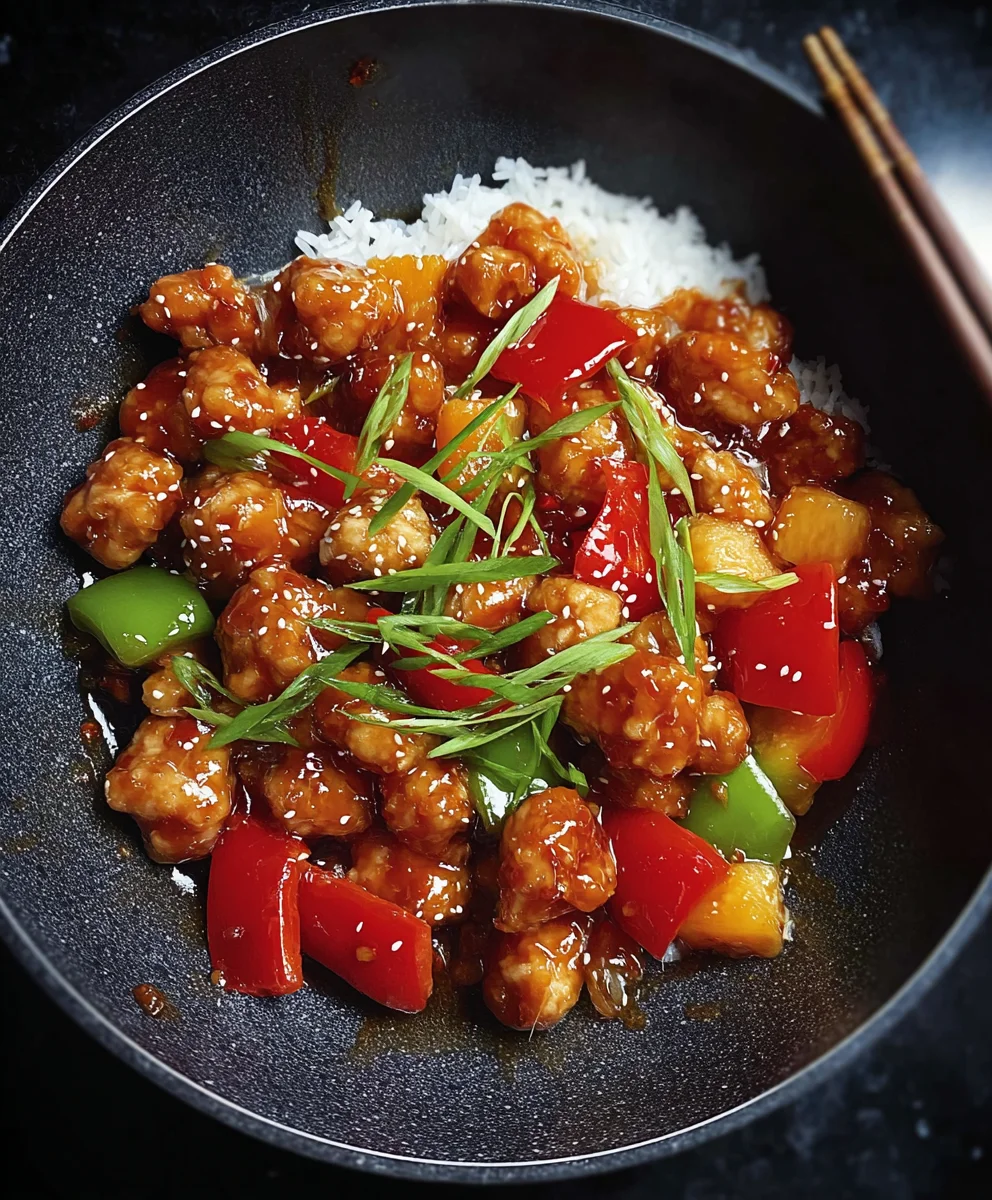
Sweet and Sour Chicken is a dish that evokes instant happiness for so many of us. It’s a perennial favorite on takeout menus and a beloved classic for a reason. What is it about that vibrant, tangy sauce coating perfectly crisp chicken pieces that makes it so irresistible? Perhaps it’s the delightful contrast between the savory crunch of the chicken and the bright, slightly sweet glaze, or maybe it’s the comforting familiarity of this iconic flavor profile. This recipe elevates that beloved Sweet and Sour Chicken beyond your average stir-fry, offering a homemade version that’s both healthier and more flavorful than you ever imagin extracted. We’re talking about achieving that restaurant-quality balance of sweet, sour, and savory right in your own kitchen, using fresh ingredients and a touch of culinary magic.
Discover the ultimate homemade
Sweet and Sour Chicken
Ingredients:
- 3 tablespoons white vinegar (rice or apple cider vinegar are good substitutes)
- 1/4 cup ketchup
- 1/4 cup granulated sugar
- 1/2 cup water
- 1/4 teaspoon red pepper flakes (use if you like a little heat, otherwise omit)
- 1 tablespoon soy sauce
- 2 teaspoons cornstarch
- 12 ounces boneless, skinless chicken thighs or breasts, cut into 1-inch pieces
- 1 egg white, lightly beaten
- 1/4 cup all-purpose flour
- 1/4 cup cornstarch
- 1 teaspoon baking powder
- Salt and freshly ground black pepper, to taste
- 1 medium white or yellow onion, cut into 1-inch pieces
- 1/2 red bell pepper (approximately 1 cup), cut into 1-inch pieces
Preparing the Sweet and Sour Sauce
This is where the magic happens! The sweet and sour sauce is the star of the show, providing that signature tang and sweetness that makes this dish so irresistible. It’s incredibly easy to make and elevates simple ingredients into something truly special.
Step 1: Combine Sauce Ingredients
In a small saucepan, combine the white vinegar, ketchup, granulated sugar, water, red pepper flakes (if using), and soy sauce. Give it a good whisk to ensure everything is well incorporated. This initial mixture forms the base of our delicious sauce.
Step 2: Thicken the Sauce
In a separate small bowl, whisk together the 2 teaspoons of cornstarch with about 2 tablespoons of the liquid from the saucepan until it forms a smooth slurry. This is important to prevent lumps. Pour this cornstarch slurry back into the saucepan with the rest of the sauce ingredients. Place the saucepan over medium heat. Stir constantly as the sauce heats up. You’ll notice it will begin extract to thicken quite rapidly. Continue to cook and stir for about 1 to 2 minutes after it has thickened to ensure the cornstarch is fully cooked and the sauce is glossy. Once thickened to your liking, remove it from the heat and set aside. It will continue to thicken slightly as it cools.
Cooking the Chicken
The chicken needs to be cooked to a perfect golden brown and crispy exterior while remaining tender and juicy on the inside. This coating technique ensures just that.
Step 3: Coat the Chicken
In a medium bowl, combine the 1/4 cup all-purpose flour, 1/4 cup cornstarch, baking powder, salt, and pepper. Whisk these dry ingredients together thoroughly. Add the 1-inch chicken pieces to this dry mixture and toss them to coat evenly. Once coated, pour the lightly beaten egg white over the floured chicken. Toss again to ensure each piece is lightly coated in the egg white. This egg white wash will help the final coating adhere better.
Step 4: Fry the Chicken
Heat about 1 to 2 inches of neutral cooking oil (like vegetable or canola oil) in a large skillet or wok over medium-high heat. The oil is ready when a small piece of chicken sizzles immediately upon contact. Carefully add the coated chicken pieces to the hot oil in batches. Be careful not to overcrowd the pan, as this will lower the oil temperature and result in greasy chicken instead of crispy chicken. Fry each batch for about 3-4 minutes per side, or until golden brown and cooked through. Use a slotted spoon to remove the crispy chicken from the oil and place it on a wire rack set over a baking sheet to drain any excess oil. This allows air to circulate and keeps the chicken nice and crisp. Repeat with remaining chicken pieces.
Assembling the Dish
Now it’s time to bring all the elements together for that classic Sweet and Sour Chicken experience.
Step 5: Sauté the Vegetables and Combine
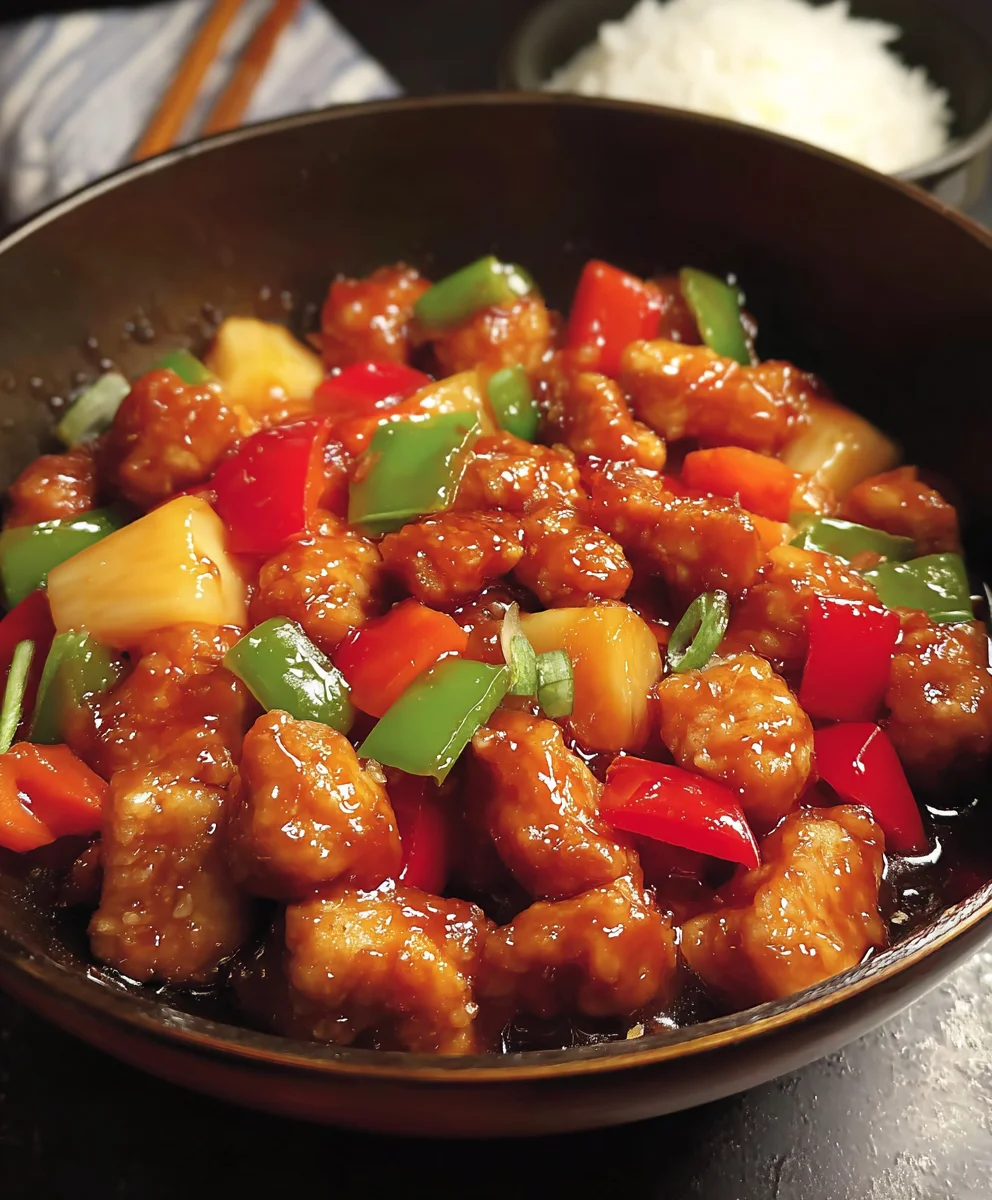
Once all the chicken is fried, pour out most of the oil from the skillet, leaving about 1 tablespoon for sautéing. Return the skillet to medium-high heat. Add the chopped onion and red bell pepper to the skillet. Stir-fry the vegetables for about 3-5 minutes, or until they are tender-crisp. You want them to still have a little bite to them, not be mushy. Pour the prepared sweet and sour sauce over the vegetables in the skillet. Stir to coat the vegetables. Then, add the fried chicken pieces back into the skillet with the sauced vegetables. Gently toss everything together until the chicken is evenly coated in the glistening sweet and sour sauce. Cook for another minute or two, just to heat everything through and allow the flavors to meld beautifully. Serve immediately over steamed rice.
Conclusion:
Congratulations on mastering the art of homemade Sweet and Sour Chicken! This recipe delivers that irresistible balance of tangy and sweet, with tender chicken pieces coated in a vibrant, flavorful sauce. It’s a dish that’s sure to become a family favorite, offering a delightful departure from takeout. The key lies in achieving the perfect sauce consistency and ensuring your chicken is cooked to juicy perfection. Don’t be afraid to adjust the sweetness and sourness to your personal preference – that’s the beauty of cooking from scratch!
For serving, consider pairing your Sweet and Sour Chicken with fluffy steamed white or brown rice to soak up all that delicious sauce. A side of stir-fried vegetables like broccoli, bell peppers, and snap peas adds freshness and a beautiful color contrast. For a more adventurous twist, try serving it with noodles or even as a topping for a loaded baked potato!
If you’re looking to switch things up, feel free to experiment with different vegetables, add a pinch of chili flakes for a touch of heat, or even incorporate pineapple chunks directly into the stir-fry for an extra burst of tropical sweetness. We encourage you to make this recipe your own and have fun in the kitchen!
Frequently Asked Questions:
Why is my Sweet and Sour Chicken sauce too thin?
If your sauce is too thin, it’s likely due to not cooking the sauce down enough or not using enough cornstarch slurry. Ensure you simmer the sauce for a few minutes until it thickens. If it’s still too thin after simmering, you can mix another tablespoon of cornstarch with a tablespoon of cold water and stir it into the simmering sauce, cooking for another minute until thickened.
Can I make Sweet and Sour Chicken ahead of time?
While the sauce can be made ahead and stored in the refrigerator, it’s best to cook the chicken and combine it with the sauce just before serving to maintain the crispiness of the chicken and the vibrant texture of the dish.
Easy Sweet Sour Chicken
A flavorful and quick dinner recipe for classic Sweet and Sour Chicken, featuring crispy chicken pieces coated in a tangy and sweet sauce with sautéed vegetables.
Ingredients
-
3 tablespoons white vinegar
-
1/4 cup ketchup
-
1/4 cup granulated sugar
-
1/2 cup water
-
1/4 teaspoon red pepper flakes
-
1 tablespoon soy sauce
-
2 teaspoons cornstarch
-
12 ounces boneless, skinless chicken thighs or breasts, cut into 1-inch pieces
-
1 egg white, lightly beaten
-
1/4 cup all-purpose flour
-
1/4 cup cornstarch
-
1 teaspoon baking powder
-
Salt and freshly ground black pepper, to taste
-
1 medium white or yellow onion, cut into 1-inch pieces
-
1/2 red bell pepper, cut into 1-inch pieces
Instructions
-
Step 1
In a small saucepan, combine the white vinegar, ketchup, granulated sugar, water, red pepper flakes (if using), and soy sauce. Whisk to combine. -
Step 2
In a separate small bowl, whisk 2 teaspoons of cornstarch with about 2 tablespoons of the liquid from the saucepan until smooth. Pour this slurry back into the saucepan. Heat over medium heat, stirring constantly, until the sauce thickens. Cook for 1-2 minutes after thickening, then remove from heat and set aside. -
Step 3
In a medium bowl, combine flour, 1/4 cup cornstarch, baking powder, salt, and pepper. Add chicken pieces and toss to coat. Pour beaten egg white over chicken and toss again to coat. -
Step 4
Heat 1-2 inches of neutral oil in a large skillet or wok over medium-high heat. Fry coated chicken in batches for 3-4 minutes per side until golden brown and cooked through. Drain on a wire rack. -
Step 5
Pour out most of the oil from the skillet, leaving about 1 tablespoon. Add chopped onion and red bell pepper and stir-fry for 3-5 minutes until tender-crisp. -
Step 6
Pour the sweet and sour sauce over the vegetables and stir to coat. Add the fried chicken back into the skillet and toss gently to coat everything. Cook for another 1-2 minutes to heat through and meld flavors. Serve immediately over steamed rice.
Important Information
Nutrition Facts (Per Serving)
It is important to consider this information as approximate and not to use it as definitive health advice.
Allergy Information
Please check ingredients for potential allergens and consult a health professional if in doubt.