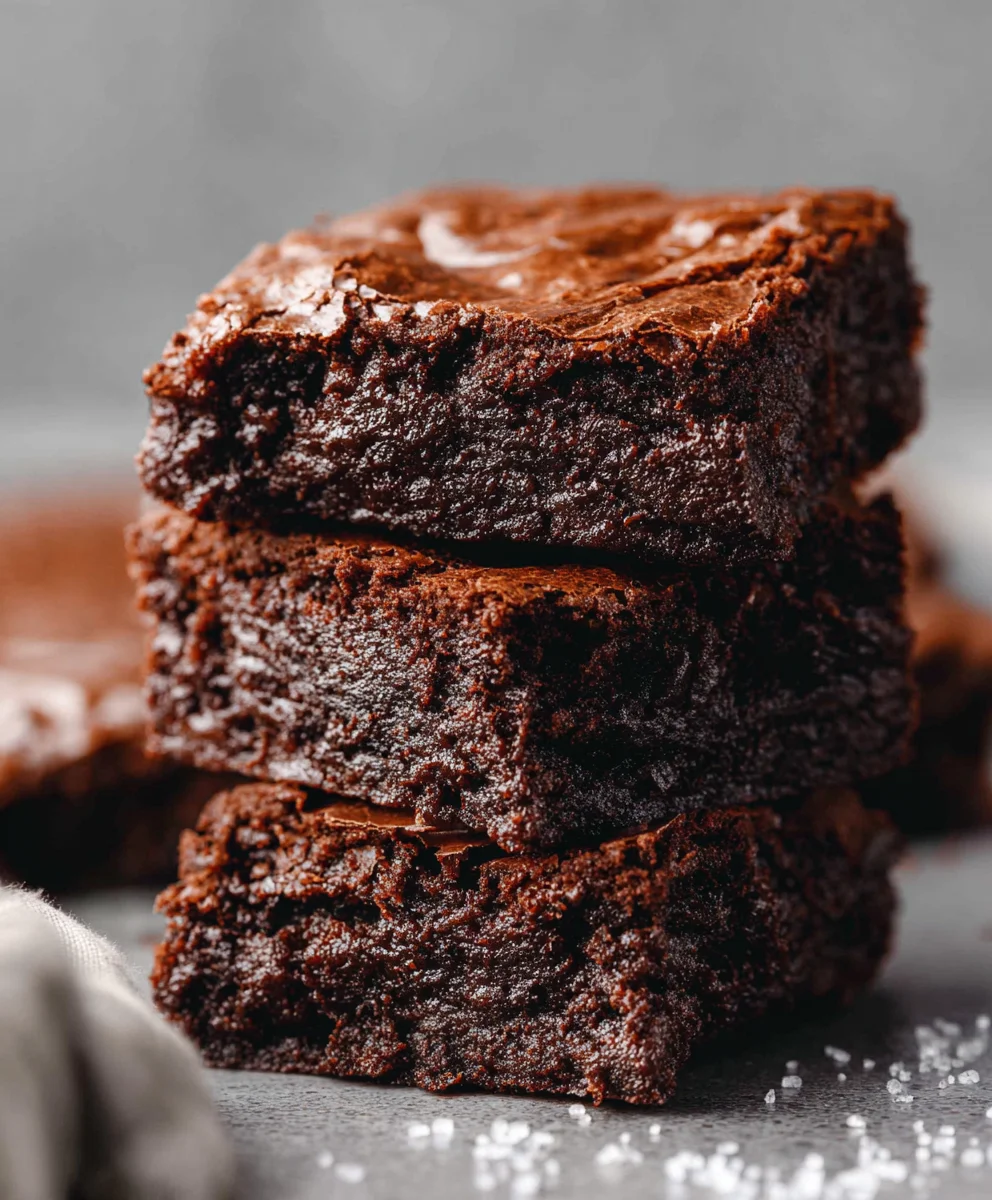
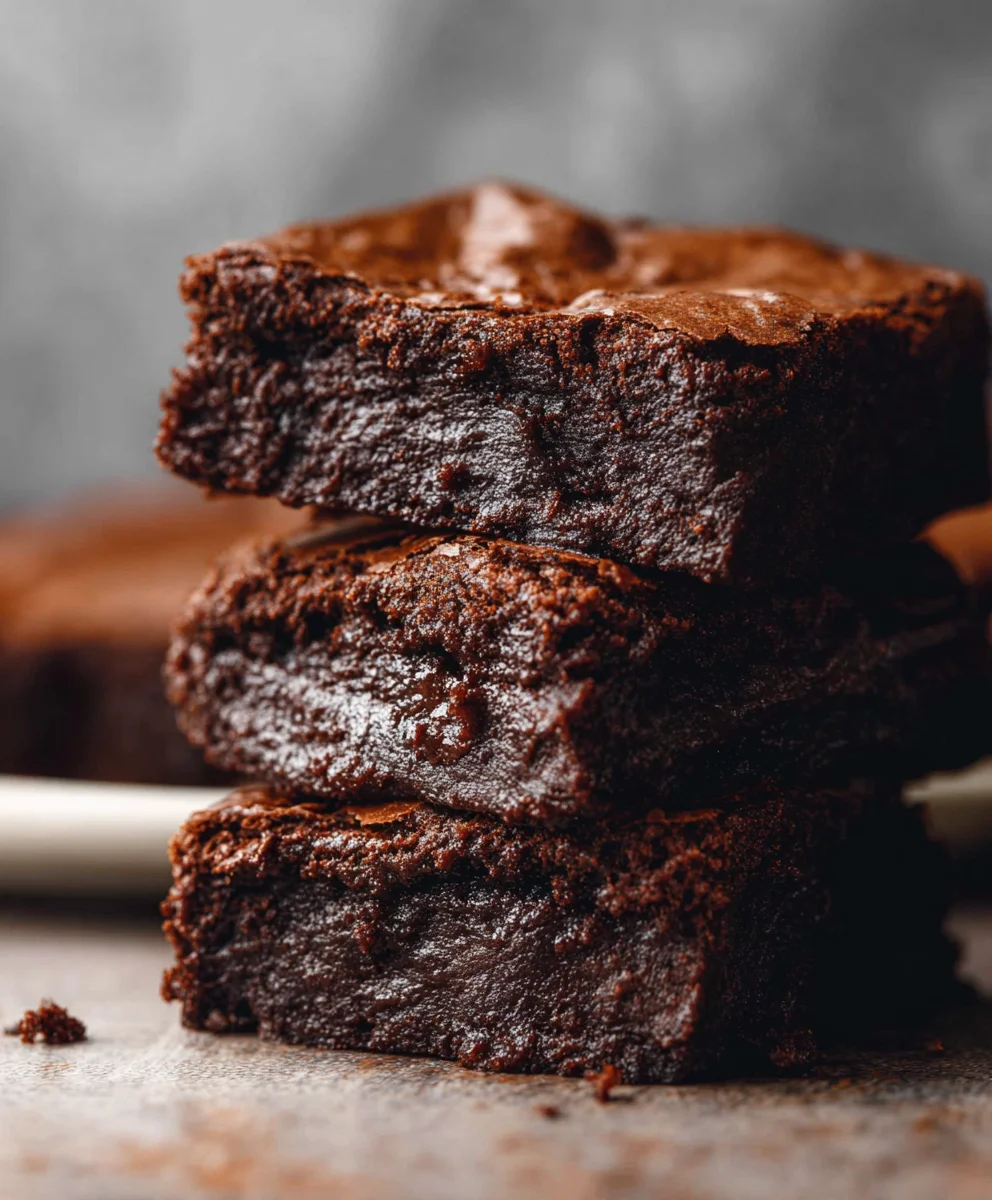
Easy Sourdough Discard Brownies – Rich Chocolate Treat
Easy Sourdough Discard Brownies are the ultimate indulgence for any baker looking to reduce waste and satisfy a serious chocolate craving. If you’ve ever found yourself with a surplus of sourdough starter, you know the dilemma: what to do with that precious discard? Instead of letting it languish, why not transform it into something utterly delicious and surprisingly simple? These brownies are a revelation, offering a fudgy, chewy texture with a deep, complex chocolate flavor that you won’t believe came from a discard recipe. People absolutely adore them because they strike that perfect balance between decadent dessert and resourceful baking. The subtle tang from the sourdough starter adds an unexpected depth that elevates these beyond your average brownie, making them a truly special treat that’s both incredibly satisfying and wonderfully easy to whip up, even on a busy weeknight.
Ingredients:
- 1/2 cup unsalted butter
- 1 1/2 cups semi-sweet chocolate chips (approximately 12 ounces)
- 1/2 cup unsweetened cocoa powder (Dutch-processed or regular works well)
- 2 teaspoons vanilla extract
- 2 large eggs
- 1 large egg yolk
- 1 cup granulated white sugar
- 1/2 cup packed light brown sugar
- 1/2 cup active sourdough starter discard (this is unfed, tangy starter)
- 1 cup all-purpose flour
- 1 teaspoon salt
Preparing Your Pan and Oven
Before you even think about mixing ingredients, get your baking environment ready. Preheat your oven to 350°F (175°C). This consistent temperature is crucial for even baking and achieving that perfect fudgy texture. Next, prepare your baking pan. An 8×8 inch (20×20 cm) square baking pan is ideal for achieving thick, chewy brownies. You can either grease the pan thoroughly with butter or cooking spray, or for an easier cleanup and lifting experience, line it with parchment paper. Make sure to let the parchment paper hang over the sides of the pan, creating “handles.” This will allow you to lift the entire brownie slab out of the pan in one piece once it’s cooled, making slicing a breeze.
Melting the Chocolate and Butter
This is where the magic begin extracts, creating that rich, decadent chocolate base. In a medium heatproof bowl, combine the 1/2 cup of unsalted butter and the 1 1/2 cups of semi-sweet chocolate chips. You have a couple of excellent methods for melting these together. The most common and perhaps easiest is the double boiler method. Place the bowl over a saucepan filled with about an inch of simmering water. Ensure the bottom of the bowl doesn’t touch the water. Stir gently and continuously until both the butter is fully melted and the chocolate chips have dissolved into a smooth, glossy mixture. Alternatively, you can use your microwave. Place the bowl in the microwave and heat in 30-second intervals, stirring well after each interval, until the butter is melted and the chocolate is smooth. Be cautious with the microwave to avoid scorching the chocolate; it’s better to under-melt and stir than to overheat. Once melted, remove the bowl from the heat and stir in the 1/2 cup of cocoa powder. Whisk until it’s fully incorporated and there are no dry pockets of cocoa remaining. This step intensifies the chocolate flavor and adds to the fudgy texture. Finally, stir in the 2 teaspoons of vanilla extract. The vanilla will round out the chocolate flavor beautifully. Set this mixture aside to cool slightly while you prepare the wet ingredients. It shouldn’t be hot when you add it to the eggs.
Combining Wet Ingredients and Sugar
In a separate large bowl, crack the 2 large eggs and add the extra egg yolk. The extra yolk contributes to a richer, more custardy texture, making your brownies extra fudgy. Add the 1 cup of granulated white sugar and the 1/2 cup of packed brown sugar to the eggs. Whisk these together vigorously for about 1 to 2 minutes, or until the mixture is lighter in color and slightly thickened. You’re aiming for a well-emulsified mixture where the sugars are starting to dissolve. Now, it’s time to introduce the sourdough starter discard. Gently whisk in the 1/2 cup of sourdough starter discard. Don’t overmix at this stage; you just want it to be incorporated. The sourdough discard adds a subtle tang and contributes to the chewy texture and complex flavor profile of these brownies. It also helps to tenderize the crum extractb. The slightly acidic nature of the discard can even help activate the baking soda if you were to use it, though it’s not necessary for this recipe.
Incorporating the Chocolate Mixture and Dry Ingredients
Carefully pour the slightly cooled chocolate and butter mixture into the wet ingredients. Gently fold them together using a spatula until just combined. Avoid overmixing, as this can lead to tougher brownies. Once the chocolate mixture is mostly incorporated, it’s time to add the dry ingredients. In a small separate bowl, whisk together the 1 cup of all-purpose flour and the 1 teaspoon of salt. This ensures that the salt is evenly distributed throughout the flour, preventing any salty pockets in your finished brownies. Gradually add the dry ingredients to the wet ingredients in two or three additions, folding gently after each addition until just combined. Again, the key here is to avoid overmixing. You want to see just a few streaks of flour remaining before you stop folding. Overdeveloping the gluten in the flour will result in a tougher brownie. The goal is a thick, glossy batter that will be rich and decadent.
Baking and Cooling for Perfect Texture
Pour the brownie batter into your prepared 8×8 inch (20×20 cm) baking pan. Use your spatula to spread the batter evenly into the corners and across the surface. Don’t try to make it perfectly smooth on top; the natural cracks that form during baking are part of their charm. Place the pan in the preheated oven and bake for 25-30 minutes. The exact baking time will depend on your oven. You’ll know they’re ready when the edges are set and a toothpick inserted into the center comes out withrum extractist crumbs attached, not wet batter. If you prefer a cakier brownie, you can bake them a minute or two longer. If you want them super fudgy, err on the shorter side of the baking time. Once baked, remove the pan from the oven and place it on a wire rack to cool completely. This is perhaps the most crucial step for achieving the perfect texture. Resist the urge to cut into them while they’re hot! Allowing them to cool completely (at least 2-3 hours, or even overnight) allows the brownies to set up, develop their fudgy texture, and makes them much easier to cut cleanly. Once cooled, use the parchment paper handles to lift the entire brownie slab out of the pan. Place it on a cutting board and slice into squares using a sharp knife. For extra fudgy brownies, you might even want to chill them in the refrigerator for about 30 minutes before cutting.
Conclusion:
I hope you’ve enjoyed learning how to make these absolutely decadent Easy Sourdough Discard Brownies! This recipe is a fantastic way to use up that precious sourdough discard and transform it into something truly special. The result is a rich, fudgy brownie with a delightful chegrape juicess and an irresistible chocolatey depth. They’re surprisingly simple to whip up, making them perfect for begin extractners and seasoned bakers alike.
These brownies are incredibly versatile. Serve them warm with a scoop of vanilla ice cream for a classic dessert experience. They also make a wonderful addition to any coffee break or afternoon tea. For an extra touch of indulgence, consider drizzling them with melted chocolate or a raspberry coulis.
Don’t be afraid to experiment with variations! You can easily add in chopped nuts like walnuts or pecans, a handful of chocolate chips for even more gooeyness, or even a sprinkle of sea salt on top for a delightful sweet and salty contrast. The possibilities are endless!
So go ahead, embrace your sourdough discard and bake a batch of these amazing brownies. I promise you won’t be disappointed. Happy baking!
Frequently Asked Questions:
Can I freeze Easy Sourdough Discard Brownies?
Absolutely! These brownies freeze beautifully. Once completely cooled, wrap them tightly in plastic wrap, then in aluminum foil or place them in an airtight container. They can be stored in the freezer for up to 3 months. Thaw them at room temperature before enjoying.
What if I don’t have sourdough discard?
While this recipe is specifically designed for sourdough discard, you can adapt it by substituting an equal amount of milk or buttermilk for the discard. However, please note that the unique tang and texture that sourdough discard provides will be absent.
Easy Sourdough Discard Brownies – Rich Chocolate Treat
Indulge in these incredibly rich and fudgy brownies, elevated by the subtle tang and unique texture of sourdough starter discard. A simple yet decadent chocolate treat.
Ingredients
-
1/2 cup unsalted butter
-
1 1/2 cups semi-sweet chocolate chips (approximately 12 ounces)
-
1/2 cup unsweetened cocoa powder
-
2 teaspoons vanilla extract
-
2 large eggs
-
1 large egg yolk
-
1 cup granulated white sugar
-
1/2 cup packed light brown sugar
-
1/2 cup active sourdough starter discard
-
1 cup all-purpose flour
-
1 teaspoon salt
Instructions
-
Step 1
Preheat your oven to 350°F (175°C). Prepare an 8×8 inch (20×20 cm) square baking pan by greasing it or lining it with parchment paper, leaving overhang for easy lifting. -
Step 2
Melt the butter and chocolate chips together using a double boiler or in the microwave in 30-second intervals, stirring until smooth. Stir in the cocoa powder until fully incorporated, then whisk in the vanilla extract. Set aside to cool slightly. -
Step 3
In a separate large bowl, whisk together the eggs, egg yolk, granulated white sugar, and brown sugar until lighter in color and slightly thickened. Gently whisk in the sourdough starter discard until just combined. -
Step 4
Pour the slightly cooled chocolate mixture into the wet ingredients and gently fold until just combined. In a small bowl, whisk together the flour and salt. Gradually add the dry ingredients to the wet ingredients in two or three additions, folding gently until just combined, avoiding overmixing. -
Step 5
Pour the batter into the prepared pan and spread evenly. Bake for 25-30 minutes, or until the edges are set and a toothpick inserted into the center comes out with moist crumbs attached. -
Step 6
Let the brownies cool completely in the pan on a wire rack (at least 2-3 hours, or even overnight) before lifting out and slicing. For extra fudgy brownies, chill for 30 minutes before cutting.
Important Information
Nutrition Facts (Per Serving)
It is important to consider this information as approximate and not to use it as definitive health advice.
Allergy Information
Please check ingredients for potential allergens and consult a health professional if in doubt.