Easy Pickled Red Onions- Quick Flavor Boost
Pickled red onions are more than just a condiment; they’re a culinary game-changer. Have you ever wondered how those vibrant pink strands magically elevate everything from tacos to salads to sandwiches? It’s no secret – it’s the magic of perfectly pickled red onions. These beauties are surprisingly simple to make, yet their impact on flavor is profound. We’re talking about a delightful balance of tangy, sweet, and slightly pungent, all wrapped up in a gorgeous, jewel-toned package. They cut through richness, add a welcome crunch, and inject a burst of freshness that can transform an ordinary meal into something extraordinary. Forget those store-bought versions; making your own pickled red onions allows you to control the brine’s sweetness and acidity, ensuring they are exactly to your liking. Get ready to unlock a new level of deliciousness in your kitchen!
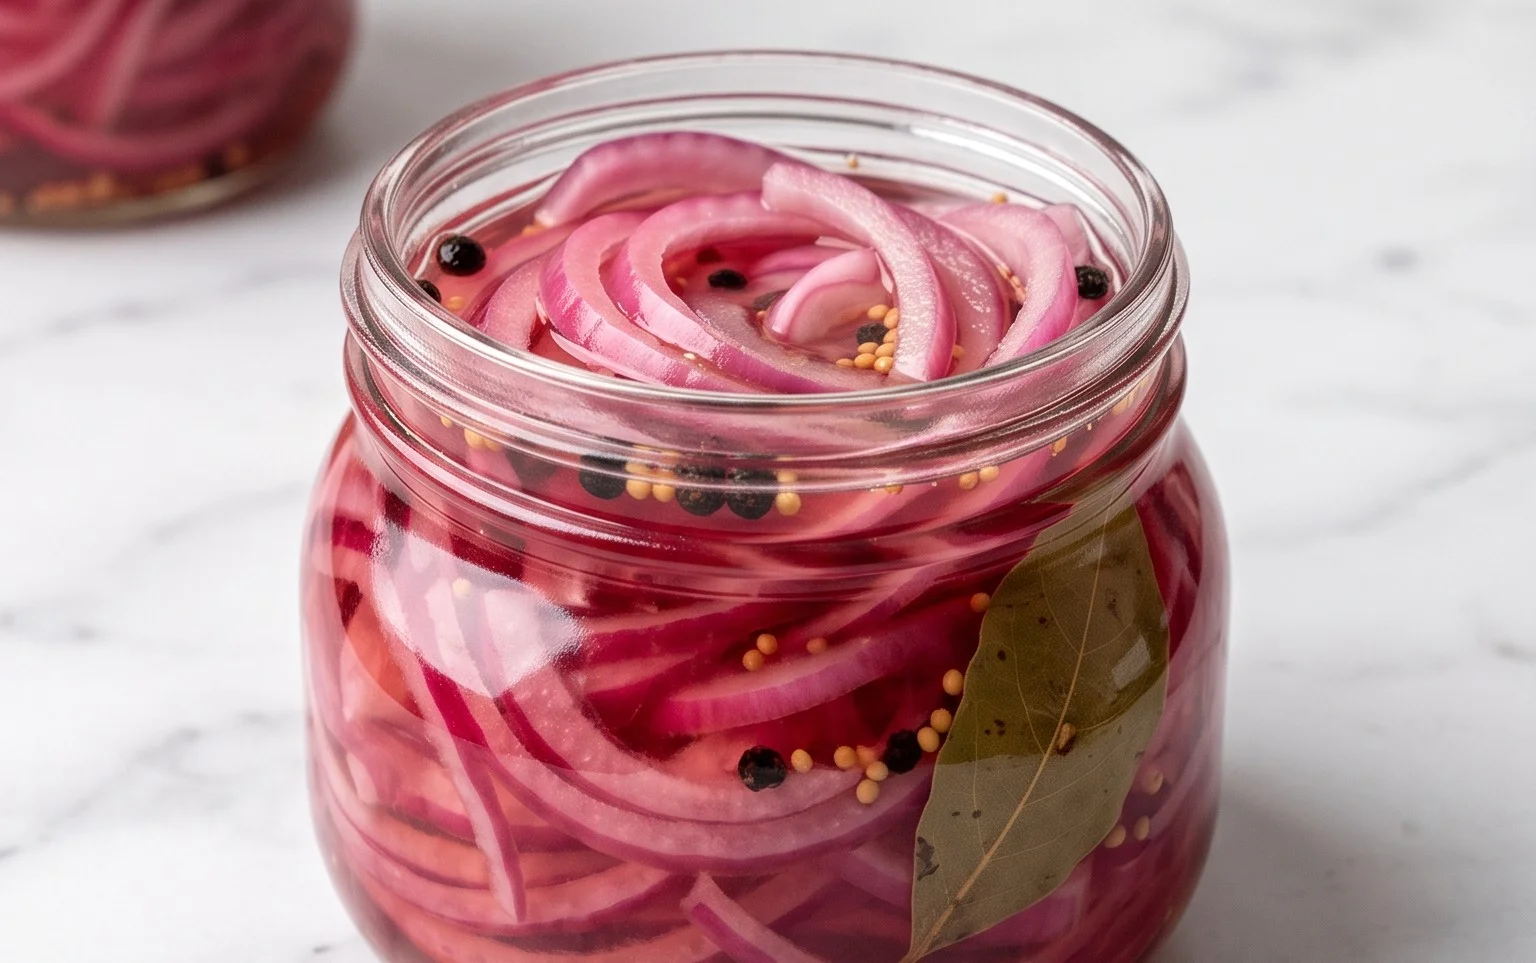
Pickled Red Onions
There’s something truly magical about the transformation that happens when humble red onions meet a tangy brine. In just a few hours, they shed their raw bite and become jewel-toned slivers of pure deliciousness. Pickled red onions are one of those kitchen staples that I find myself reaching for constantly. They add a vibrant pop of color and a delightful sweet-and-sour tang to everything from tacos and salads to sandwiches and grilled meats. What’s even better is how incredibly simple they are to make. You probably have most of the ingredients in your pantry right now. Forget those store-bought jars with their often overly processed flavors; making your own is a game-changer. The best part? You can customize them to your liking. Want them spicier? Add a pinch of red pepper flakes. Prefer them sweeter? A touch more sugar. But for a classic, perfectly balanced pickle, this recipe is your go-to. Let’s get started on creating this kitchen superhero!
Ingredients:
Making Your Pickled Red Onions
The process of pickling red onions is remarkably straightforward, and the payoff is immense. You’ll be amazed at how quickly these ingredients come together to create such a fantastic condiment.
Step 1: Prepare the Onion
Begin extract by peeling the red onion. It’s best to use a large onion for this recipe to yield a good quantity of pickles. Once peeled, you’ll want to slice it thinly. The thinner you slice the onion, the more quickly it will pickle and the more tender the resulting pickle will be. I like to aim for slices that are about 1/8 to 1/4 inch thick. A mandoline slicer is a fantastic tool for achieving uniform thinness, but a sharp knife works perfectly well too. If you’re using a knife, try to keep your slices as consistent as possible for even pickling. Once sliced, place all the onion rings into a heatproof bowl or a large jar that will hold them comfortably.
Step 2: Create the Brine
In a small saucepan, combine the white vinegar, water, sugar, and kosher salt. Place the saucepan over medium heat. Stir the ingredients gently until the sugar and salt have completely dissolved. You don’t need to bring this mixture to a rolling boil; just ensure everything is dissolved. This brine is the heart of the pickling process, and its balance of acidity and sweetness is key to achieving that signature pickled flavor. Taste the brine at this point; it should be pleasantly tangy and slightly sweet. If you find it too sharp, you can add a tiny bit more sugar. If you prefer a more vinegary kick, you can reduce the water slightly, but be mindful of the acidity.
Step 3: Combine and Submerge
Carefully pour the hot brine over the sliced red onions in the bowl or jar. Make sure that all the onion slices are fully submerged in the liquid. If they aren’t, you can gently press them down with a spoon or add a little more water and vinegar in equal parts to cover them. The hot brine will begin extract to soften the onions and start the pickling process immediately, causing them to turn a beautiful vibrant pink or magenta color. This color change is one of the most satisfying parts of making pickled onions! It’s a visual cue that the magic is happening.
Step 4: Let the Pickling Begin extract
Once the onions are submerged and the brine has cooled slightly, cover the bowl or jar. You can use plastic wrap for a bowl or the lid for a jar. At this stage, you have a few options. For a quick pickle that’s ready to eat within a few hours, you can let it sit at room temperature for about 30-60 minutes, stirring occasionally. However, for the best flavor and texture, I highly recommend letting them pickle in the refrigerator. This allows the flavors to meld beautifully and the onions to develop a perfect crisp-tender texture.
Step 5: Refrigerate and Enjoy
Once the initial cooling period at room temperature is complete (if you chose that option), transfer the container to the refrigerator. For the most optimal flavor, allow the pickled red onions to chill for at least 2 hours. However, I find that they are truly at their best after at least 6 hours, or even overnight. The longer they sit, the more the vinegar permeates the onion, softening it further and infusing it with that wonderful tangy flavor. You’ll notice the color intensifies over time. These pickled red onions will keep in the refrigerator for up to 2-3 weeks, making them a fantastic make-ahead condiment. They’re incredibly versatile – add them to avocado toast, top your burgers, stir them into grain bowls, or serve them alongside roasted vegetables. Enjoy your homemade burst of flavor!
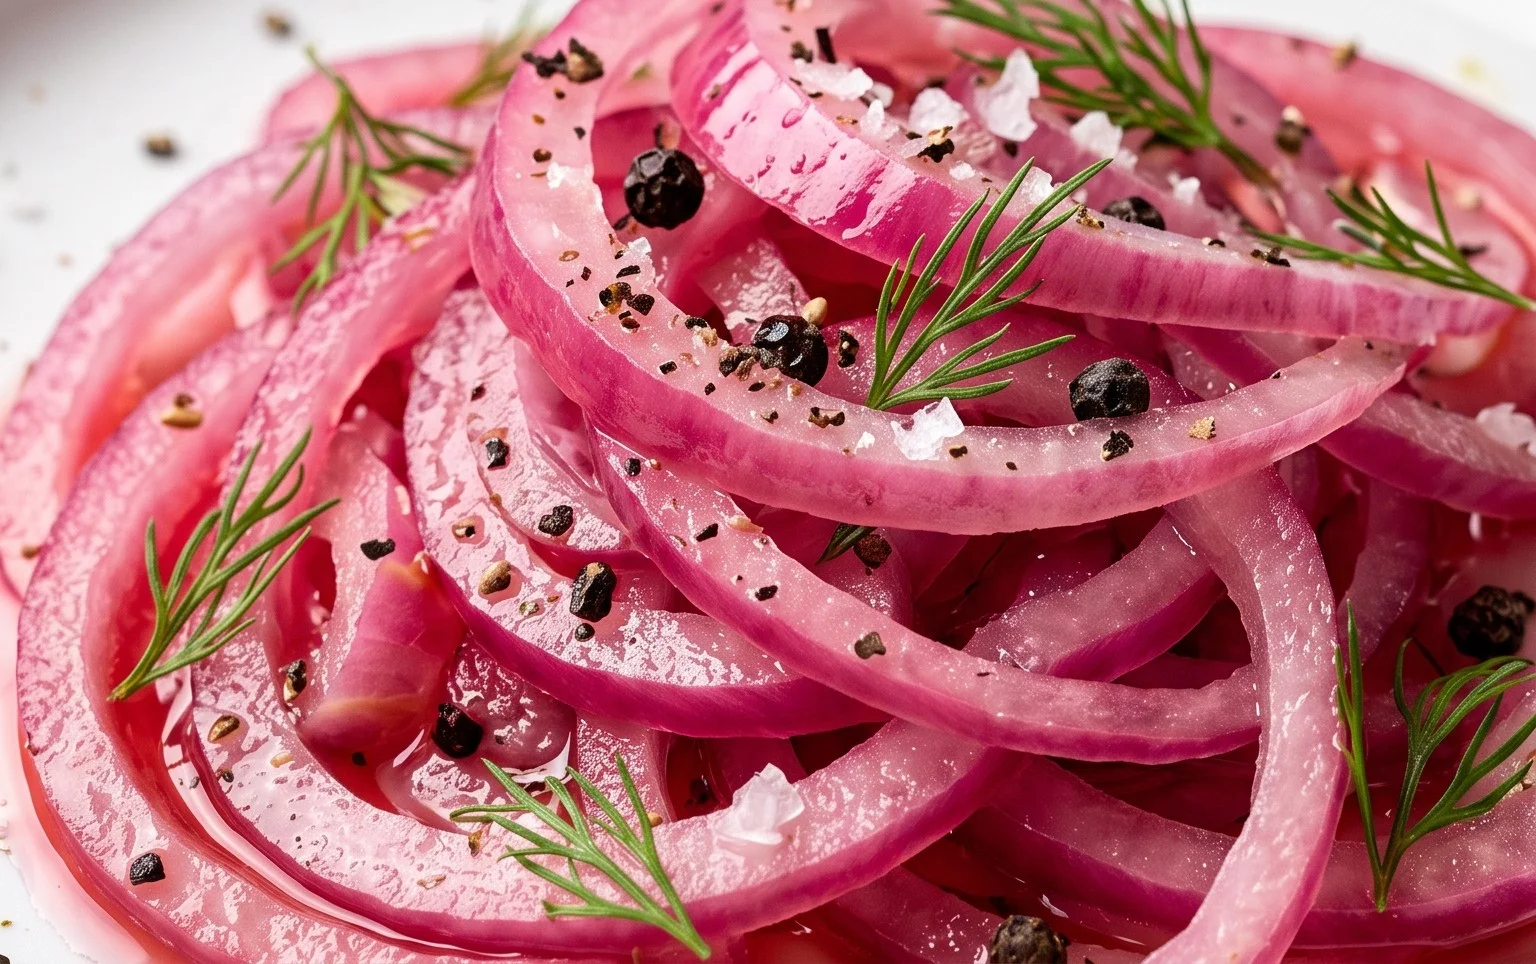
Conclusion:
There you have it! Crafting your own batch of vibrant, tangy pickled red onions is surprisingly simple and incredibly rewarding. This recipe is fantastic because it elevates so many dishes with just a few core ingredients and a little patience. The bright, slightly sweet, and zesty flavor of these pickled beauties adds a delightful pop to everything from tacos and salads to sandwiches and roasted vegetables. They’re not just a condiment; they’re a flavor enhancer that brings a gourmet touch to everyday meals.
Don’t be afraid to experiment! While the basic recipe is perfect, you can easily adapt it. Consider adding a pinch of chili flakes for a spicy kick, a sprig of fresh dill for an herbaceous note, or even a bay leaf for a subtle earthiness. The possibilities are endless, and the results are always delicious. So, I wholeheartedly encourage you to give this pickled red onion recipe a try. You’ll be amazed at how often you reach for them!
Frequently Asked Questions:
How long do pickled red onions last?
When stored in an airtight container in the refrigerator, your pickled red onions should stay fresh and delicious for at least 2 to 3 weeks. The longer they sit, the more the flavors meld and develop, so don’t be surprised if they get even better with time!
Can I use a different type of onion?
While red onions are ideal for their color and slightly sweeter flavor when pickled, you can certainly experiment with other onions. White or yellow onions will work, but they won’t achieve the striking pink hue. Sweet onions like Vidalia can also be pickled, offering a milder, sweeter result.
What is the best way to store them?
The best way to store your pickled red onions is in a clean, airtight glass jar or container. Make sure the onions are fully submerged in the pickling liquid. Keep the jar in the refrigerator until you’re ready to enjoy them. This ensures they maintain their quality and flavor for the longest possible time.
Quick Pickled Red Onions
Vibrant and tangy pickled red onions, perfect for adding a punch of flavor to salads, sandwiches, tacos, and more. Ready in under 30 minutes.
Ingredients
-
1 large Red onion, thinly sliced
-
1 cup White Vinegar
-
1 cup Water
-
1 tablespoon Granulated Sugar
-
2 teaspoons Kosher salt
-
1/2 teaspoon Black peppercorns
-
1 bay leaf
Instructions
-
Step 1
Thinly slice the red onion. You can use a mandoline for even slices. -
Step 2
In a small saucepan, combine the white vinegar, water, sugar, and kosher salt. -
Step 3
Heat the mixture over medium heat, stirring until the sugar and salt are completely dissolved. Do not boil. -
Step 4
Place the sliced red onions in a heatproof jar or bowl. Add the black peppercorns and bay leaf. -
Step 5
Carefully pour the hot brine over the sliced onions, ensuring they are fully submerged. -
Step 6
Let the mixture cool at room temperature for about 15-20 minutes. The onions will turn a brighter pink color. -
Step 7
Transfer to an airtight container and refrigerate. They are best after at least 30 minutes, but can be enjoyed for up to 2 weeks.
Important Information
Nutrition Facts (Per Serving)
It is important to consider this information as approximate and not to use it as definitive health advice.
Allergy Information
Please check ingredients for potential allergens and consult a health professional if in doubt.