Easy Pasta Salad Recipe- Delicious & Quick Meal
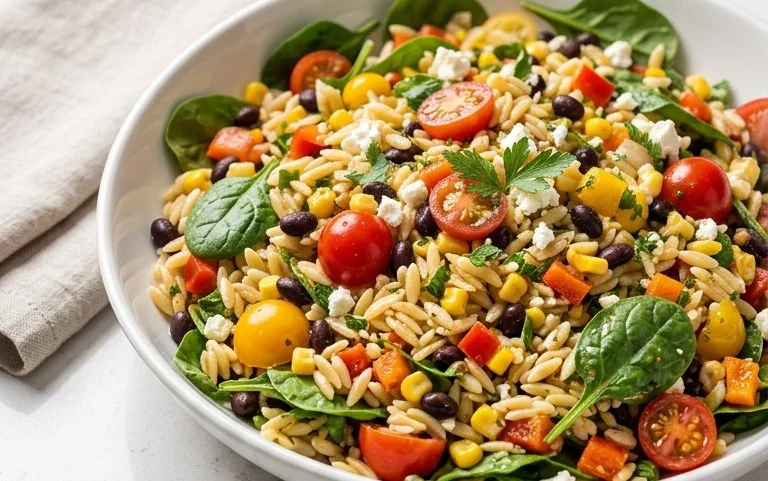
Pasta salad recipe perfection is just a few simple steps away! Are you ready to elevate your picnic, potluck, or weeknight dinner game? We all know and love pasta salad for its incredible versatility and crowd-pleasing nature. It’s that effortless dish that always brings a smile to everyone’s face. But what truly makes a standout pasta salad recipe? It’s the perfect balance of textures, a vibrant dressing that sings with flavor, and fresh ingredients that pop. Forget those bland, mayo-heavy versions of yesteryear. This recipe is designed to be light, bright, and bursting with deliciousness. Get ready to discover your new go-to pasta salad recipe that will have everyone asking for seconds (and thirds!).
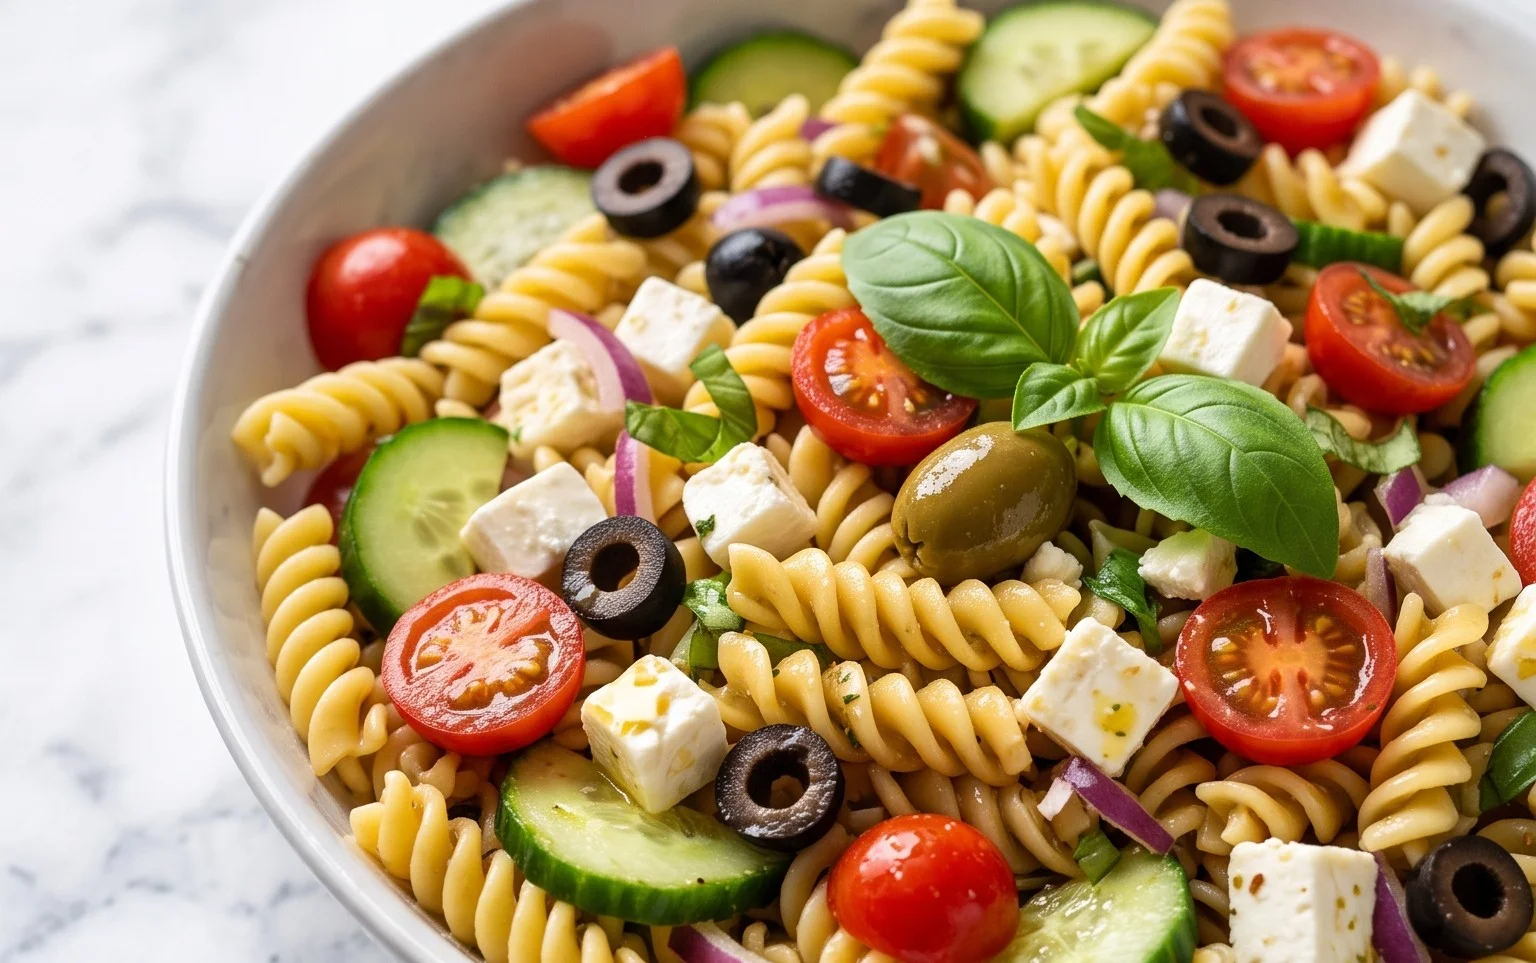
Ingredients:
Crafting Your Perfect Pasta Salad
Pasta salad is one of those culinary superheroes that’s both incredibly easy to make and endlessly adaptable. It’s the ultimate potluck dish, the perfect picnic companion, and a fantastic make-ahead meal for busy weeknights. This recipe focuses on fresh, vibrant flavors and textures that come together beautifully in every bite. We’re using classic ingredients that are readily available, but don’t be afraid to get creative and swap things out based on your preferences or what you have on hand. The beauty of pasta salad lies in its versatility, so consider this a delicious starting point!
The foundation of any great pasta salad is, of course, the pasta. Rotini, with its delightful spirals, does a superb job of catching all the dressing and little bits of vegetables. However, if rotini isn’t your go-to, feel free to use fusilli, penne, or even bow-tie pasta. The key is to choose a shape that holds up well to tossing and has nooks and crannies for the dressing to cling to. Cooking the pasta to al dente is crucial – you don’t want mushy pasta!
Cooking Instructions
Prepare the Pasta:
Begin extract by bringin extractg a large pot of generously salted water to a rolling boil over high heat. Add the 16 ounces of rotini (or your chosen pasta shape) to the boiling water. Stir the pasta occasionally to prevent it from sticking together. Cook the pasta according to the package directions for al dente, which usually means cooking it until it’s tender but still has a slight bite to it. This is important because the pasta will continue to cook slightly as it cools and absorbs the dressing. Once cooked to perfection, drain the pasta thoroughly in a colander. Rinse the pasta immediately with cold water. This step is vital for stopping the cooking process and preventing the pasta from becoming gummy. Once drained, set the pasta aside to cool completely. This might take about 10-15 minutes. You can even spread it out on a baking sheet to speed up the cooling process.
Chop and Combine the Fresh Ingredients:
While the pasta is cooling, it’s time to prepare your fresh vegetables. Wash and chop the 1 medium English cucumber into bite-sized pieces. If you’re using a regular cucumber, you might want to scoop out the seeds before chopping to avoid a watery salad. Halve the 1 pint of grape tomatoes. Chop the 1 small bell pepper (any color will work beautifully here for visual appeal and a touch of sweetness) into pieces roughly the same size as the cucumber. Finely dice the ¼ cup of red onion. If you find raw red onion a bit too pungent, you can soak the diced onion in cold water for about 10 minutes and then drain it well – this helps to mellow its flavor. Alternatively, you can use thinly sliced green onions for a milder, fresher onion taste.
Assemble the Salad Base:
In a large mixing bowl, combine the cooled, drained pasta with the prepared cucumber, halved grape tomatoes, chopped bell pepper, and diced red onion (or green onions). If you’re including the optional black olives, add them now as well. Gently toss these ingredients together to distribute them evenly.
Dress and Season:
Now comes the part where all the flavors start to meld! Pour the 1 cup of Italian dressing over the pasta and vegetable mixture. If you’re using a homemade dressing, ensure it’s well-emulsified before adding. Add the 3 tablespoons of chopped fresh parsley for a burst of herbaceous freshness. Season generously with salt and freshly ground black pepper. Start with about ½ teaspoon of salt and ¼ teaspoon of black pepper and then adjust to your taste later. Toss everything gently but thoroughly to ensure that every piece of pasta and vegetable is coated in the delicious dressing.
Add the Feta and Chill:
Crum extractble the ⅔ cup of feta cheese over the dressed pasta salad. Gently fold in the feta cheese, trying not to break it down too much, so you get lovely pockets of creamy, tangy cheese in every bite. At this point, you have a few options: you can serve the pasta salad immediately, or, for the best flavor, cover the bowl tightly with plastic wrap or a lid and refrigerate it for at least 30 minutes, or ideally for a couple of hours. This chilling time allows all the flavors to meld together beautifully and the pasta to absorb more of the dressing. Before serving, give the salad another gentle toss and taste it, adjusting the salt and pepper if necessary. You might find you want a little more dressing or perhaps another pinch of salt.
Notes and Variations:
Conclusion:
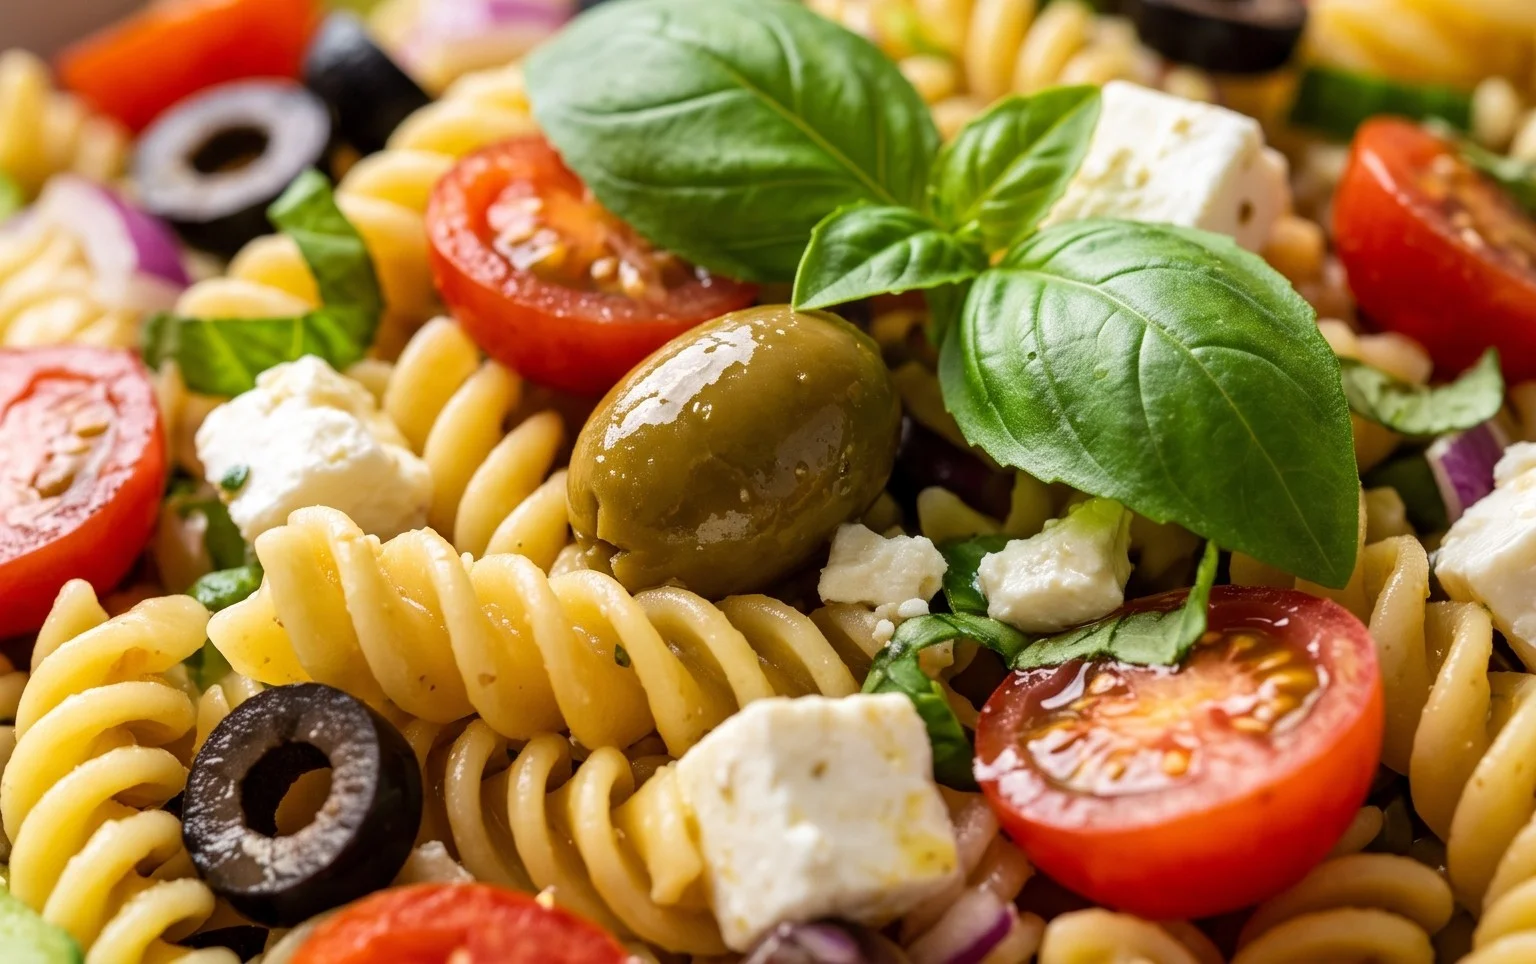
There you have it! This pasta salad recipe is a true crowd-pleaser, perfect for potlucks, picnics, or even a light and satisfying weeknight meal. Its versatility and incredible flavor make it a go-to for so many occasions. We love how easily it comes together, with minimal fuss and maximum deliciousness. The combination of perfectly cooked pasta, vibrant vegetables, and a zesty dressing creates a harmonious blend of textures and tastes that is simply irresistible. Don’t be afraid to get creative and make this pasta salad your own!
This delightful pasta salad is fantastic served chilled as a side dish to grilled meats or fish, or as a main course for a lighter lunch. It also makes for a fantastic packed lunch. For some exciting variations, consider adding grilled chicken or shrimp for extra protein, or perhaps some crum extractbled feta cheese for a salty tang. You could also swap out the vegetables for whatever is in season – cherry tomatoes, corn, or even roasted red peppers are wonderful additions. We truly encourage you to give this recipe a try; you won’t be disappointed!
Frequently Asked Questions:
Can I make this pasta salad ahead of time?
Absolutely! In fact, pasta salad often tastes even better the next day as the flavors have more time to meld together. Just store it in an airtight container in the refrigerator. You may need to add a splash more dressing before serving if the pasta has absorbed too much.
What kind of pasta is best for pasta salad?
Short, sturdy pasta shapes like rotini, fusilli, farfalle (bow-tie), or penne work wonderfully. They hold up well to the dressing and provide a good texture for all the ingredients to cling to.
How long will this pasta salad last in the refrigerator?
This pasta salad will typically stay fresh and delicious in an airtight container in the refrigerator for 3-4 days. Always ensure it’s properly chilled and hasn’t been left at room temperature for too long.
Pasta Salad Recipe
A refreshing and flavorful pasta salad perfect for picnics and potlucks, featuring crisp vegetables and tangy Italian dressing.
Ingredients
-
16 ounces rotini
-
1 medium English cucumber, chopped
-
1 pint grape tomatoes, halved
-
1 small bell pepper, chopped
-
¼ cup finely diced red onion
-
1 cup Italian dressing
-
¼ cup sliced black olives
-
3 tablespoons chopped fresh parsley
-
⅔ cup crumbled feta cheese
-
salt and black pepper to taste
Instructions
-
Step 1
Cook rotini according to package directions. Drain and rinse with cold water. -
Step 2
In a large bowl, combine the cooked rotini, chopped English cucumber, halved grape tomatoes, chopped bell pepper, and diced red onion. -
Step 3
Add the Italian dressing and sliced black olives (if using). -
Step 4
Gently toss all ingredients until well combined. -
Step 5
Stir in the chopped fresh parsley and crumbled feta cheese. -
Step 6
Season with salt and black pepper to taste. Chill for at least 30 minutes before serving.
Important Information
Nutrition Facts (Per Serving)
It is important to consider this information as approximate and not to use it as definitive health advice.
Allergy Information
Please check ingredients for potential allergens and consult a health professional if in doubt.