Easy Homemade Fruit Leather Recipe – Delicious Snack
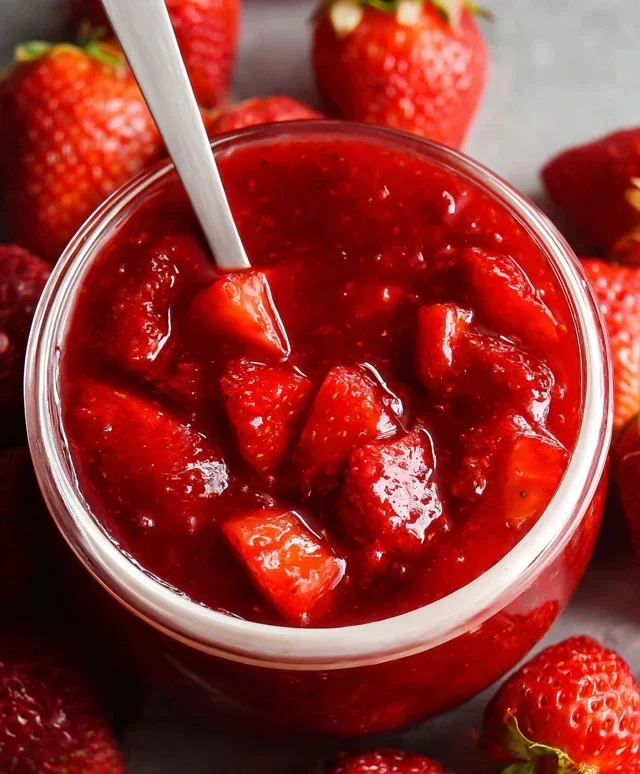
Homemade Fruit Leather Recipe is a delightful journey into creating your own vibrant, chewy, and intensely flavorful candy. Forget those artificially flavored store-bought strips; this homemade fruit leather recipe puts you in complete control of the taste, texture, and ingredients. There’s a unique satisfaction in transforming ripe, seasonal fruits into these sweet, portable treats. What makes fruit leather so universally loved? It’s the pure, unadulterated taste of fruit, concentrated into a satisfyingly chewy snack. It’s the perfect way to preserve the bounty of summer or to create a healthy alternative for school lunches and on-the-go energy boosts. This homemade fruit leather recipe is incredibly versatile, allowing you to experiment with countless fruit combinations, from classic apple and strawberry to exotic mango and passionfruit. Get ready to impress yourself and your loved ones with this wonderfully simple, yet incredibly rewarding, homemade fruit leather recipe.
Homemade Fruit Leather Recipe
There’s something incredibly satisfying about creating your own snacks, and fruit leather is a prime example. It’s a wonderfully chewy, intensely flavored treat that’s perfect for lunchboxes, a healthy after-school snack, or even a guilt-free dessert. Making fruit leather at home is surprisingly simple, requiring only a few basic ingredients and a little patience. Forget the store-bought versions packed with artificial flavors and preservatives; this homemade recipe allows you to control exactly what goes in and results in a pure, delicious fruit experience. The beauty of fruit leather is its versatility – you can use almost any fruit you have on hand, from classic strawberries and apples to more exotic mangoes and peaches.
Ingredients:
Preparing Your Fruit
The first step in making fantastic fruit leather is selecting and preparing your fruit. For this recipe, we’re starting with 2 cups of chopped fruit. The type of fruit you choose will significantly impact the final flavor and texture. Berries like strawberries, raspberries, and blueberries are fantastic because they are naturally sweet and vibrant. Apples, when cooked down, create a wonderfully smooth and slightly tart base. Peaches and mangoes offer a tropical sweetness and a lovely silky texture. You can even combine fruits for a more complex flavor profile – imagin extracte strawberry-rhubarb or apple-cinnamon!
When chopping your fruit, aim for relatively uniform pieces. If you’re using apples or pears, you can leave the skin on for added fiber and color, but be sure to remove the core and any seeds. For softer fruits like berries, you might just need to hull them or remove stems. The key is to ensure that the fruit will break down easily during the cooking process. If you’re using larger, firmer fruits, you might consider a quick steam or boil before blending to soften them further, though this isn’t strictly necessary for most fruits.
Cooking and Blending the Fruit Puree
Once your fruit is chopped, it’s time to begin extract the cooking process. This step helps to soften the fruit, release its natural juices, and begin extract the thickening process. You can do this in a saucepan over medium heat, stirring occasionally, until the fruit begin extracts to break down and become soft. Alternatively, for a quicker method, you can steam the fruit or even microwave it in a covered dish until tender.
After the fruit has softened, we’ll add our other ingredients. The 3 tablespoons of white sugar will not only sweeten the fruit leather but also act as a natural preservative and contribute to its chewy texture. If your fruit is particularly sweet, you can reduce the sugar slightly, but remember that the dehydration process concentrates flavors, so a little sweetness goes a long way. The juice of half a lemon is crucial. Lemon juice adds a bright, fresh acidity that balances the sweetness of the fruit and sugar. It also helps to preserve the vibrant color of the fruit, preventing it from browning too much during the drying process.
Once all the ingredients are combined in the saucepan, continue to cook for about 5-10 minutes, stirring frequently, until the fruit is very soft and has released a good amount of liquid. Then, it’s time to blend. You can use an immersion blender directly in the saucepan, or transfer the mixture to a regular blender or food processor. Blend until the mixture is completely smooth and free of any chunks. The consistency should be similar to applesauce. If it seems too thick, you can add a tablespoon or two of water or fruit juice to reach the desired smoothness.
Dehydrating Your Fruit Leather
Now comes the most important part: drying. There are a few methods you can use, but the goal is to remove most of the moisture from the fruit puree, leaving you with a pliable, chewy sheet.
Oven Dehydration: This is a popular and accessible method. Preheat your oven to its lowest setting, typically around 170-200°F (77-93°C). Line a baking sheet with parchment paper or a silicone baking mat. Spread the fruit puree evenly over the prepared baking sheet. Aim for a thickness of about ¼ inch. You want to ensure an even layer so that the fruit leather dries uniformly. You can use an offset spatula or the back of a spoon to spread it out. Some people like to bake with the oven door slightly ajar to allow moisture to escape more efficiently, but keep an eye on it to prevent over-drying or burning. This process can take anywhere from 4 to 12 hours, depending on your oven, the thickness of your puree, and the humidity. Check it periodically. You’ll know it’s ready when the surface is no longer sticky to the touch and the leather peels easily from the parchment paper.
Food Dehydrator: If you have a food dehydrator, this is an even easier method. Follow your dehydrator’s instructions for making fruit leather. Typically, you’ll spread the puree onto the dehydrator trays lined with fruit leather sheets, set the temperature (usually around 135°F or 57°C), and let it run until done, which can take 6-10 hours.
Sun Drying (for very dry climates): In exceptionally dry and sunny climates, you can attempt to sun-dry your fruit leather. Spread the puree thinly on screens covered with cheesecloth and place them in direct sunlight. This method is less reliable and takes longer, but can be a fun, natural option if conditions are right.
Cooling and Storing Your Homemade Fruit Leather
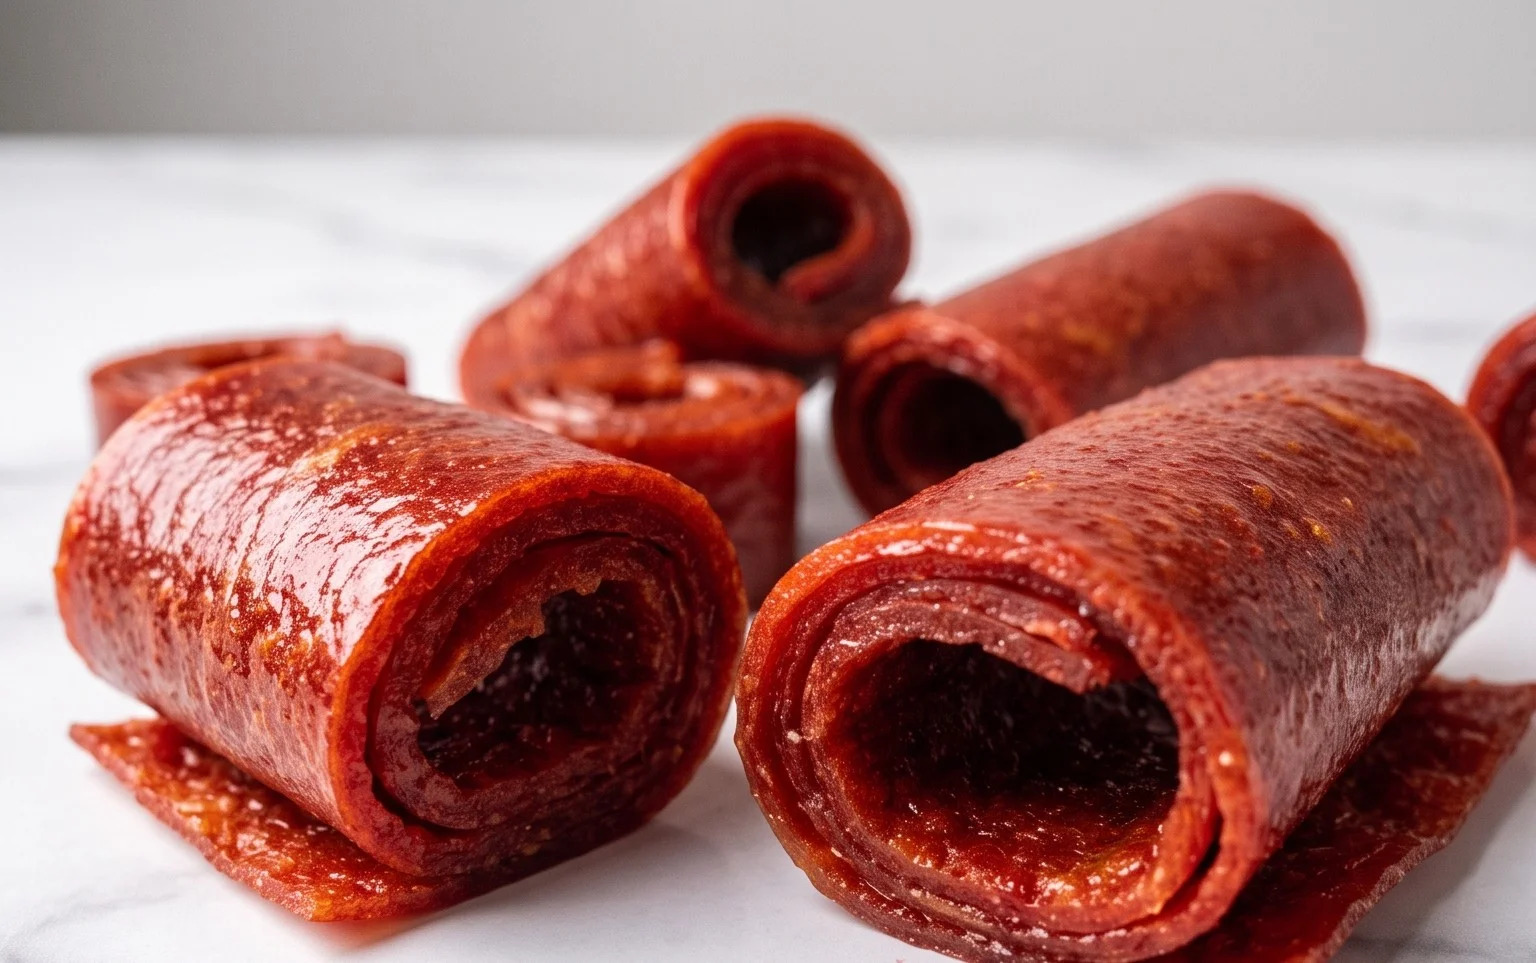
Once your fruit leather has reached the desired consistency, carefully remove the baking sheet from the oven or dehydrator. Allow the fruit leather to cool completely on the baking sheet. This is a crucial step, as it will firm up further as it cools. Once cooled, gently peel the fruit leather from the parchment paper or silicone mat.
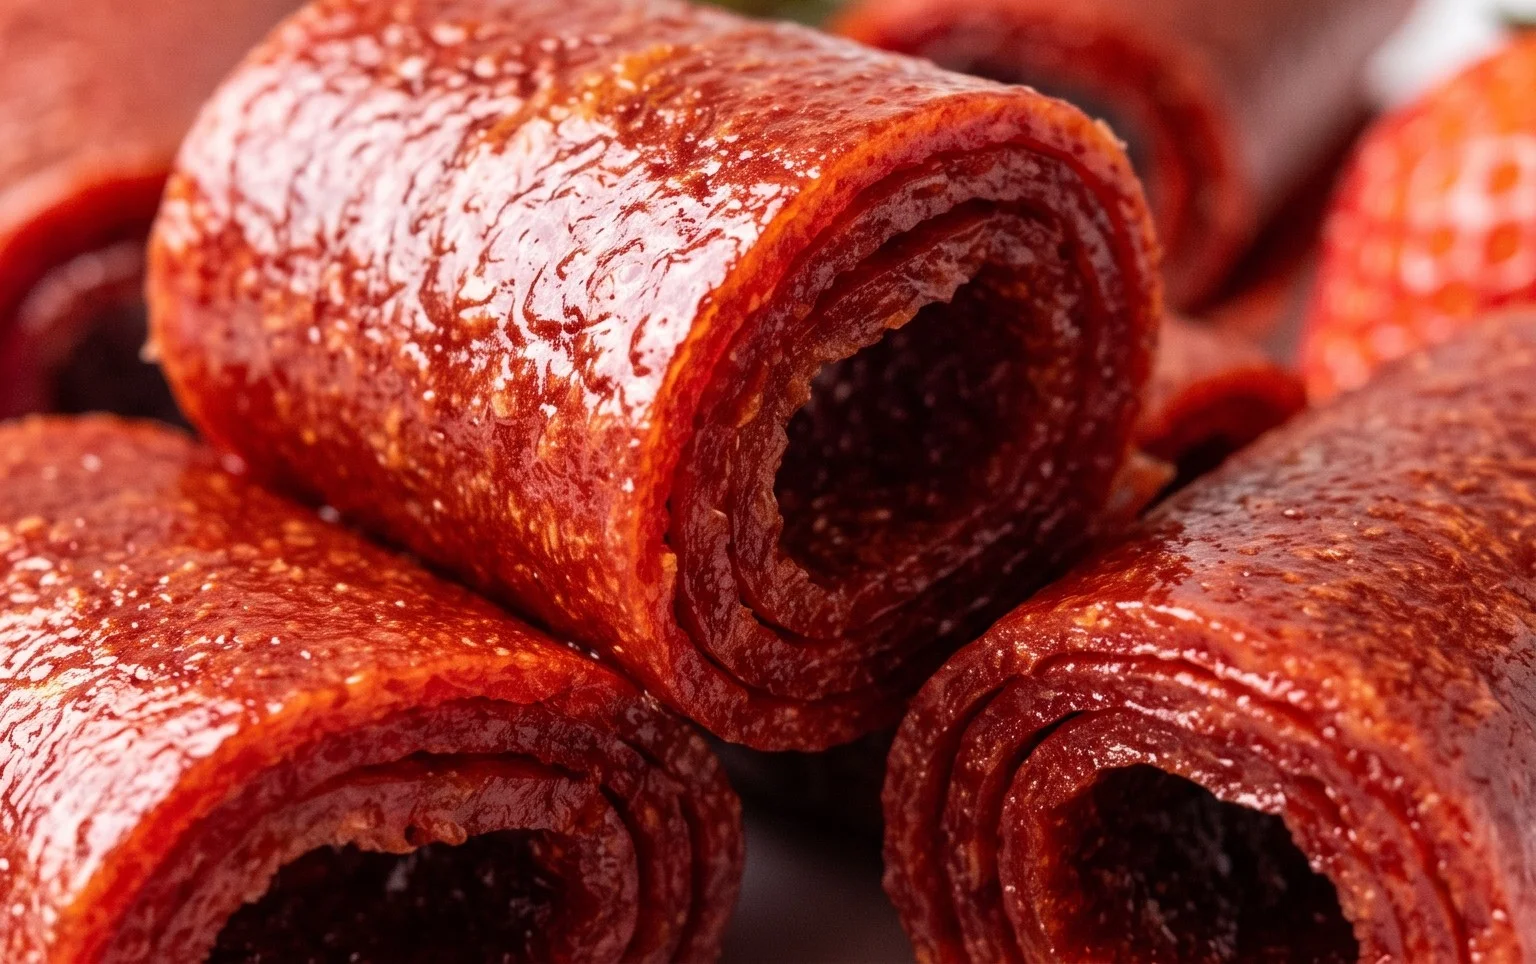
You can then cut or roll your fruit leather into strips or squares. To store it, roll up individual strips tightly or cut it into desired shapes. It’s best to store homemade fruit leather in airtight containers or wrap individual pieces in wax paper or parchment paper. It can be kept at room temperature for a week or two, or in the refrigerator for longer storage, up to a month. For even longer storage, you can freeze fruit leather. Properly stored, this delicious homemade fruit leather will be a go-to snack for weeks to come! Enjoy the pure taste of fruit!
Conclusion:
I hope you’re as excited as I am to give this homemade fruit leather recipe a try! Making your own fruit leather is incredibly rewarding, not only because you end up with a delicious and healthy snack but also because it’s a fantastic way to preserve fresh fruit. The process is simple, requires minimal ingredients, and the taste is so much richer and more vibrant than store-bought versions. You control the sweetness, the ingredients, and the texture. It’s a guilt-free treat that the whole family will adore. These vibrant strips are perfect for lunchboxes, after-school snacks, or even a healthy dessert. Don’t hesitate to experiment with different fruit combinations to discover your personal favorites!
Serving Suggestions and Variations:
Enjoy your homemade fruit leather as is, or get creative! You can cut it into fun shapes using cookie cutters for an extra special touch. It’s also wonderful served alongside yogurt, cottage cheese, or even as a topping for ice cream. For variations, consider adding a pinch of cinnamon or a hint of gin extractger for warmth, or a splash of lemon or lime juice for extra tang. Blending in a small amount of unsweetened applesauce can also adjust the texture and add a subtle flavor. The possibilities are truly endless!
Frequently Asked Questions:
How long does homemade fruit leather last?
Stored properly in an airtight container at room temperature, your homemade fruit leather can last for up to a month. For longer storage, you can keep it in the refrigerator for even longer, or freeze it for several months. Make sure it’s completely cooled and senon-alcoholic aled well to prevent moisture from affecting its texture.
Can I make fruit leather without a dehydrator?
Absolutely! While a dehydrator is convenient, you can achieve excellent results using your oven. Simply set your oven to its lowest temperature (usually around 170°F or 75°C), prop the oven door open slightly with a wooden spoon to allow moisture to escape, and bake until the leather is pliable and no longer sticky. This method might take a bit longer than a dehydrator, so keep an eye on it.
What are the best fruits to use for fruit leather?
Almost any fruit works wonderfully! Berries like strawberries, raspberries, and blueberries are excellent choices due to their natural sweetness and vibrant colors. Stone fruits such as peaches, apricots, and plums also create a lovely texture. Apples and pears are classic options that are readily available. Don’t be afraid to mix and match for unique flavor profiles. For a tarter flavor, you can also incorporate fruits like kiwi or cranberries.
Homemade Fruit Leather
A simple and delicious way to preserve fresh fruit into a sweet and chewy treat.
Ingredients
-
2 cups fruit, chopped
-
3 tbsp white sugar
-
½ whole lemon, just the juice
-
1 tsp cornstarch
-
Pinch of salt
Instructions
-
Step 1
Prepare your fruit by washing, chopping, and removing any pits or seeds. If using large fruit, ensure it’s cut into manageable pieces. -
Step 2
Combine the chopped fruit in a blender or food processor. Blend until completely smooth, adding a tablespoon of water if needed to help it blend. -
Step 3
Pour the fruit puree into a saucepan. Add the white sugar, lemon juice, cornstarch, and pinch of salt. Stir well to combine. -
Step 4
Cook the mixture over medium heat, stirring constantly, until it thickens to a pudding-like consistency, about 5-10 minutes. -
Step 5
Preheat your oven to its lowest setting, ideally around 170°F (75°C). Line a baking sheet with parchment paper or a silicone baking mat, ensuring it’s smooth. -
Step 6
Pour the thickened fruit mixture onto the prepared baking sheet. Spread it evenly into a thin, uniform layer (about 1/8 inch thick). -
Step 7
Bake in the preheated oven for 4-8 hours, or until the fruit leather is no longer sticky to the touch and peels easily from the parchment paper. The time will vary depending on oven temperature and thickness. -
Step 8
Once completely cooled, carefully peel the fruit leather from the parchment paper. Slice into desired shapes or roll into logs.
Important Information
Nutrition Facts (Per Serving)
It is important to consider this information as approximate and not to use it as definitive health advice.
Allergy Information
Please check ingredients for potential allergens and consult a health professional if in doubt.