Easy Chocolate M&M Brownies-Quick & Delicious Treat
Easy Chocolate M&M Brownies are an absolute game-changer for any sweet tooth! Who doesn’t love that perfect balance of rich, fudgy chocolate with the satisfying crunch and burst of color from M&M’s? These aren’t just any brownies; they’re a crowd-pleasing masterpiece that transforms a simple dessert into something truly celebratory. What makes them so special? It’s the effortless magic that happens when gooey, decadent chocolate batter meets those iconic, candy-coated delights. You get all the comforting, homemade brownie goodness without any of the fuss. They’re perfect for birthdays, holiday gatherings, or just a Tuesday afternoon when you need a little pick-me-up. Get ready to impress yourself and everyone lucky enough to snag a bite of these irresistible Easy Chocolate M&M Brownies!
Ingredients:
- 1½ cups granulated sugar
- ½ cup powdered sugar
- 3 large eggs
- 1 large egg yolk
- ½ cup unsalted butter, melted and slightly cooled
- ½ cup vegetable or canola oil
- 1 teaspoon pure vanilla extract
- 1 cup all-purpose flour
- 1 cup unsweetened cocoa powder
- 1 tablespoon cornstarch
- 1 teaspoon salt
- ⅓ cup semi-sweet chocolate chips
- ¾ cup regular M&M’s
- ½ cup mini M&M’s
Getting Started: Prepping Your Workspace and Pans
Preheat and Prepare
The first step to achieving perfect Easy Chocolate M&M Brownies is to get your oven and baking pan ready. Preheat your oven to 350°F (175°C). This ensures that when your brownie batter goes in, it starts baking immediately and evenly. Next, you’ll want to prepare your baking pan. A 9×13 inch baking pan is ideal for this recipe, as it provides enough surface area for the brownies to bake to the perfect thickness. To prevent sticking and make cleanup a breeze, generously grease the pan with butter or cooking spray. For an even easier removal and cleaner edges, you can also line the pan with parchment paper, leaving a slight overhang on the sides. This parchment paper “sling” makes lifting the entire slab of brownies out of the pan much simpler.
Crafting the Rich Brownie Batter
Wet Ingredients Symphony
In a large mixing bowl, combine the melted and slightly cooled unsalted butter with the vegetable or canola oil. Whisk these together until they are well incorporated. This combination of fats contributes to both the fudgy texture and the rich flavor of the brownies. Next, add the granulated sugar and powdered sugar to the butter and oil mixture. Whisk vigorously until the sugars are fully dissolved and the mixture appears smooth and glossy. Don’t rush this step; ensuring the sugars are well incorporated will result in a more desirable texture in your finished brownies. Now, it’s time to add the eggs. Crack in the 3 large eggs, one at a time, whisking well after each addition. Then, add the single egg yolk. This extra yolk is a secret weapon for ultra-rich, decadent brownies, providing an extra boost of fat and emulsification. Continue whisking until everything is thoroughly combined and the batter is smooth and slightly thickened. Finally, stir in the pure vanilla extract for that classic warm aroma and flavor that complements the chocolate so beautifully.
Dry Ingredients Fusion
In a separate medium-sized bowl, whisk together the all-purpose flour, unsweetened cocoa powder, cornstarch, and salt. It’s important to whisk these dry ingredients thoroughly. This ensures that the leavening agent (if you were using one, though cornstarch helps here) and salt are evenly distributed throughout the flour, preventing any pockets of uneven flavor or texture. Sifting these dry ingredients is an optional but highly recommended step, especially for the cocoa powder, as it helps to break up any lumps and create an even smoother batter.
Combining Wet and Dry
Now comes the exciting part: bringin extractg the wet and dry ingredients together. Gradually add the dry ingredient mixture to the wet ingredient mixture. Use a spatula or a wooden spoon to gently fold the dry ingredients into the wet. Be careful not to overmix. Mix just until there are no visible streaks of flour remaining. Overmixing can develop the gluten in the flour, leading to tougher brownies, and we want ours to be delightfully fudgy and tender.
The M&M and Chocolate Chip Delight
Folding in the Goodies
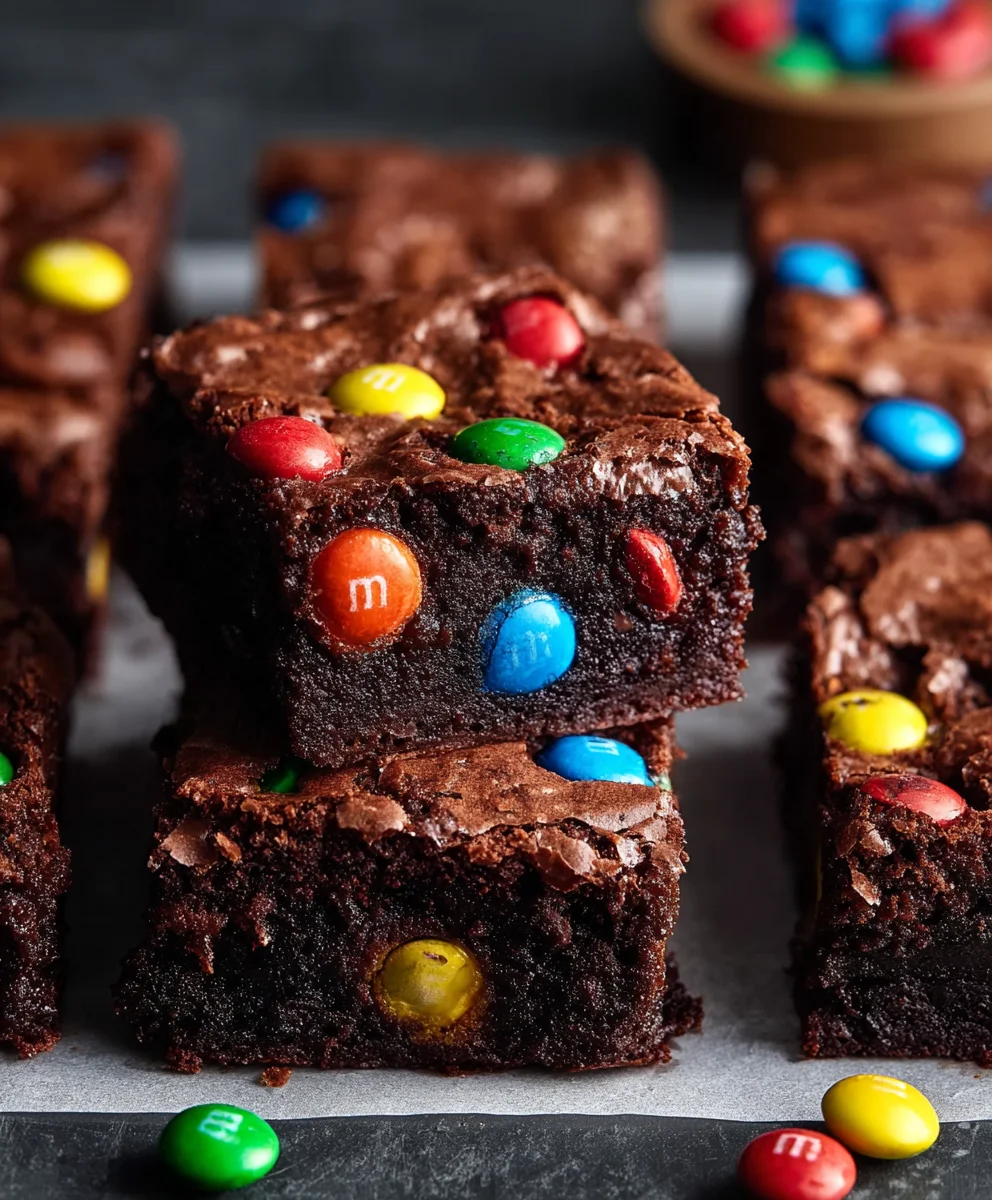
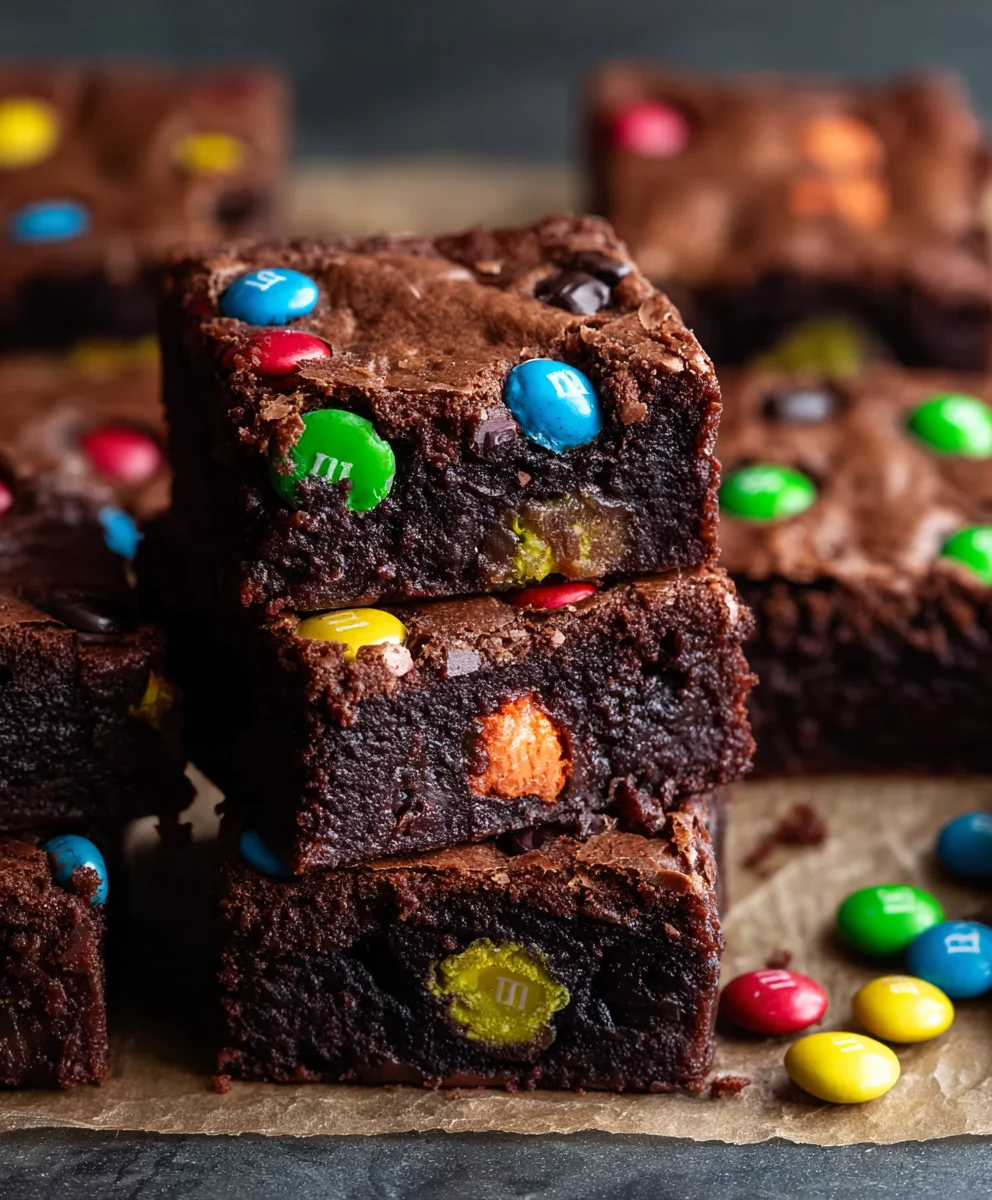
Once your brownie batter is just combined, it’s time to add the star players: the chocolate chips and M&M’s! Gently fold in the semi-sweet chocolate chips, ¾ cup of regular M&M’s, and ½ cup of mini M&M’s. Reserve a small handful of the regular M&M’s to sprinkle on top before baking for an extra visual appeal and burst of color. The regular M&M’s will give you those classic candy-coated bursts of flavor and texture, while the mini M&M’s will distribute more evenly throughout the batter, ensuring every bite has that delightful crunch.
Baking Your Masterpiece
The Oven’s Embrace
Pour the brownie batter evenly into your prepared baking pan. Spread it out with your spatula, ensuring it reaches all the corners. Now, sprinkle the reserved regular M&M’s over the top of the batter. This not only looks fantastic but also guarantees a delightful pop of color and sweetness on the surface. Place the pan in your preheated oven.
Baking to Perfection
Bake for approximately 25 to 30 minutes. The exact baking time will depend on your oven. You’ll know they’re ready when the edges are set and pulling away slightly from the sides of the pan, and a toothpick inserted into the center comes out with moist crum extractbs attached. A fewrum extractist crumbs are good; if it comes out completely clean, they might be overbaked.
Cooling and Enjoying
The Crucial Cooling Period
This is arguably the hardest part, but crucial for the best texture. Once baked, carefully remove the pan from the oven. Let the brownies cool in the pan on a wire rack for at least 30 minutes before attempting to cut them. This cooling time allows the brownies to set properly. If you try to cut them while they are still warm and gooey, they will likely fall apart. For the cleanest cuts, and if you can resist the urge, let them cool completely. You can even pop them in the refrigerator for a bit once they’re mostly cool to achieve super sharp edges when cutting. Once cooled enough, use the parchment paper sling to lift the entire slab out of the pan and place it on a cutting board. Cut into squares using a sharp knife.
Conclusion:
And there you have it – the ultimate guide to crafting these delightful Easy Chocolate M&M Brownies! This recipe is designed for both seasoned bakers and begin extractners alike, ensuring a foolproof path to fudgy, chewy perfection. The rich chocolate base, studded with colorful M&Ms, creates a delightful contrast in texture and flavor that’s sure to be a crowd-pleaser. These brownies are incredibly versatile, making them perfect for any occasion, from a casual weeknight treat to a celebratory dessert. Serve them warm with a scoop of vanilla ice cream for an extra decadent experience, or simply enjoy them at room temperature with a cold glass of milk.
Don’t be afraid to experiment with variations! You can swap out the M&Ms for other candies like mini chocolate chips, peanut butter chips, or even chopped nuts for a different flavor profile. Consider adding a pinch of sea salt on top before baking to enhance the chocolate notes. The possibilities are endless, and the joy of creating these Easy Chocolate M&M Brownies is truly rewarding. So gather your ingredients, preheat your oven, and get ready to bake some happiness!
Frequently Asked Questions:
What makes these brownies “easy”?
This recipe is considered easy because it uses simple ingredients, straightforward steps, and doesn’t require any complex techniques. The one-bowl mixing method also minimizes cleanup, making the entire process less dauntingin extractor beginners.
Can I use other types of chocolate chips instead of M&Ms?
Absolutely! While M&Ms add a fun pop of color and crunch, you can easily substitute them with semi-sweet chocolate chips, milk chocolate chips, white chocolate chips, or even a mix of your favorites. Chopped nuts are also a great addition if you prefer a nutty texture.
How should I store leftover Easy Chocolate M&M Brownies?
To keep your Easy Chocolate M&M Brownies fresh and fudgy, store them in an airtight container at room temperature for up to 3-4 days. If you live in a warm climate or want them to last longer, you can refrigerate them, though they might become a bit firmer.
Easy Chocolate M&M Brownies-Quick & Delicious Treat
Whip up these quick and delicious Easy Chocolate M&M Brownies for a delightful treat. Loaded with chocolate chips and colorful M&M’s, these fudgy brownies are perfect for any occasion.
Ingredients
-
1½ cups granulated sugar
-
½ cup powdered sugar
-
3 large eggs
-
1 large egg yolk
-
½ cup unsalted butter, melted and slightly cooled
-
½ cup vegetable or canola oil
-
1 teaspoon pure vanilla extract
-
1 cup all-purpose flour
-
1 cup unsweetened cocoa powder
-
1 tablespoon cornstarch
-
1 teaspoon salt
-
⅓ cup semi-sweet chocolate chips
-
¾ cup regular M&M’s
-
½ cup mini M&M’s
Instructions
-
Step 1
Preheat your oven to 350°F (175°C). Grease and line a 9×13 inch baking pan with parchment paper. -
Step 2
In a large bowl, whisk together melted butter, oil, granulated sugar, and powdered sugar until smooth and glossy. Add eggs one at a time, whisking well after each. Stir in the egg yolk and vanilla extract. -
Step 3
In a separate bowl, whisk together flour, cocoa powder, cornstarch, and salt. -
Step 4
Gradually add the dry ingredients to the wet ingredients, mixing gently with a spatula until just combined. Do not overmix. -
Step 5
Fold in the semi-sweet chocolate chips, regular M&M’s, and mini M&M’s. Reserve a handful of regular M&M’s for topping. -
Step 6
Pour batter into the prepared pan, spread evenly, and sprinkle with reserved M&M’s. -
Step 7
Bake for 25-30 minutes, or until a toothpick inserted into the center comes out with moist crumbs attached. -
Step 8
Let cool in the pan for at least 30 minutes before lifting out with the parchment paper and cutting into squares.
Important Information
Nutrition Facts (Per Serving)
It is important to consider this information as approximate and not to use it as definitive health advice.
Allergy Information
Please check ingredients for potential allergens and consult a health professional if in doubt.