Classic Pasta Salad Recipe- Perfect Summer Side
Classic Pasta Salad is more than just a side dish; it’s a summer picnic staple, a potluck hero, and a reliably delicious option that brings people together. What is it about this simple yet satisfying creation that makes it so universally loved? Perhaps it’s the perfect balance of textures – the al dente bite of the pasta, the crispness of fresh vegetables, and the creamy embrace of a flavorful dressing. Or maybe it’s the sheer versatility, allowing us to customize it with our favorite ingredients, from robust beef salami and sharp cheddar to vibrant bell peppers and briny olives. This isn’t just any pasta salad; our classic pasta salad recipe is designed to deliver that nostalgic, comforting taste we all crave, elevating your next gathering with its timeless appeal.
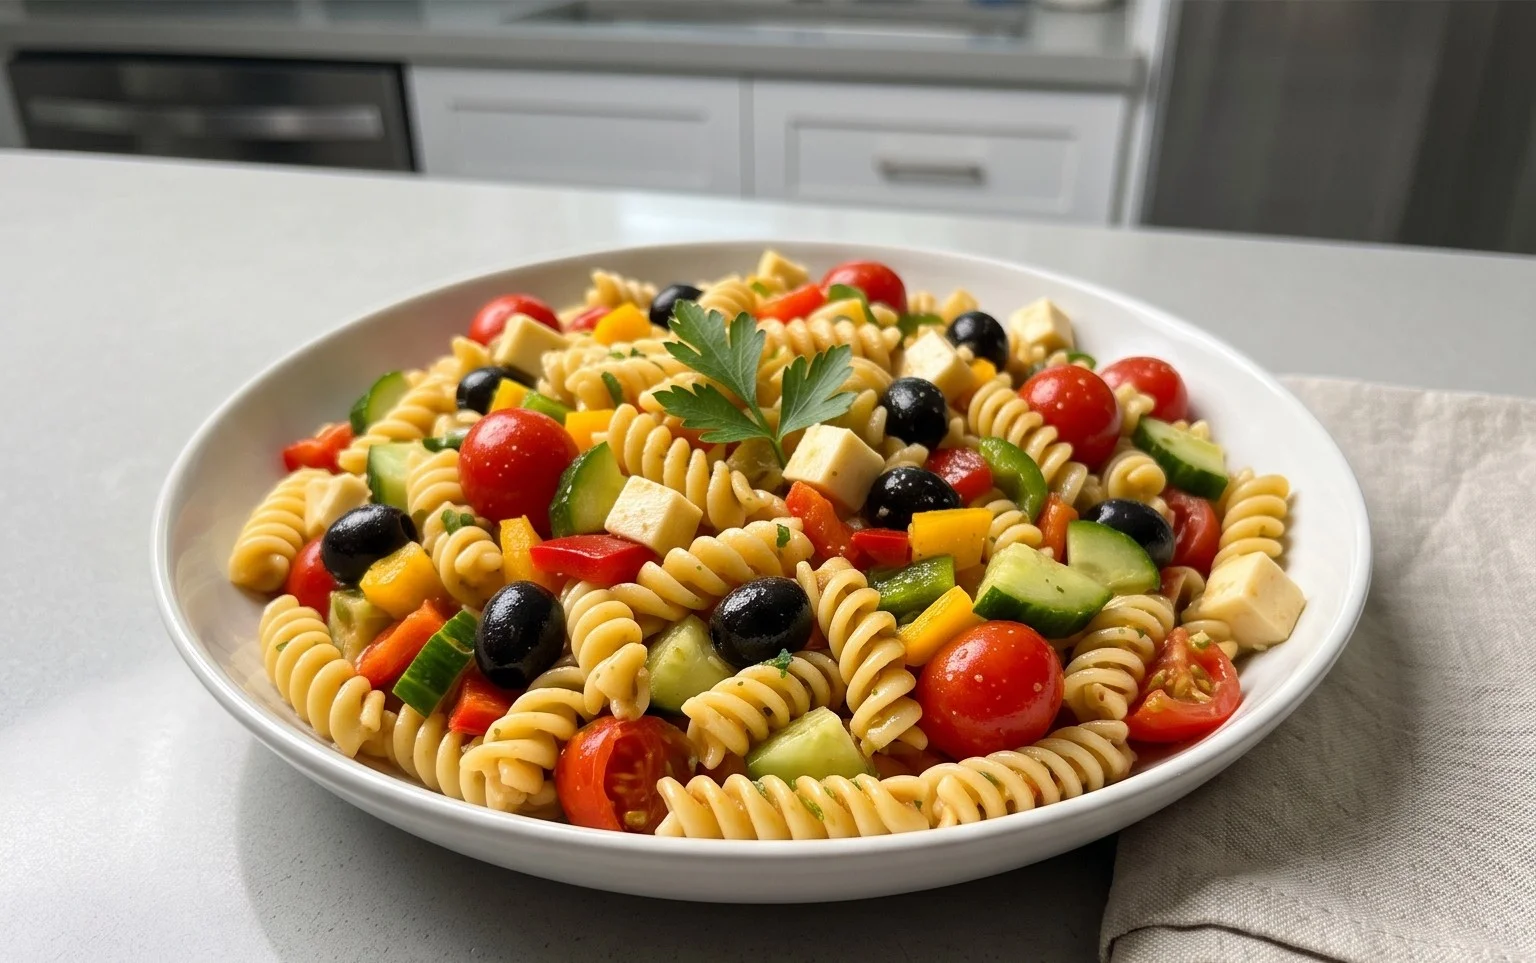
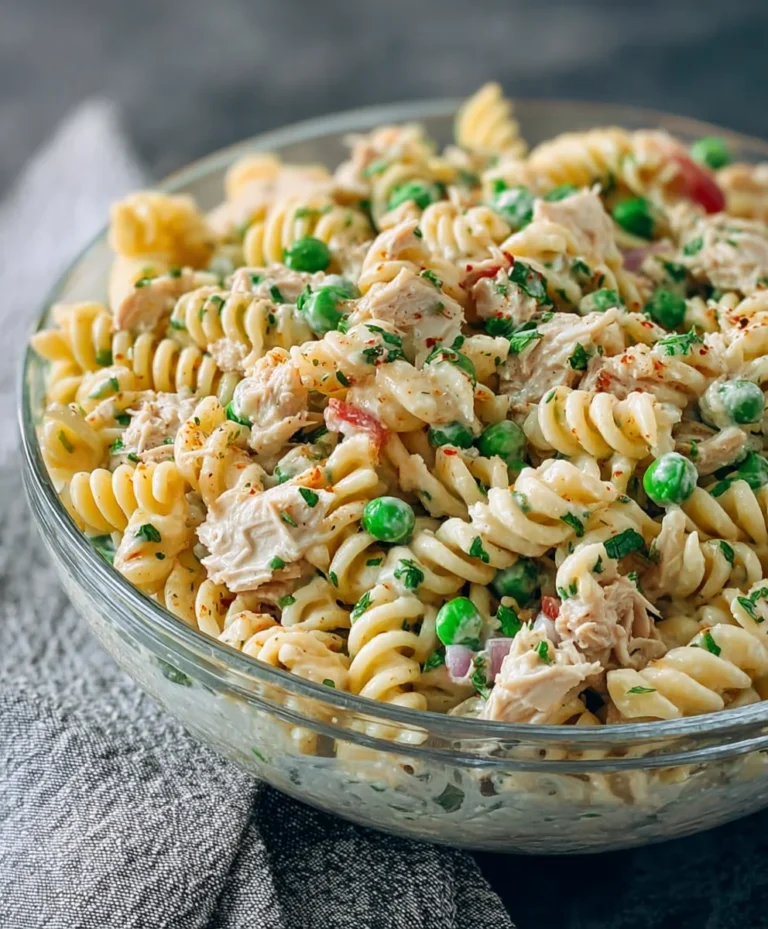
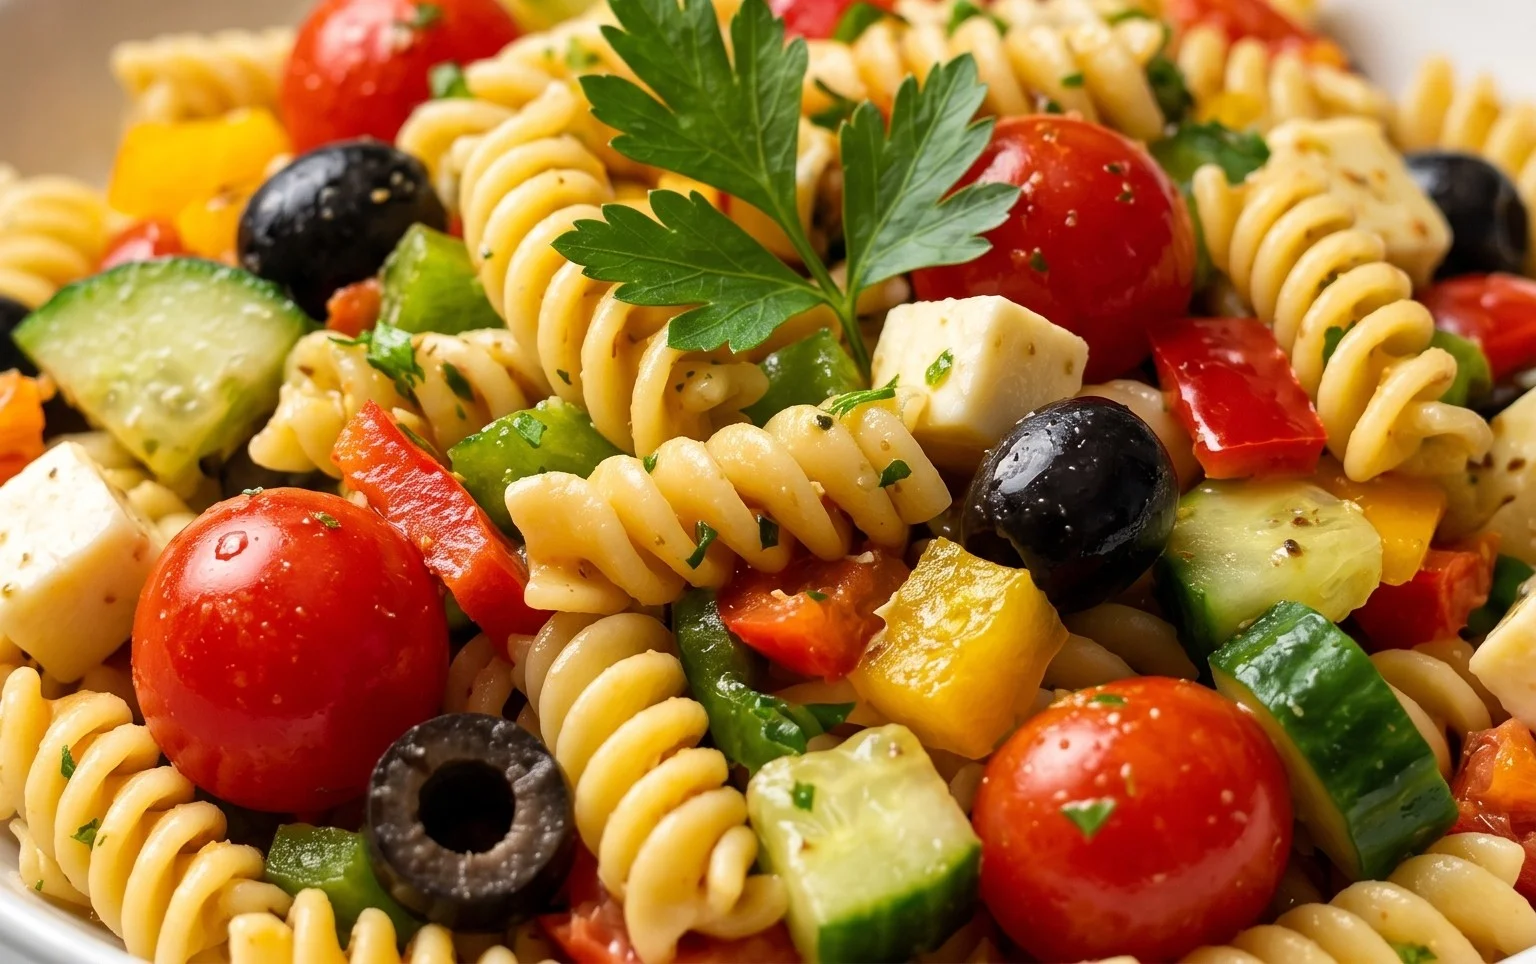
Classic Pasta Salad
This Classic Pasta Salad is my go-to for potlucks, barbecues, or just a satisfying weeknight meal. It’s the kind of dish that always gets rave reviews, and the best part is, it’s incredibly easy to make. The vibrant colors from the vegetables and the zesty Italian dressing make it a feast for the eyes as well as the palate. It’s a recipe that’s stood the test of time, and for good reason – it’s consistently delicious. The combination of tender pasta, savory beef pepperoni, crisp vegetables, and creamy mozzarella is simply irresistible. Plus, it’s incredibly versatile; you can easily swap out ingredients to suit your preferences.
Ingredients:
Cooking Instructions:
The beauty of this pasta salad lies in its simplicity, but a few key steps ensure it turns out perfectly every time. Let’s get started!
1. Preparing the Pasta Foundation:
The first and most crucial step is cooking the pasta. We’re using 24 ounces of tri-color rotini, which provides a lovely texture and visual appeal. Bring a large pot of generously salted water to a rolling boil. Don’t be shy with the salt; it’s your only chance to season the pasta itself. Add the rotini and cook according to the package directions until al dente. This means the pasta should be tender but still have a slight bite to it. Overcooked pasta will turn mushy in the salad, which is something we definitely want to avoid. Once cooked, drain the pasta thoroughly in a colander. To prevent the pasta from sticking together and to cool it down quickly, you can rinse it briefly with cold water. However, be careful not to rinse for too long, as this can wash away some of the starch that helps the dressing adhere. Give it a good shake to remove as much excess water as possible.
2. Assembling the Fresh Components:
While the pasta is cooling, it’s time to prepare the fresh ingredients that will bring vibrant flavor and texture to our salad. Take your pint of cherry tomatoes and halve them. This makes them easier to eat and releases some of their sweet juices. Dice one red onion. Red onions offer a nice sharp bite that complements the other flavors. For the bell pepper, we’re using one green bell pepper, diced. You can certainly use other colors of bell peppers if you prefer, but green offers a classic, slightly bitter crunch. Prepare your 16 ounces of cubed mozzarella cheese. For convenience, you can often find pre-cubed mozzarella, or you can cube a block yourself. Finally, slice your 8 ounces of olives. Black olives are traditional, but Kalamata olives can add a delicious briny depth.
3. Crafting the Zesty Italian Dressing:
The dressing is what ties all the flavors together. In a large bowl, we’re going to create our homemade Italian dressing. This is where the magic happens! Start with 1 1/2 cups of good quality olive oil. This will form the base of our dressing. To this, add 1/2 cup of red grape juice vinegar. The grape juice vinegar provides a beautiful sweetness and tangin extractess. Now, let’s add our seasonings: 2 tablespoons of Italian seasoning for that classic herbaceous flavor, 2 teaspoons of garlic powder for a punch of garlic without the raw bite, 1 1/2 teaspoons of salt, and 1 teaspoon of pepper. For a little bit of heat, add 1/2 teaspoon of red pepper flakes. Whisk all of these ingredients together vigorously until the oil and vinegar are well emulsified. This means they should be combined into a smooth, uniform mixture. You can do this with a whisk or even in a blender or food processor for an extra smooth consistency.
4. Combining All the Deliciousness:
Now for the fun part: bringin extractg everything together. In a very large bowl – you want ample space to toss everything without making a mess – combine the cooked and cooled rotini pasta. Add the halved cherry tomatoes, diced red onion, diced green bell pepper, cubed mozzarella cheese, sliced olives, and the 12 ounces of sliced beef beef pepperoni. The beef pepperoni adds a savory, slightly spicy element that’s a real crowd-pleaser. Don’t forget to add 1 cup of grated parmesan cheese. This adds another layer of salty, nutty flavor.
5. Tossing and Chilling for Perfection:
Pour the prepared Italian dressing over the pasta and other ingredients in the large bowl. Now, it’s time to toss gently but thoroughly. You want to ensure that every piece of pasta, every vegetable, and every slice of beef pepperoni is coated with the delicious dressing. Use large spoons or salad tongs to carefully mix everything together. Be mindful not to over-mix, which can break up the ingredients. Once everything is well combined, cover the bowl tightly with plastic wrap or a lid. For the best flavor, it’s crucial to refrigerate the pasta salad for at least 2 hours, or preferably longer, before serving. This allows all the flavors to meld and deepen. The longer it sits, the more delicious it becomes! You can even make it the day before a gathering. Just before serving, give it another gentle toss. Enjoy this refreshing and satisfying Classic Pasta Salad!
Conclusion:
There you have it – a truly classic pasta salad recipe that’s as versatile as it is delicious! This dish is a winner for so many reasons. Its creamy dressing coats every bite of perfectly cooked pasta, and the fresh vegetables add a delightful crunch and burst of flavor. It’s the ultimate make-ahead meal, meaning less stress and more enjoyment at your next gathering. Whether you’re planning a backyard barbecue, a potluck, or just a simple weeknight dinner, this classic pasta salad is sure to be a crowd-pleaser. Don’t be afraid to experiment with the ingredients; this recipe is a fantastic canvas for your own culinary creativity.
I encourage you to give this recipe a try. It’s a rewarding dish that brings people together and always leaves them asking for the recipe! Serve it as a hearty side dish alongside grilled meats or seafood, or enjoy it as a light and satisfying main course. Consider adding grilled chicken, shrimp, or chickpeas for extra protein. For a vegetarian twist, toss in some roasted vegetables like zucchini and bell peppers. The possibilities are truly endless!
Frequently Asked Questions:
Can I make this pasta salad ahead of time?
Absolutely! In fact, this classic pasta salad is even better when made a few hours or even a day in advance. This allows the flavors to meld beautifully. Just be sure to store it in an airtight container in the refrigerator. You might need to add a splash of extra dressing before serving if it seems a little dry.
What kind of pasta works best?
Elbow macaroni is a traditional choice for a reason – its small size and ridges hold onto the dressing wonderfully. However, other short pasta shapes like rotini, fusilli, penne, or farfalle (bow-tie pasta) also work exceptionally well and are excellent for this recipe.
How long will this pasta salad last in the refrigerator?
Stored properly in an airtight container, this pasta salad should stay fresh and delicious in the refrigerator for about 3 to 4 days. The vegetables might soften slightly over time, but the flavor will remain excellent.
Classic Pasta Salad
A refreshing and flavorful classic pasta salad, perfect for potlucks and gatherings. Features tri-color rotini, fresh vegetables, pepperoni, mozzarella, and a zesty vinaigrette.
Ingredients
-
24 ounces tri-color rotini pasta (uncooked)
-
1 pint cherry tomatoes (halved)
-
12 ounces sliced beef pepperoni
-
1 red onion (diced)
-
1 green bell pepper (diced)
-
16 ounces mozzarella cheese (cubed)
-
1 cup grated parmesan cheese
-
8 ounces olives (sliced)
-
1 1/2 cups olive oil
-
1/2 cup red grape juice vinegar
-
2 tablespoons Italian seasoning
-
2 teaspoons garlic powder
-
1 1/2 teaspoons salt
-
1 teaspoon pepper
-
1/2 teaspoon red pepper flakes
Instructions
-
Step 1
Cook tri-color rotini pasta according to package directions. Drain and rinse with cold water. -
Step 2
In a large bowl, combine the cooked pasta, halved cherry tomatoes, sliced beef pepperoni, diced red onion, diced green bell pepper, cubed mozzarella cheese, grated parmesan cheese, and sliced olives. -
Step 3
In a separate small bowl, whisk together the olive oil, red grape juice vinegar, Italian seasoning, garlic powder, salt, pepper, and red pepper flakes to create the dressing. -
Step 4
Pour the dressing over the pasta and vegetable mixture. -
Step 5
Toss gently to ensure all ingredients are evenly coated with the dressing. -
Step 6
Chill the pasta salad for at least 30 minutes before serving to allow the flavors to meld.
Important Information
Nutrition Facts (Per Serving)
It is important to consider this information as approximate and not to use it as definitive health advice.
Allergy Information
Please check ingredients for potential allergens and consult a health professional if in doubt.