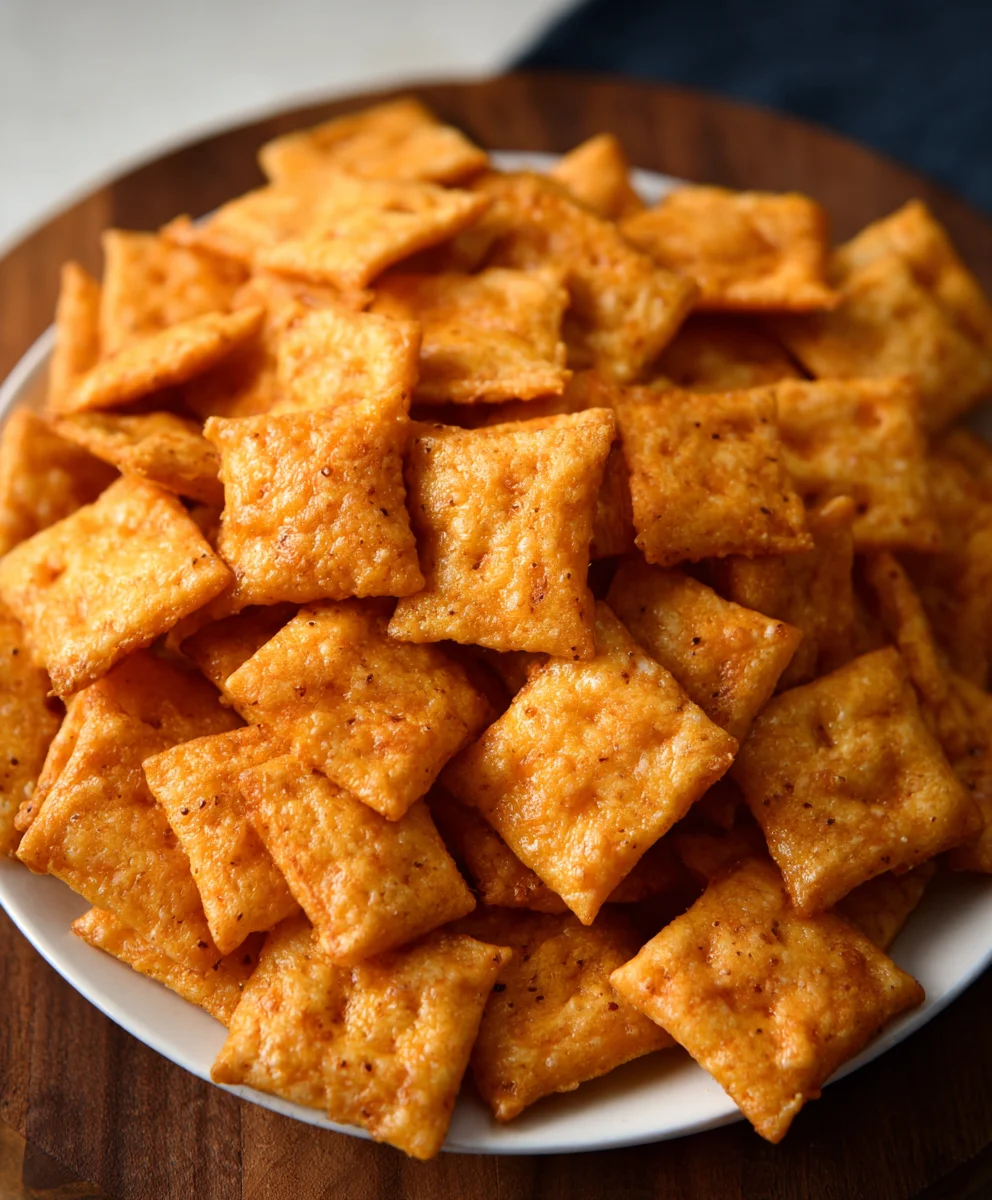
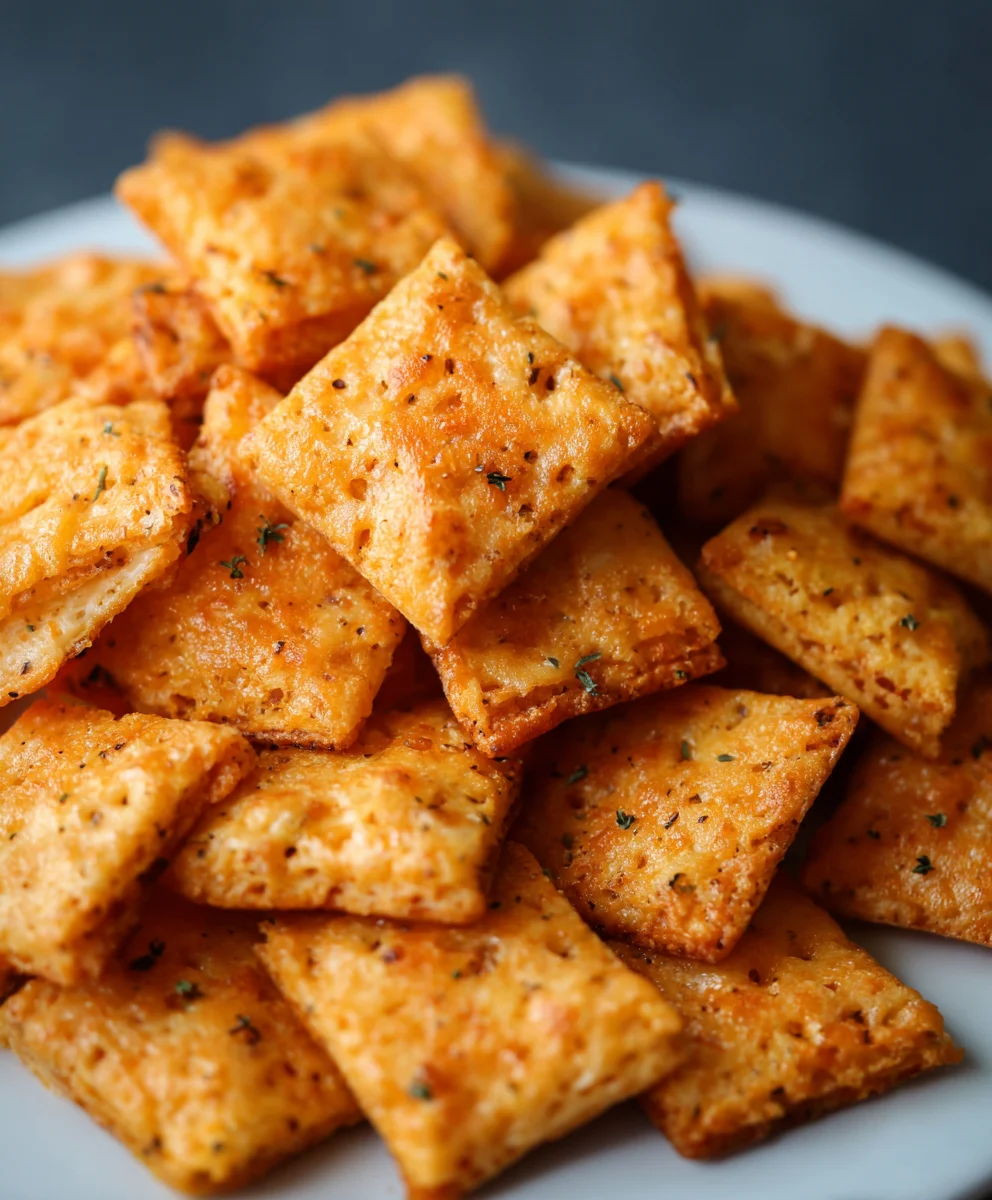
Sourdough Cheez-Its – Irresistible Baked Snack
Sourdough Cheez Its Recipe. Oh, the irresistible crunch, the tangy bite, the pure cheesy joy! If you’ve ever found yourself reaching for a box of Cheez-Its, only to wish for something… more, then prepare for a revelation. This Sourdough Cheez Its Recipe elevates a classic snack to an artisanal delight. Forget those mass-produced crackers; we’re talking about homemade goodness infused with the complex, slightly sour character of sourdough. People adore Cheez-Its for their addictive salty-cheesy profile, but our sourdough version offers a sophisticated depth that will have your taste buds singin extractg. What makes this recipe truly special is the alchemy of tangy sourdough starter, sharp cheddar cheese, and a whisper of spice, all baked to golden perfection. It’s the perfect way to impress guests or simply treat yourself to an elevated snack experience that is both familiar and excitingly new.
Ingredients:
- 226 grams cheddar cheese, freshly shredded (about 8 ounces)
- 100 grams sourdough discard (approximately 1/3 cup)
- 42 grams unsalted butter, cold and cubed (3 Tablespoons)
- 140 grams all-purpose flour (1 cup)
- 1 gram garlic powder (1/4 teaspoon)
- 1 gram onion powder (1/4 teaspoon)
- 3 grams salt (1/2 teaspoon)
- Flaky salt, for finishing (optional)
Making Your Sourdough Cheez-Its
Phase 1: Building the Dough Base
Let’s get started on creating these irresistible sourdough crackers. The key to their amazing flavor and texture lies in a few simple steps. First, in a medium-sized bowl, I combine the all-purpose flour, garlic powder, onion powder, and the 3 grams of salt. Whisk these dry ingredients together thoroughly. This ensures that the seasonings are evenly distributed throughout the dough, so every bite of your Cheez-Its will have that perfect savory kick. Think of this as laying the foundation for our flavor explosion!
Next, I add the cold, cubed unsalted butter to the flour mixture. Using cold butter is crucial here; it creates little pockets of fat that will melt during baking, resulting in a flaky, tender cracker. I like to use my fingertips or a pastry blender to cut the butter into the flour until the mixture resembles coarse crum extractbs. You should have some pea-sized pieces of butter remaining. Don’t overmix at this stage; we want those distinct butter pieces.
Phase 2: Incorporating the Star Ingredients
Now for the magic! I add the 100 grams of sourdough discard to the bowl. Don’t worry if your discard is very wet or very dry; this recipe is forgiving. Sourdough discard lends a wonderfully subtle tang and helps with the overall texture. I gently mix the sourdough discard into the flour and butter mixture with a fork or spatula until it just starts to come together. You’ll notice the dough will still berum extractbit crumbly, and that’s perfectly okay. The goal here is not to form a smooth ball yet, but to hydrate the dry ingredients with the discard.
The star of the show, the 226 grams of freshly shredded cheddar cheese, goes in next. Using freshly shredded cheese is a must; pre-shredded cheese often contains anti-caking agents that can affect the melt and texture. I gently fold the shredded cheddar into the dough. Again, avoid overmixing. We want the cheese to be incorporated, but we don’t want it to become a uniform paste. The goal is to have pockets of cheese that will melt and create those signature cheesy layers.
Phase 3: Forming and Chilling the Dough
At this point, the dough will still be quite shaggy. I turn the mixture out onto a lightly floured surface. Using my hands, I gently bring the dough together, pressing it until it just forms a cohesive ball. It won’t be perfectly smooth, and that’s exactly what we want. The more you handle the dough, the tougher your crackers will be. Once it’s loosely together, I flatten it into a disc. This makes it easier to roll out later. I then wrap the disc tightly in plastic wrap and refrigerate it for at least 30 minutes. Chilling the dough is an essential step. It allows the gluten to relax, making the dough easier to roll and preventing the butter from melting too quickly during baking. This resting period is your secret weapon for perfectly crisp crackers.
Phase 4: Rolling and Cutting the Crackers
Once the dough has chilled sufficiently, I remove it from the refrigerator. I unwrap the disc and place it on a lightly floured surface. I like to use a rolling pin to evenly roll the dough out to about 1/16 to 1/8 inch thickness. Aim for a consistent thickness for even baking. If the dough becomes too soft and sticky to handle, you can always pop it back into the refrigerator for another 10-15 minutes. Precision in thickness is key for that satisfying crunch.
After rolling, I use a sharp knife or a pizza cutter to cut the dough into squares, similar in size to classic Cheez-Its. Don’t worry about perfect uniformity; a little rustic charm is part of their homemade appeal! If you’re feeling fancy, you can use small cookie cutters for fun shapes. Once cut, I carefully transfer the crackers to a baking sheet lined with parchment paper. I like to give them a little space between each cracker so they can bake evenly and crisp up nicely. If you desire, sprinkle a bit of flaky salt over the top of each cracker before baking for an extra textural and flavor boost.
Phase 5: Baking to Golden Perfection
I preheat my oven to 375°F (190°C) before I start rolling the dough. Once the crackers are arranged on the baking sheet, I place them in the preheated oven. I bake for approximately 15-20 minutes, or until the edges are golden brown and the crackers are firm to the touch. The exact baking time can vary depending on your oven and the thickness of your crackers, so keep a close eye on them, especially towards the end of the baking cycle. You’re looking for a beautiful, toasted cheese aroma filling your kitchen!
When they are done, I remove the baking sheet from the oven. It’s important to let the crackers cool completely on the baking sheet for a few minutes before transferring them to a wire rack to cool further. As they cool, they will continue to crisp up. Once they have cooled completely, they are ready to be devoured. Store any leftovers in an airtight container at room temperature for up to a week. Enjoy these delicious homemade sourdough Cheez-Its!
Conclusion:
There you have it – a delightful journey into creating your very own homemade Sourdough Cheez Its Recipe! We’ve walked through each step, from nurturing your sourdough starter to achieving that perfect cheesy crunch. These little squares are so much more satisfying than their store-bought counterparts, offering a tangy depth of flavor that’s truly addictive. I hope you enjoy this recipe as much as I do!
For serving suggestions, these Sourdough Cheez Its Recipe delights are fantastic on their own as a snack, alongside a hearty soup, or even as a unique addition to a charcuterie board. They’re guaranteed to be a hit at parties or a comforting treat for a quiet afternoon.
Don’t be afraid to get creative with variations! Feel free to experiment with different cheeses like smoked gouda or sharp cheddar. Adding a pinch of cayenne pepper for a little kick or some finely chopped chives can also elevate the flavor profile. The possibilities are truly endless with this versatile recipe.
So, gather your ingredients, embrace the sourdough process, and get ready to impress yourself and your loved ones with these amazing Sourdough Cheez Its Recipe. Happy baking!
Frequently Asked Questions:
Q1: My sourdough starter isn’t very active. Can I still make the Sourdough Cheez Its Recipe?
While an active starter is ideal for the best flavor development and lift, you can still attempt the Sourdough Cheez Its Recipe with a moderately active starter. Ensure it’s fed at least 12-24 hours before you plan to bake. The crackers might be slightly less airy, but the cheesy flavor will still be prominent.
Q2: How can I store my homemade Sourdough Cheez Its?
Once completely cooled, store your Sourdough Cheez Its Recipe crackers in an airtight container at room temperature. They should stay fresh and crispy for up to a week. If they lose a bit of their crispness, you can briefly toast them in a low oven (around 250°F or 120°C) for a few minutes to revive them.
Q3: Can I make this recipe gluten-free?
Adapting the Sourdough Cheez Its Recipe to be gluten-free would require significant adjustments. You would need to replace the wheat flour with a gluten-free blend and likely experiment with binders like xanthan gum. Additionally, a gluten-free sourdough starter would be necessary. This particular recipe is best enjoyed with its traditional flour base for optimal texture and flavor.
Sourdough Cheez-Its – Irresistible Baked Snack
Homemade sourdough Cheez-Its bursting with cheddar flavor and a hint of tang from sourdough discard.
Ingredients
-
226 grams cheddar cheese, freshly shredded (about 8 ounces)
-
100 grams sourdough discard (approximately 1/3 cup)
-
42 grams unsalted butter, cold and cubed (3 Tablespoons)
-
140 grams all-purpose flour (1 cup)
-
1 gram garlic powder (1/4 teaspoon)
-
1 gram onion powder (1/4 teaspoon)
-
3 grams salt (1/2 teaspoon)
-
Flaky salt, for finishing (optional)
Instructions
-
Step 1
In a medium bowl, whisk together the all-purpose flour, garlic powder, onion powder, and salt. Cut in the cold, cubed butter using your fingertips or a pastry blender until the mixture resembles coarse crumbs with some pea-sized pieces of butter remaining. -
Step 2
Add the sourdough discard to the mixture and gently mix with a fork or spatula until it just starts to come together. Fold in the freshly shredded cheddar cheese, avoiding overmixing. -
Step 3
Turn the shaggy dough onto a lightly floured surface and gently bring it together into a cohesive ball. Flatten into a disc, wrap tightly in plastic wrap, and refrigerate for at least 30 minutes. -
Step 4
Preheat your oven to 375°F (190°C). Roll out the chilled dough on a lightly floured surface to about 1/16 to 1/8 inch thickness. Cut the dough into squares and transfer to a baking sheet lined with parchment paper, spacing them apart. -
Step 5
Bake for 15-20 minutes, or until the edges are golden brown and the crackers are firm. Let cool on the baking sheet for a few minutes before transferring to a wire rack to cool completely and crisp up. Sprinkle with flaky salt if desired before baking.
Important Information
Nutrition Facts (Per Serving)
It is important to consider this information as approximate and not to use it as definitive health advice.
Allergy Information
Please check ingredients for potential allergens and consult a health professional if in doubt.