Coquette Party Recipe- Dreamy Pink Blue Eats
Dreamy Pink & Blue Coquette Party cookies are an absolute delight for the senses, and once you try them, you’ll understand why they’ve become a sensation for celebrations of all kinds. Imagin extracte delicate, buttery shortbread baked to a perfect crisp, then adorned with a whimsical swirl of pastel pink and azure blue icing. It’s not just a cookie; it’s a miniature work of art that embodies a playful, romantic aesthetic. What truly sets these Dreamy Pink & Blue Coquette Party treats apart is their enchanting visual appeal, making them the quintessential centerpiece for birthdays, baby showers, or just a charming afternoon tea. They evoke a sense of pure joy and sophisticated sweetness, guaranteed to make your guests feel utterly special and delightfully indulged.
Ingredients:
- 1 ½ cups all-purpose flour
- 1 teaspoon baking powder
- ½ teaspoon salt
- ½ cup unsalted butter, softened
- 1 cup granulated sugar
- 2 large eggs
- 1 teaspoon vanilla extract
- ½ cup milk
- Pink food coloring
- Blue food coloring
- 1 cup powdered sugar
- 2 tablespoons milk (for frosting)
- 1 teaspoon vanilla extract (for frosting)
- Optional: Sprinkles, edible glitter, or small edible pearls for decoration
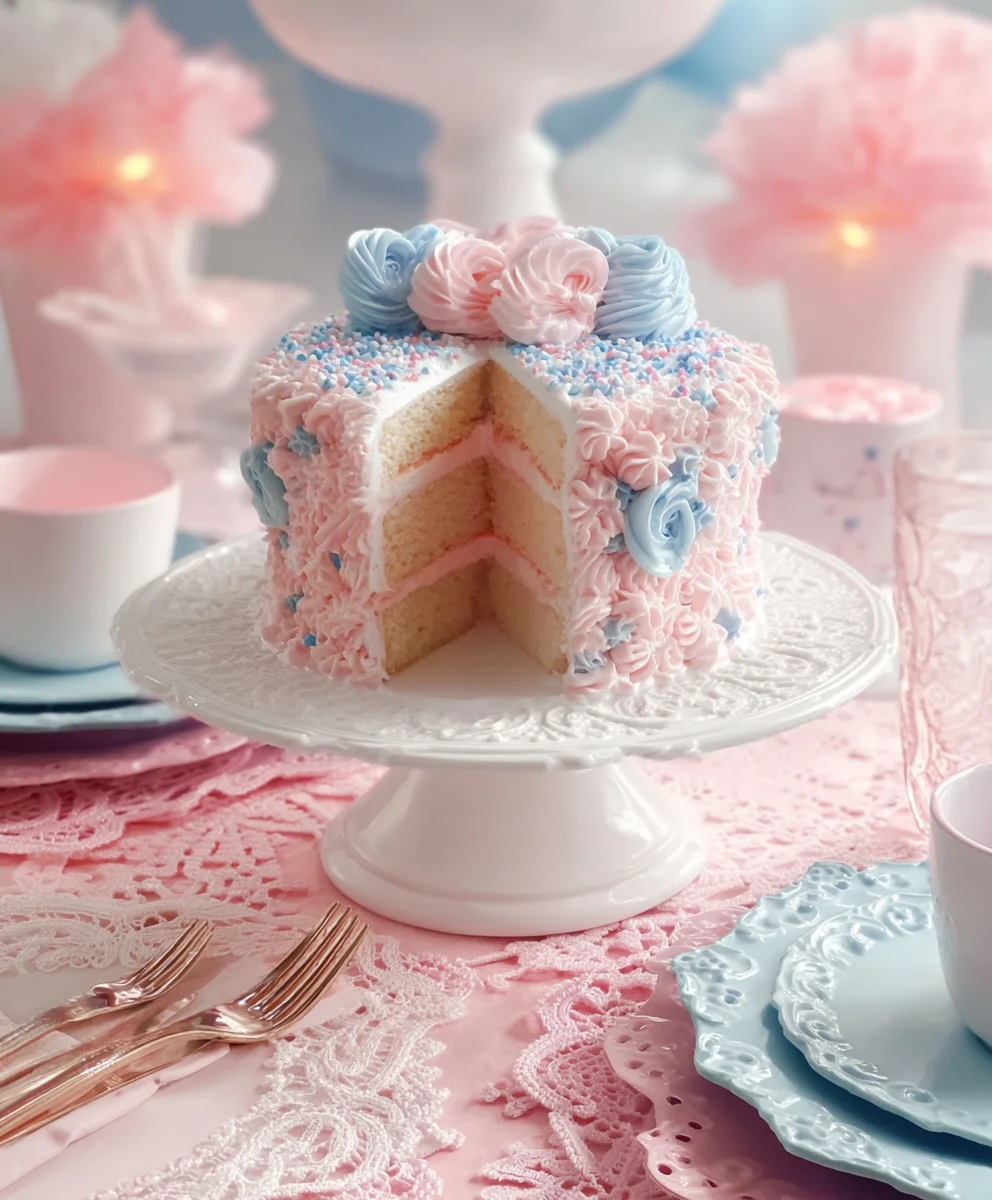
The Dreamy Pink & Blue Coquette Party Cake
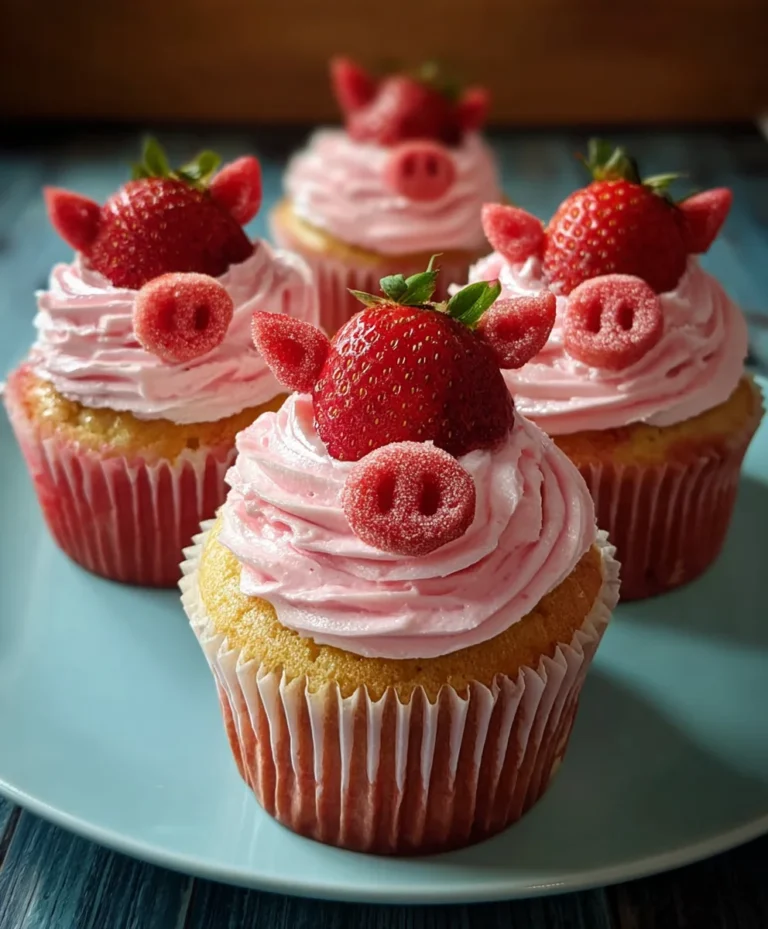
This recipe is designed to create visually stunning and delicious cupcakes perfect for a “Dreamy Pink & Blue Coquette Party.” We’ll be making simple vanilla cupcakes and then dividing the batter to create beautiful pink and blue swirls. The frosting is equally easy and will be tinted to match our party theme.
Preparation and Dry Ingredients
The first step is to ensure all our ingredients are ready and at the right temperature. This helps create a consistently textured cake. In a medium bowl, whisk together the all-purpose flour, baking powder, and salt. This trio of dry ingredients is crucial for providing structure and leavening to our cupcakes. Whisking them together thoroughly ensures the baking powder and salt are evenly distributed, preventing pockets of saltiness or uneven rising. Set this bowl aside for now.
Creaming the Butter and Sugar
Now, let’s move on to the foundation of our cupcake’s tender crum extractb. In a large mixing bowl, cream together the softened unsalted butter and granulated sugar. You can do this with an electric mixer on medium speed, or by hand with a sturdy whisk and some elbow grease. Creaming involves beating the butter and sugar together until the mixture becomes light, fluffy, and pnon-alcoholic ale yellow in color. This process incorporates air into the batter, which contributes significantly to the cake’s delicate texture and helps it rise beautifully. This usually takes about 3-5 minutes with an electric mixer. Don’t rush this step; it’s important for achieving that perfect cupcake consistency.
Incorporating Wet Ingredients
Once the butter and sugar are beautifully creamed, it’s time to add the eggs. Add the two large eggs, one at a time, beating well after each addition. This ensures each egg is fully incorporated before adding the next, preventing the batter from becoming oily or separated. Next, stir in the vanilla extract. Vanilla is a flavor enhancer that complements the sweetness of the cake. In a separate small bowl or measuring cup, combine the milk. Make sure your milk is at room temperature, as this helps it emulsify better with the other ingredients.
Combining Wet and Dry Ingredients
Now, we’ll gently combine our wet and dry ingredients. Gradually add the dry ingredient mixture to the wet ingredient mixture, alternating with the milk. Begin extract and end with the dry ingredients. For example, add about a third of the dry ingredients, mix until just combined, then add half of the milk, mix, add another third of the dry ingredients, mix, add the remaining milk, mix, and finally add the last of the dry ingredients and mix until just incorporated. It’s very important not to overmix at this stage. Overmixing can develop the gluten in the flour too much, resulting in tough cupcakes. Stop mixing as soon as you no longer see streaks of flour. A few small lumps are perfectly fine.
Creating the Dreamy Colors
This is where the “Dreamy Pink & Blue Coquette Party” magic gin extractly begins! Divide the batter evenly into two separate bowls. To the first bowl, add a few drops of pink food coloring and stir gently until the color is uniform. Start with a small amount of coloring and add more gradually until you achieve your desired shade of dreamy pink. To the second bowl, add a few drops of blue food coloring and stir until you reach your perfect coquette blue. Again, add the coloring gradually to control the intensity. You want a soft, pastel-like effect for a true coquette aesthetic.
Filling the Cupcake Liners and Baking
Preheat your oven to 350°F (175°C). Line a standard muffin tin with cupcake liners. Now, for the fun part of creating the swirl! You can spoon dollops of the pink batter and blue batter into each cupcake liner, alternating colors. You can also gently swirl the two colors together with a toothpick for a marbled effect. Don’t overfill the liners; fill them about two-thirds full to allow for expansion. Bake for 18-22 minutes, or until a toothpick inserted into the center of a cupcake comes out clean.
Making the Coquette Frosting
While your cupcakes are baking and cooling, prepare the frosting. In a medium bowl, cream together the softened butter (ensure it’s softened, not melted) until smooth. Gradually add the powdered sugar, about half a cup at a time, beating well after each addition. This will create a thick paste. Then, add the 2 tablespoons of milk and 1 teaspoon of vanilla extract. Beat until the frosting is light and fluffy and the desired consistency is reached. If the frosting is too thick, add a tiny bit more milk, a teaspoon at a time. If it’s too thin, add a little more powdered sugar. You can also divide this frosting and tint portions pink and blue to further enhance the coquette theme, or leave it white for a classic look.
Decorating Your Dreamy Cupcakes
Once your cupcakes have cooled completely on a wire rack, it’s time for the final flourish. Using an offset spatula or a piping bag fitted with your favorite tip, generously frost your cupcakes. You can frost them with alternating colors, or create a beautiful two-toned swirl. For an extra touch of coquette charm, sprinkle them with edible glitter, small edible pearls, or thematic sprinkles in pink and blue hues. The goal is to create a whimsical and elegant presentation that perfectly captures the essence of your “Dreamy Pink & Blue Coquette Party.”
Conclusion:
And there you have it! You’ve now unlocked the secret to creating the absolutely Dreamy Pink & Blue Coquette Party. This recipe is more than just a delightful treat; it’s an experience designed to bring joy and a touch of whimsical elegance to any gathering. The vibrant colors and delightful flavors are sure to be a hit with guests of all ages, transforming your ordinary occasion into something truly memorable and photo-worthy.
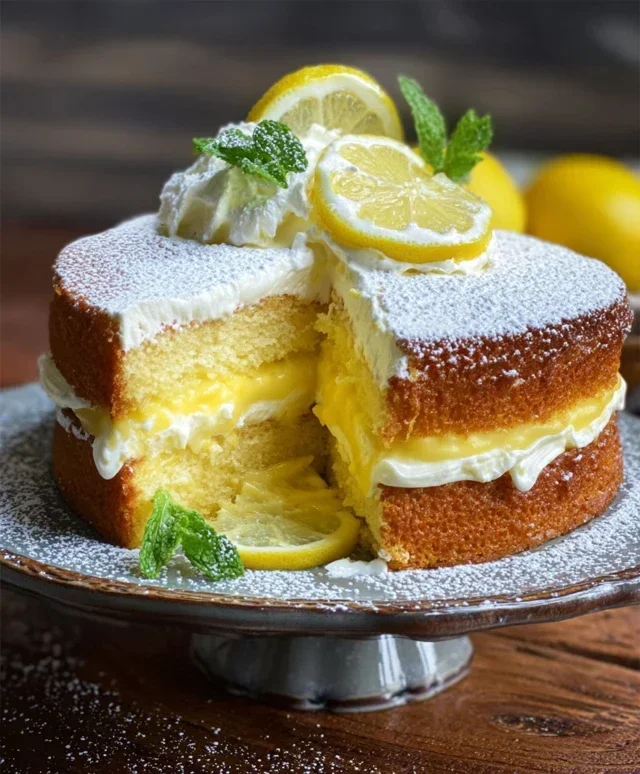
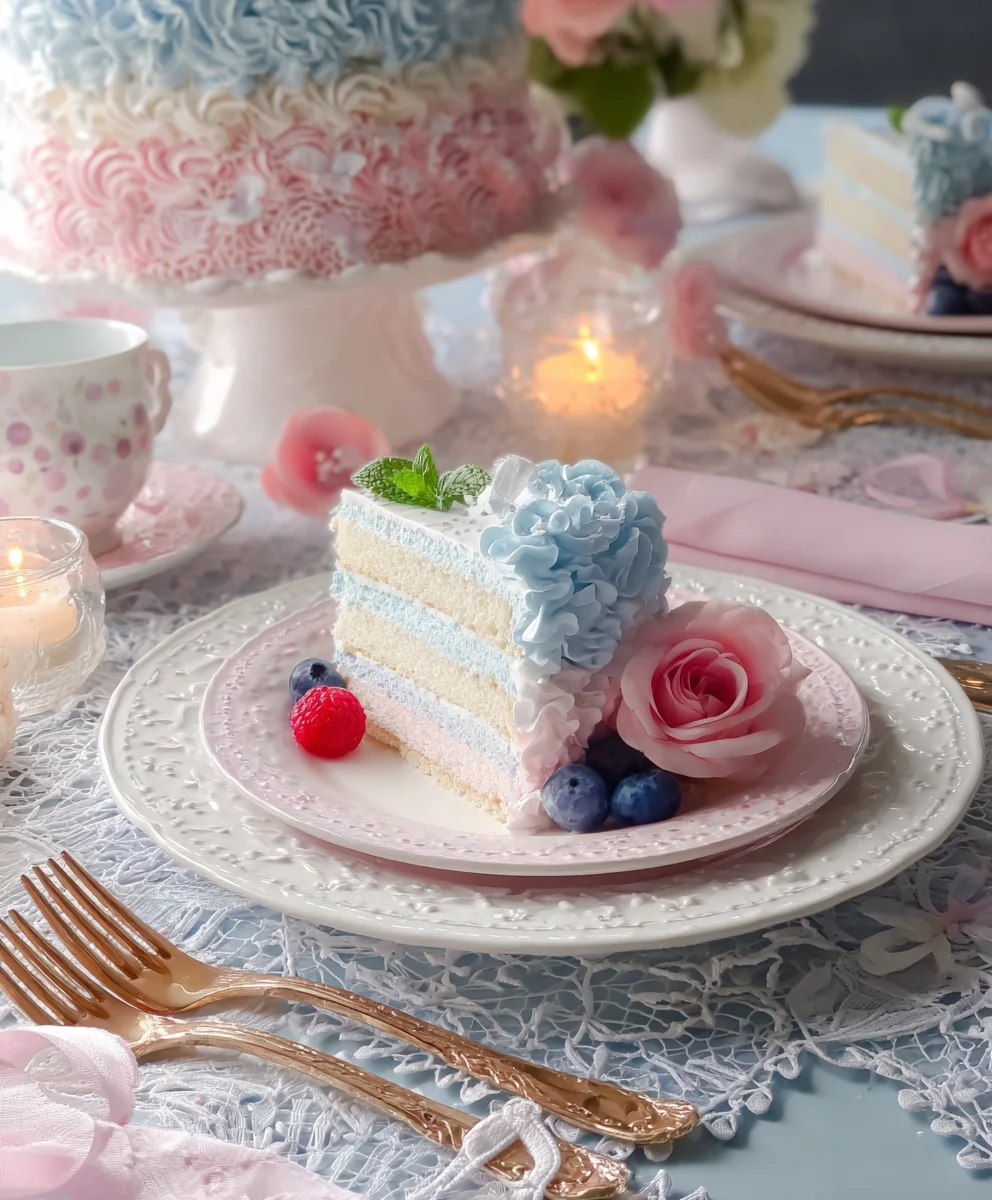
I highly encourage you to embrace the playful spirit of this dish. Don’t be afraid to get creative! Serve your Dreamy Pink & Blue Coquette Party as a centerpiece dessert, a festive afternoon tea treat, or even as a delightful addition to a birthday celebration. For serving suggestions, consider pairing it with fresh berries, a dollop of whipped cream, or a dusting of edible glitter for that extra sparkle.
Thinking about variations? Feel free to experiment with different food coloring combinations to achieve your perfect pastel pnon-alcoholic alette. You could also incorporate a hint of vanilla bean extract or even a splash of almond extract for a subtle flavor twist. The possibilities are endless, and the joy is in the making and sharing. So go ahead, bake with love, and enjoy every delightful bite of your Dreamy Pink & Blue Coquette Party!
FAQs:
Can I make the Dreamy Pink & Blue Coquette Party ahead of time?
Yes, absolutely! The Dreamy Pink & Blue Coquette Party can be prepared up to 24 hours in advance. Store it in an airtight container in the refrigerator to maintain its freshness and vibrant colors.
What if I don’t have both pink and blue food coloring?
No problem at all! You can still create a beautiful Dreamy Pink & Blue Coquette Party using just one color, or you can mix your primary colors to create new shades. For instance, mixing red and yellow will give you orange, and mixing blue and yellow will give you green. The key is to have fun with the colors!
Is this recipe difficult for begin extractners?
Not at all! The Dreamy Pink & Blue Coquette Party is designed to be accessible and enjoyable for bakers of all skill levels. The instructions are straightforward, and the results are consistently stunning, making it a perfect choice for anyone looking to impress without the stress.
Dreamy Pink & Blue Coquette Party Cupcakes
Visually stunning and delicious vanilla cupcakes, tinted pink and blue for a ‘Dreamy Pink & Blue Coquette Party.’ Features easy-to-make swirl cupcakes and matching frosting.
Ingredients
-
1 ½ cups all-purpose flour
-
1 teaspoon baking powder
-
½ teaspoon salt
-
½ cup unsalted butter, softened
-
1 cup granulated sugar
-
2 large eggs
-
1 teaspoon vanilla extract
-
½ cup milk
-
Pink food coloring
-
Blue food coloring
-
1 cup powdered sugar
-
2 tablespoons milk (for frosting)
-
1 teaspoon vanilla extract (for frosting)
-
Optional: Sprinkles, edible glitter, or small edible pearls for decoration
Instructions
-
Step 1
Combine all-purpose flour, baking powder, and salt in a medium bowl. Whisk together thoroughly and set aside. -
Step 2
In a large mixing bowl, cream together softened unsalted butter and granulated sugar until light, fluffy, and pale yellow. Beat in eggs one at a time, followed by vanilla extract. -
Step 3
Gradually add the dry ingredient mixture to the wet ingredients, alternating with milk. Mix until just combined, being careful not to overmix. Divide the batter evenly into two separate bowls. -
Step 4
Add a few drops of pink food coloring to one bowl and stir until uniform. Add blue food coloring to the second bowl and stir until uniform. These are your dreamy colors. -
Step 5
Preheat oven to 350°F (175°C). Line a muffin tin with cupcake liners. Spoon dollops of pink and blue batter into each liner, alternating colors or swirling gently. Fill liners two-thirds full. Bake for 18-22 minutes, or until a toothpick comes out clean. -
Step 6
While cupcakes bake, prepare the frosting: Cream softened butter until smooth. Gradually add powdered sugar, then milk and vanilla extract. Beat until light and fluffy. -
Step 7
Once cupcakes have cooled completely, frost them generously. Decorate with optional sprinkles, edible glitter, or edible pearls for a whimsical and elegant finish.
Important Information
Nutrition Facts (Per Serving)
It is important to consider this information as approximate and not to use it as definitive health advice.
Allergy Information
Please check ingredients for potential allergens and consult a health professional if in doubt.