Easter Egg Fruit Cookies – Delightful Easy Recipe
Easter Egg Fruit Cookies are more than just a delightful springtime treat; they’re a vibrant explosion of flavor and a symbol of renewal and joy. Imagin extracte biting into a tender, slightly chewy cookie, bursting with the natural sweetness of dried fruits and a hint of zest, all shaped into whimsical little eggs. It’s no wonder these festive delights are a perennial favorite for Easter gatherings and a treasured part of many family traditions. What truly sets these Easter Egg Fruit Cookies apart is their charming presentation and the customizable nature of the fruit fillings. Whether you prefer the tartness of cranberries, the tropical notes of apricots, or the classic sweetness of raisins, you can tailor these cookies to your exact preference. They bring a playful yet elegant touch to any Easter table, guaranteed to bring smiles to faces young and old, making them an absolute must-have for your holiday baking repertoire.
Ingredients:
- 1 package sugar cookie dough mix
- 8 ounces cream cheese, softened
- 6 tablespoons butter, softened
- 2 cups confectioner’s sugar
- 1 teaspoon vanilla extract
- Pinch of salt
- Assorted berries and fruit (blueberries, strawberries, raspberries, kiwis, mandarin oranges)
Preparing the Cookie Dough
Mixing the Dough
The first step to creating these delightful Easter Egg Fruit Cookies is to prepare the sugar cookie dough. You’ll need your package of sugar cookie dough mix. Follow the instructions on the package for combining the mix with any additional ingredients it requires, such as eggs and oil. Typically, this involves placing the mix in a large bowl, adding the specified amount of eggs and oil, and then mixing until a cohesive dough forms. Don’t overmix; just combine until there are no dry streaks of flour. Once your dough is ready, it’s a good idea to cover it and let it chill in the refrigerator for at least 30 minutes. This chilling period makes the dough much easier to handle and prevents it from spreading too much during baking, ensuring your cookies hold their shape beautifully.
Shaping the Egg Cookies
After the dough has chilled, it’s time to shape them into adorable Easter egg forms. Preheat your oven according to the sugar cookie dough mix package instructions, usually around 350°F (175°C). Lightly flour a clean surface and your rolling pin. Roll out the dough to about 1/4 inch thickness. Using an egg-shaped cookie cutter, cut out as many egg shapes as you can. If you don’t have an egg-shaped cutter, you can also freehand cut them or use a round cutter and gently shape them into ovals. Place the cut-out cookies onto baking sheets lined with parchment paper, leaving a little space between each cookie to allow for slight expansion. Reroll any scraps of dough gently to cut out more cookies.
Baking the Cookies
Baking to Perfection
Now, it’s time to bake these sweet Easter creations. Carefully place the baking sheets into your preheated oven. The baking time will vary depending on the size of your cookies and your oven, but typically it’s between 8-12 minutes. You’re looking for the edges of the cookies to be lightly golden brown. They should still look a little soft in the center when you take them out, as they will continue to firm up as they cool on the baking sheet. Keep a close eye on them to prevent overbaking, which can lead to dry and brittle cookies. Once baked, let the cookies cool on the baking sheets for about 5 minutes before transferring them to a wire rack to cool completely. Complete cooling is crucial before frosting, otherwise, the frosting will melt.
Creating the Cream Cheese Frosting
Whipping the Creamy Base
While the cookies are cooling, let’s prepare the luscious cream cheese frosting that will be the perfect canvas for our fruity decorations. In a medium-sized mixing bowl, ensure your 8 ounces of cream cheese and 6 tablespoons of butter are softened. This is key for a smooth and lump-free frosting. Using an electric mixer (handheld or stand mixer), beat the softened cream cheese and butter together until they are light and fluffy. This might take a few minutes, and it’s important to scrape down the sides of the bowl occasionally to ensure everything is incorporated evenly. The smoother this base is, the better your frosting will be.
Adding Sweetness and Flavor
Once the cream cheese and butter mixture is perfectly smooth, it’s time to add the confectioner’s sugar. Gradually add the 2 cups of confectioner’s sugar, about half a cup at a time, beating well after each addition. Continue mixing until all the sugar is incorporated and the frosting is thick and spreadable. If the frosting seems too thick, you can add a tiny splash of milk (about a teaspoon at a time) until it reaches your desired consistency. Next, stir in the 1 teaspoon of vanilla extract for a lovely aroma and flavor, and add a pinch of salt. The salt doesn’t just add flavor; it also helps to balance the sweetness of the confectioner’s sugar, making the frosting more palatable. Beat everything together one last time until the frosting is completely smooth and well combined.
Decorating the Easter Egg Cookies
Applying the Frosting
With your cookies completely cool and your frosting ready, the fun part begin extracts: decorating! Take a spatula or a butter knife and spread a generous layer of the cream cheese frosting evenly over the surface of each cooled sugar cookie. Aim for a smooth, consistent layer. You can also pipe the frosting on for a more decorative effect, especially if you’re using a piping bag with a decorative tip.
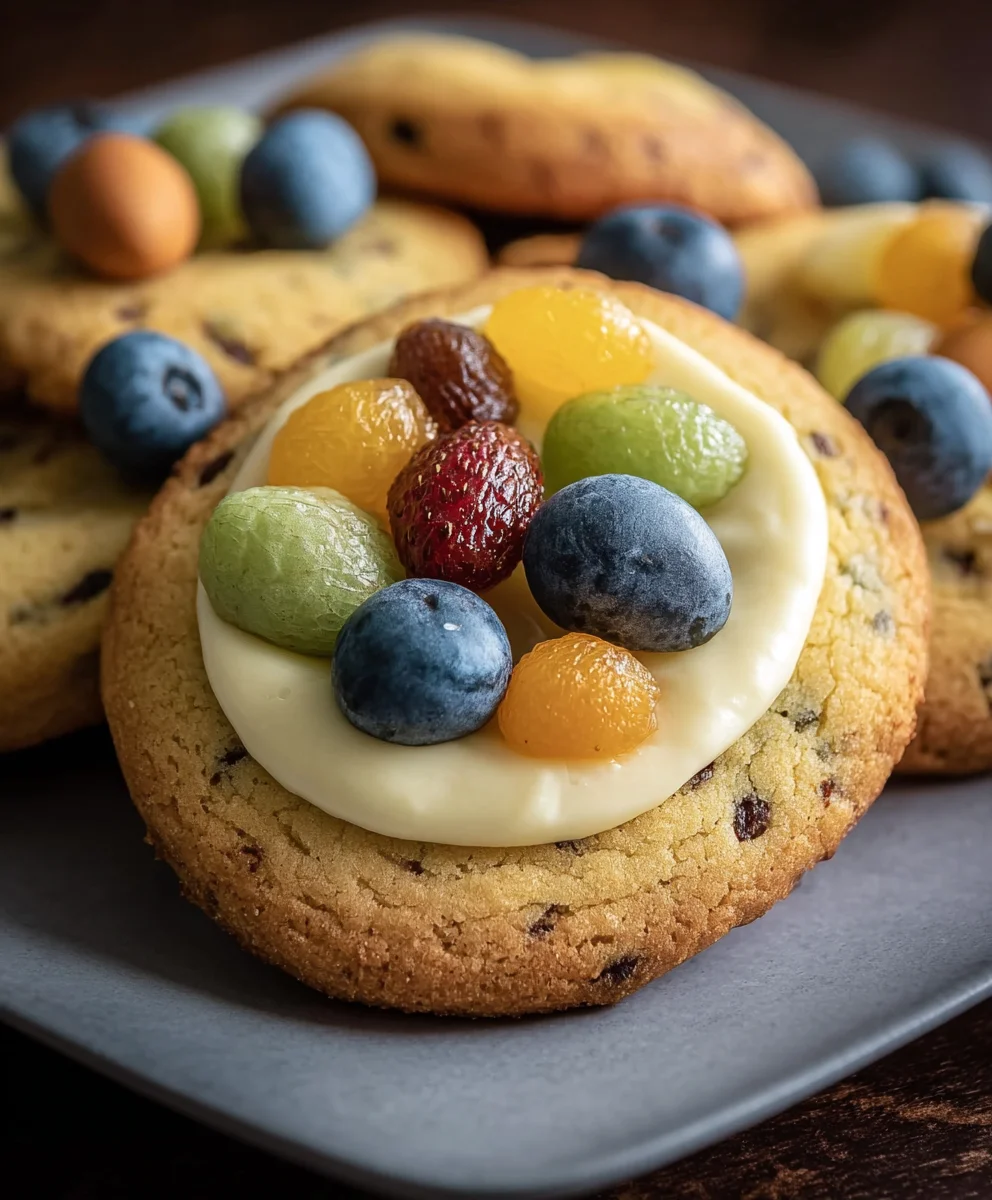
Adding the Fruit Toppings
Now, it’s time to bring these Easter Egg Fruit Cookies to life with vibrant and fresh fruit. Arrange your assorted berries and fruit on top of the frosting while it’s still soft, allowing them to gently adhere. Get creative with your designs! You can create patterns with the different colors of berries, make a beautiful arrangement of sliced kiwis and mandarin oranges, or simply scatter them randomly for a cheerful look. Blueberries can mimic tiny dots, sliced strawberries can form petals, and raspberries add pops of red. The key is to make them look as appealing as they are delicious. These Easter Egg Fruit Cookies are sure to be a hit with family and friends!
Conclusion:
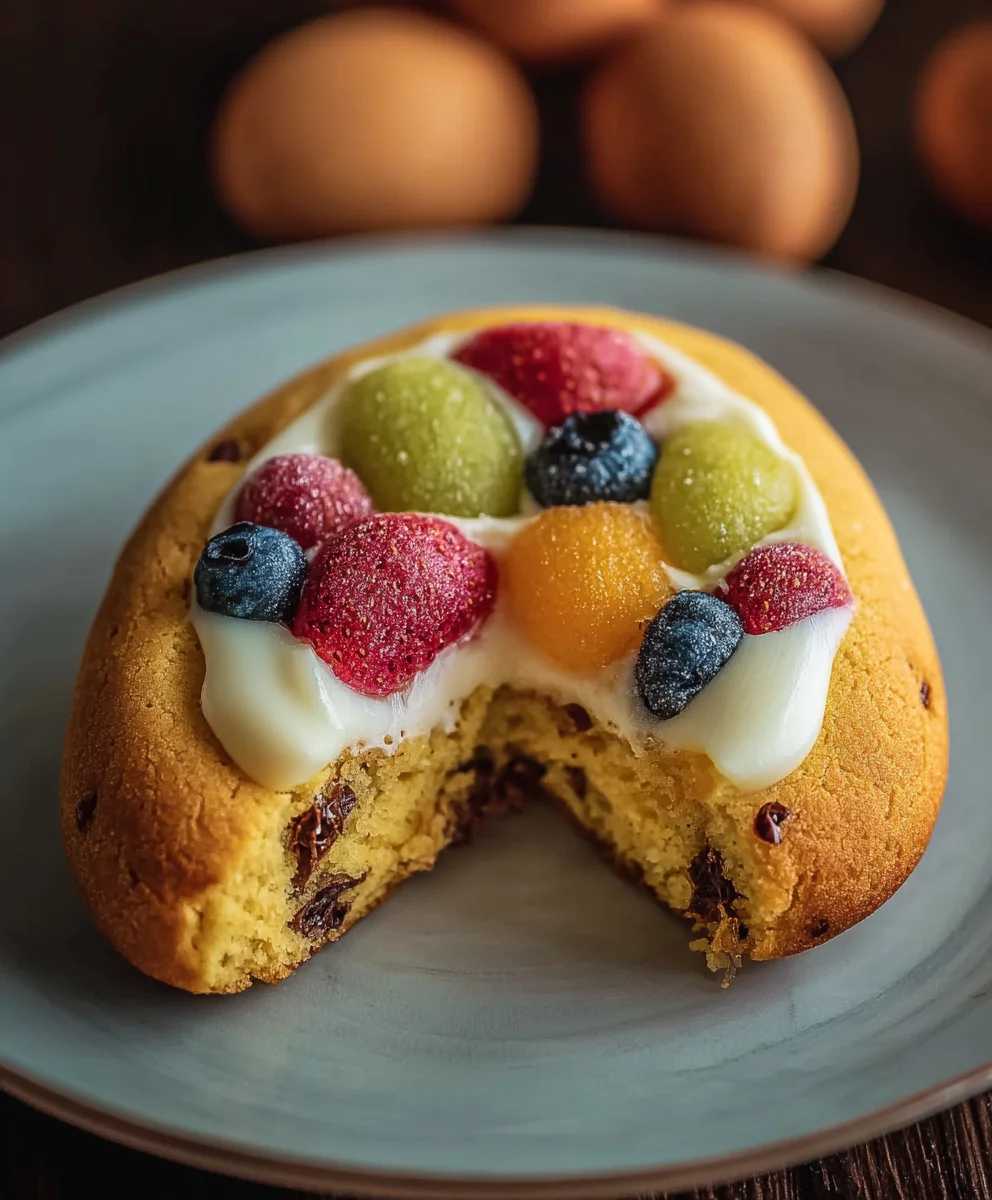
We hope you’ve enjoyed exploring the delightful world of these Easter Egg Fruit Cookies! These charming treats are not only visually appealing, perfect for any spring celebration, but they are also wonderfully versatile and surprisingly easy to make. The combination of tender cookie dough with bursts of fruity goodness makes them a crowd-pleaser for both kids and adults alike. Don’t be afraid to get creative with your decorating – the more colorful, the better!
For serving, these Easter Egg Fruit Cookies are fantastic on their own with a glass of milk, or they can be arranged on a festive platter alongside other Easter desserts. Consider pairing them with a light, fruity beverage to complement the flavors.
If you’re looking for variations, feel free to experiment with different fruit fillings. Dried cranberries, chopped apricots, or even a touch of lemon zest mixed into the dough can add exciting new dimensions. You can also try using different colored food dyes to create a rainbow of Easter eggs!
We encourage you to bake these Easter Egg Fruit Cookies with your loved ones this spring. The process itself is a joyous activity, and the delicious results are sure to bring smiles all around. Happy baking!
Frequently Asked Questions:
Q1: How should I store the Easter Egg Fruit Cookies?
You can store your cooled Easter Egg Fruit Cookies in an airtight container at room temperature for up to 5 days. If you live in a very warm climate, refrigerating them might help maintain their texture, though they can become a bit firmer.
Q2: Can I use fresh fruit instead of dried fruit in the Easter Egg Fruit Cookies?
While dried fruit is recommended for its concentrated flavor and texture, you can use fresh fruit in a pinch. Ensure it’s finely diced and any excess moisture is patted dry to prevent the cookie dough from becoming too wet. Be aware that fresh fruit might alter the baking time and final texture.
Easter Egg Fruit Cookies – Delightful Easy Recipe
Delightful and easy-to-make Easter Egg Fruit Cookies featuring a creamy frosting and fresh fruit toppings.
Ingredients
-
1 package sugar cookie dough mix
-
8 ounces cream cheese, softened
-
6 tablespoons butter, softened
-
2 cups confectioner’s sugar
-
1 teaspoon vanilla extract
-
Pinch of salt
-
Assorted berries and fruit (blueberries, strawberries, raspberries, kiwis, mandarin oranges)
Instructions
-
Step 1
Prepare the sugar cookie dough according to package directions, mixing until a cohesive dough forms. Cover and chill for at least 30 minutes. -
Step 2
Preheat oven to 350°F (175°C). Roll out chilled dough to 1/4 inch thickness and cut out egg shapes using a cookie cutter. Place on parchment-lined baking sheets. -
Step 3
Bake for 8-12 minutes, or until edges are lightly golden brown. Let cool on baking sheets for 5 minutes, then transfer to a wire rack to cool completely. -
Step 4
While cookies cool, prepare the frosting: Beat softened cream cheese and butter until light and fluffy. Gradually add confectioner’s sugar, vanilla extract, and salt, beating until smooth and spreadable. -
Step 5
Spread a layer of cream cheese frosting evenly over each cooled cookie. -
Step 6
Decorate the frosted cookies by arranging assorted berries and fruit on top while the frosting is still soft.
Important Information
Nutrition Facts (Per Serving)
It is important to consider this information as approximate and not to use it as definitive health advice.
Allergy Information
Please check ingredients for potential allergens and consult a health professional if in doubt.