Cheesy Taco Rice Skillet – Quick & Easy Dinner
Cheesy Taco Rice Skillet is the weeknight warrior you didn’t know you needed. Imagin extracte all the craveable flavors of your favorite tacos – seasoned ground beef, zesty taco seasoning, hearty rice, and of course, a generous blanket of melted cheese – all coming together in one glorious, easy-to-clean skillet. What’s not to love? This dish hits that sweet spot of comfort food and quick meal prep, making it a go-to for busy families and solo diners alike. It’s the ultimate one-pan wonder that delivers maximum flavor with minimum fuss. We’re talking about a meal that practically cooks itself, transforming simple ingredients into a symphony of textures and tastes. Get ready to impress yourself and anyone lucky enough to share this incredible Cheesy Taco Rice Skillet with you!

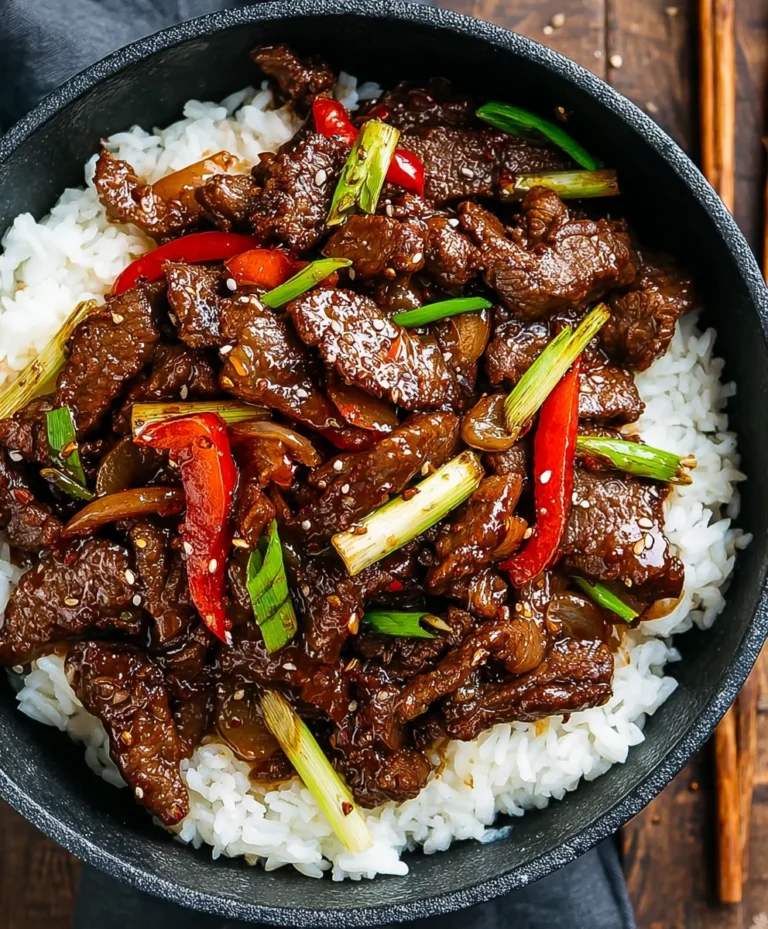
Cheesy Taco Rice Skillet
Looking for a quick, flavorful, and incredibly satisfying weeknight meal? You’ve come to the right place! This Cheesy Taco Rice Skillet is a one-pan wonder that brings all the deliciousness of tacos to your dinner table with minimal fuss. It’s packed with protein, fiber, and that irresistible cheesy goodness that makes everyone happy. Plus, it’s incredibly adaptable to whatever you have on hand. I love this recipe because it’s so forgiving and always turns out a winner. Let’s get cooking!
Ingredients:
Cooking Instructions
The beauty of this Cheesy Taco Rice Skillet lies in its simplicity. We’re going to build layers of flavor in one single skillet, making cleanup a breeze.
First things first, let’s get that ground beef and onion going. Grab a large, oven-safe skillet (a cast iron skillet works wonderfully here if you have one, but any good-sized, sturdy skillet will do). Place it over medium-high heat and add the lean ground beef. As the beef starts to brown, break it apart with your spoon. Once it’s mostly cooked through, add your diced onion. Continue to cook, stirring occasionally, until the onion is softened and translucent, which usually takes about 5-7 minutes. This is where the foundation of flavor starts to build. Don’t rush this step; cooking the aromatics properly makes a big difference!
Now, it’s time to infuse that delicious taco flavor. Sprinkle the 3 tablespoons of taco seasoning over the ground beef and onion mixture. Stir it all together thoroughly, ensuring every piece of meat and onion is coated with the seasoning. Let it cook for another minute or two, stirring constantly. This step helps to toast the spices, releasing their full aroma and flavor potential. You’ll start to smell how amazing this is going to be!
Next, we introduce the liquids and the heart of our taco-inspired dish. Pour in the prepared salsa, making sure to scrape up any browned bits from the bottom of the skillet – that’s pure flavor! Then, add the drained and rinsed black beans, the entire can of sweet corn (yes, liquid and all – it adds moisture and a touch of sweetness!), and the can of diced tomatoes and green chiles. Stir everything together until it’s well combined. Bring the mixture to a gentle simmer, then reduce the heat to low, cover the skillet, and let it cook for about 10 minutes. This simmering time allows all the flavors to meld beautifully and the beans to soften further.
While the taco mixture is simmering, prepare your Ready Rice according to the package directions. I usually pop mine in the microwave for about 90 seconds. Once it’s cooked and fluffy, carefully add it to the skillet with the taco mixture. Gently stir it in, distributing the rice evenly throughout the savory ingredients. This is where it starts to feel like a complete meal! The rice will absorb some of the liquid and flavors, creating a wonderfully cohesive dish.
The grand finnon-alcoholic ale: cheese! Sprinkle the shredded Colby Jack cheese evenly over the top of the entire skillet. At this point, you have two options:
a) Cover the skillet again and let it sit for about 5 minutes, or until the cheese is completely melted and gooey. This is the easiest method and works perfectly well.
b) If your skillet is oven-safe, you can pop it under a preheated broiler for 1-2 minutes, watching it very carefully, until the cheese is bubbly and lightly golden brown. This adds a lovely toasted cheese element.
Whichever method you choose, the result is a wonderfully melty, cheesy topping that pulls everything together.
Once the cheese is melted to perfection, remove the skillet from the heat. Let it rest for just a few minutes before serving. This allows the flavors to settle and the skillet to cool slightly.
Serving Your Cheesy Taco Rice Skillet
Now for the best part – serving! Spoon generous portions of the Cheesy Taco Rice Skillet into bowls. For an extra burst of flavor and freshness, I love to top mine with some optional garnishes. Fresh cilantro adds a bright, herbaceous note, while sliced avocado provides a creamy contrast. A dollop of sour cream is always a good idea for a touch of tang, and for a fun crunch, crushed tortilla chips are a fantastic addition. This dish is hearty enough to stand on its own, but it’s also great served with a side of extra salsa or even some simple refried beans. Enjoy every delicious, cheesy bite!

Conclusion:
There you have it – a simple yet incredibly satisfying Cheesy Taco Rice Skillet recipe that’s destined to become a weeknight favorite. This dish truly shines with its minimal cleanup, robust flavors, and customizable nature. It’s the perfect solution for those nights when you want something delicious and hearty without spending hours in the kitchen. The combination of seasoned ground meat, fluffy rice, and gooey melted cheese is simply irresistible, making it a crowd-pleaser for families and busy individuals alike.
I love serving this Cheesy Taco Rice Skillet with a dollop of sour cream, fresh salsa, and a sprinkle of cilantro for an extra burst of freshness. Other fantastic serving suggestions include a side of avocado slices, tortilla chips for scooping, or even a simple green salad to balance out the richness. Don’t be afraid to get creative with variations! You can swap the ground beef for ground turkey or chicken, add black beans or corn for extra texture and nutrients, or even make it vegetarian by using lentils. I truly encourage you to give this recipe a try; you won’t be disappointed by how easy and delicious it is!
Frequently Asked Questions:
Can I make this Cheesy Taco Rice Skillet ahead of time?
Absolutely! You can prepare most of the components ahead of time. Cook the ground meat mixture and the rice separately. When you’re ready to serve, combine them in the skillet, add the cheese, and heat until warmed through and bubbly. This makes for even quicker assembly on busy nights.
What kind of cheese works best for this recipe?
A Mexican blend shredded cheese is fantastic as it often contains cheddar, Monterey Jack, and Colby. However, feel free to use your favorite melting cheese. Sharp cheddar, pepper jack for a little heat, or even a combination would be delicious!
Cheesy Taco Rice Skillet
A quick and easy one-pan meal featuring seasoned ground beef, black beans, corn, diced tomatoes and green chiles, all mixed with rice and topped with melted Colby Jack cheese.
Ingredients
-
1 lb lean ground beef
-
½ medium onion (diced)
-
3 tbsp taco seasoning
-
½ cup prepared salsa
-
15 oz can black beans (drained and rinsed)
-
15 oz can sweet corn (not drained)
-
10 oz can diced tomatoes and green chiles
-
8.5 oz bag Ready Rice (microwaved)
-
4 oz Colby Jack cheese (shredded)
Instructions
-
Step 1
In a large skillet over medium-high heat, brown the ground beef and diced onion until the beef is no longer pink and the onion is softened. Drain off any excess grease. -
Step 2
Stir in the taco seasoning and cook for 1 minute more until fragrant. -
Step 3
Add the prepared salsa, drained and rinsed black beans, undrained sweet corn, and diced tomatoes and green chiles to the skillet. Stir to combine. -
Step 4
Bring the mixture to a simmer and cook for 5-7 minutes, stirring occasionally, allowing the flavors to meld. -
Step 5
Stir in the microwaved Ready Rice until well combined with the beef and vegetable mixture. -
Step 6
Sprinkle the shredded Colby Jack cheese evenly over the top of the skillet mixture. Cover the skillet and cook for 3-5 minutes, or until the cheese is melted and bubbly.
Important Information
Nutrition Facts (Per Serving)
It is important to consider this information as approximate and not to use it as definitive health advice.
Allergy Information
Please check ingredients for potential allergens and consult a health professional if in doubt.